Quilt Binding Tutorial with Mitred Corners
There are quite a few different ways to go about binding a quilt, this is my typical go-to method though. I particularly like the neatness of the mitred corners and the hand finish that this method gives you.
Step 1: Cut Strips
Cut your binding strips. My most used binding strip width is 2¼ inches, however 2½ inches is also very popular among quilters. Calculate how many strips you need from your quilt width and length and then add an extra strip in to cover seam allowances and some over-lap for the finish.
Step 2: Prepare the Binding
Binding strips are joined together at the ends with a mitred seam. This reduces bulk when folding the binding round the edge of your quilt.
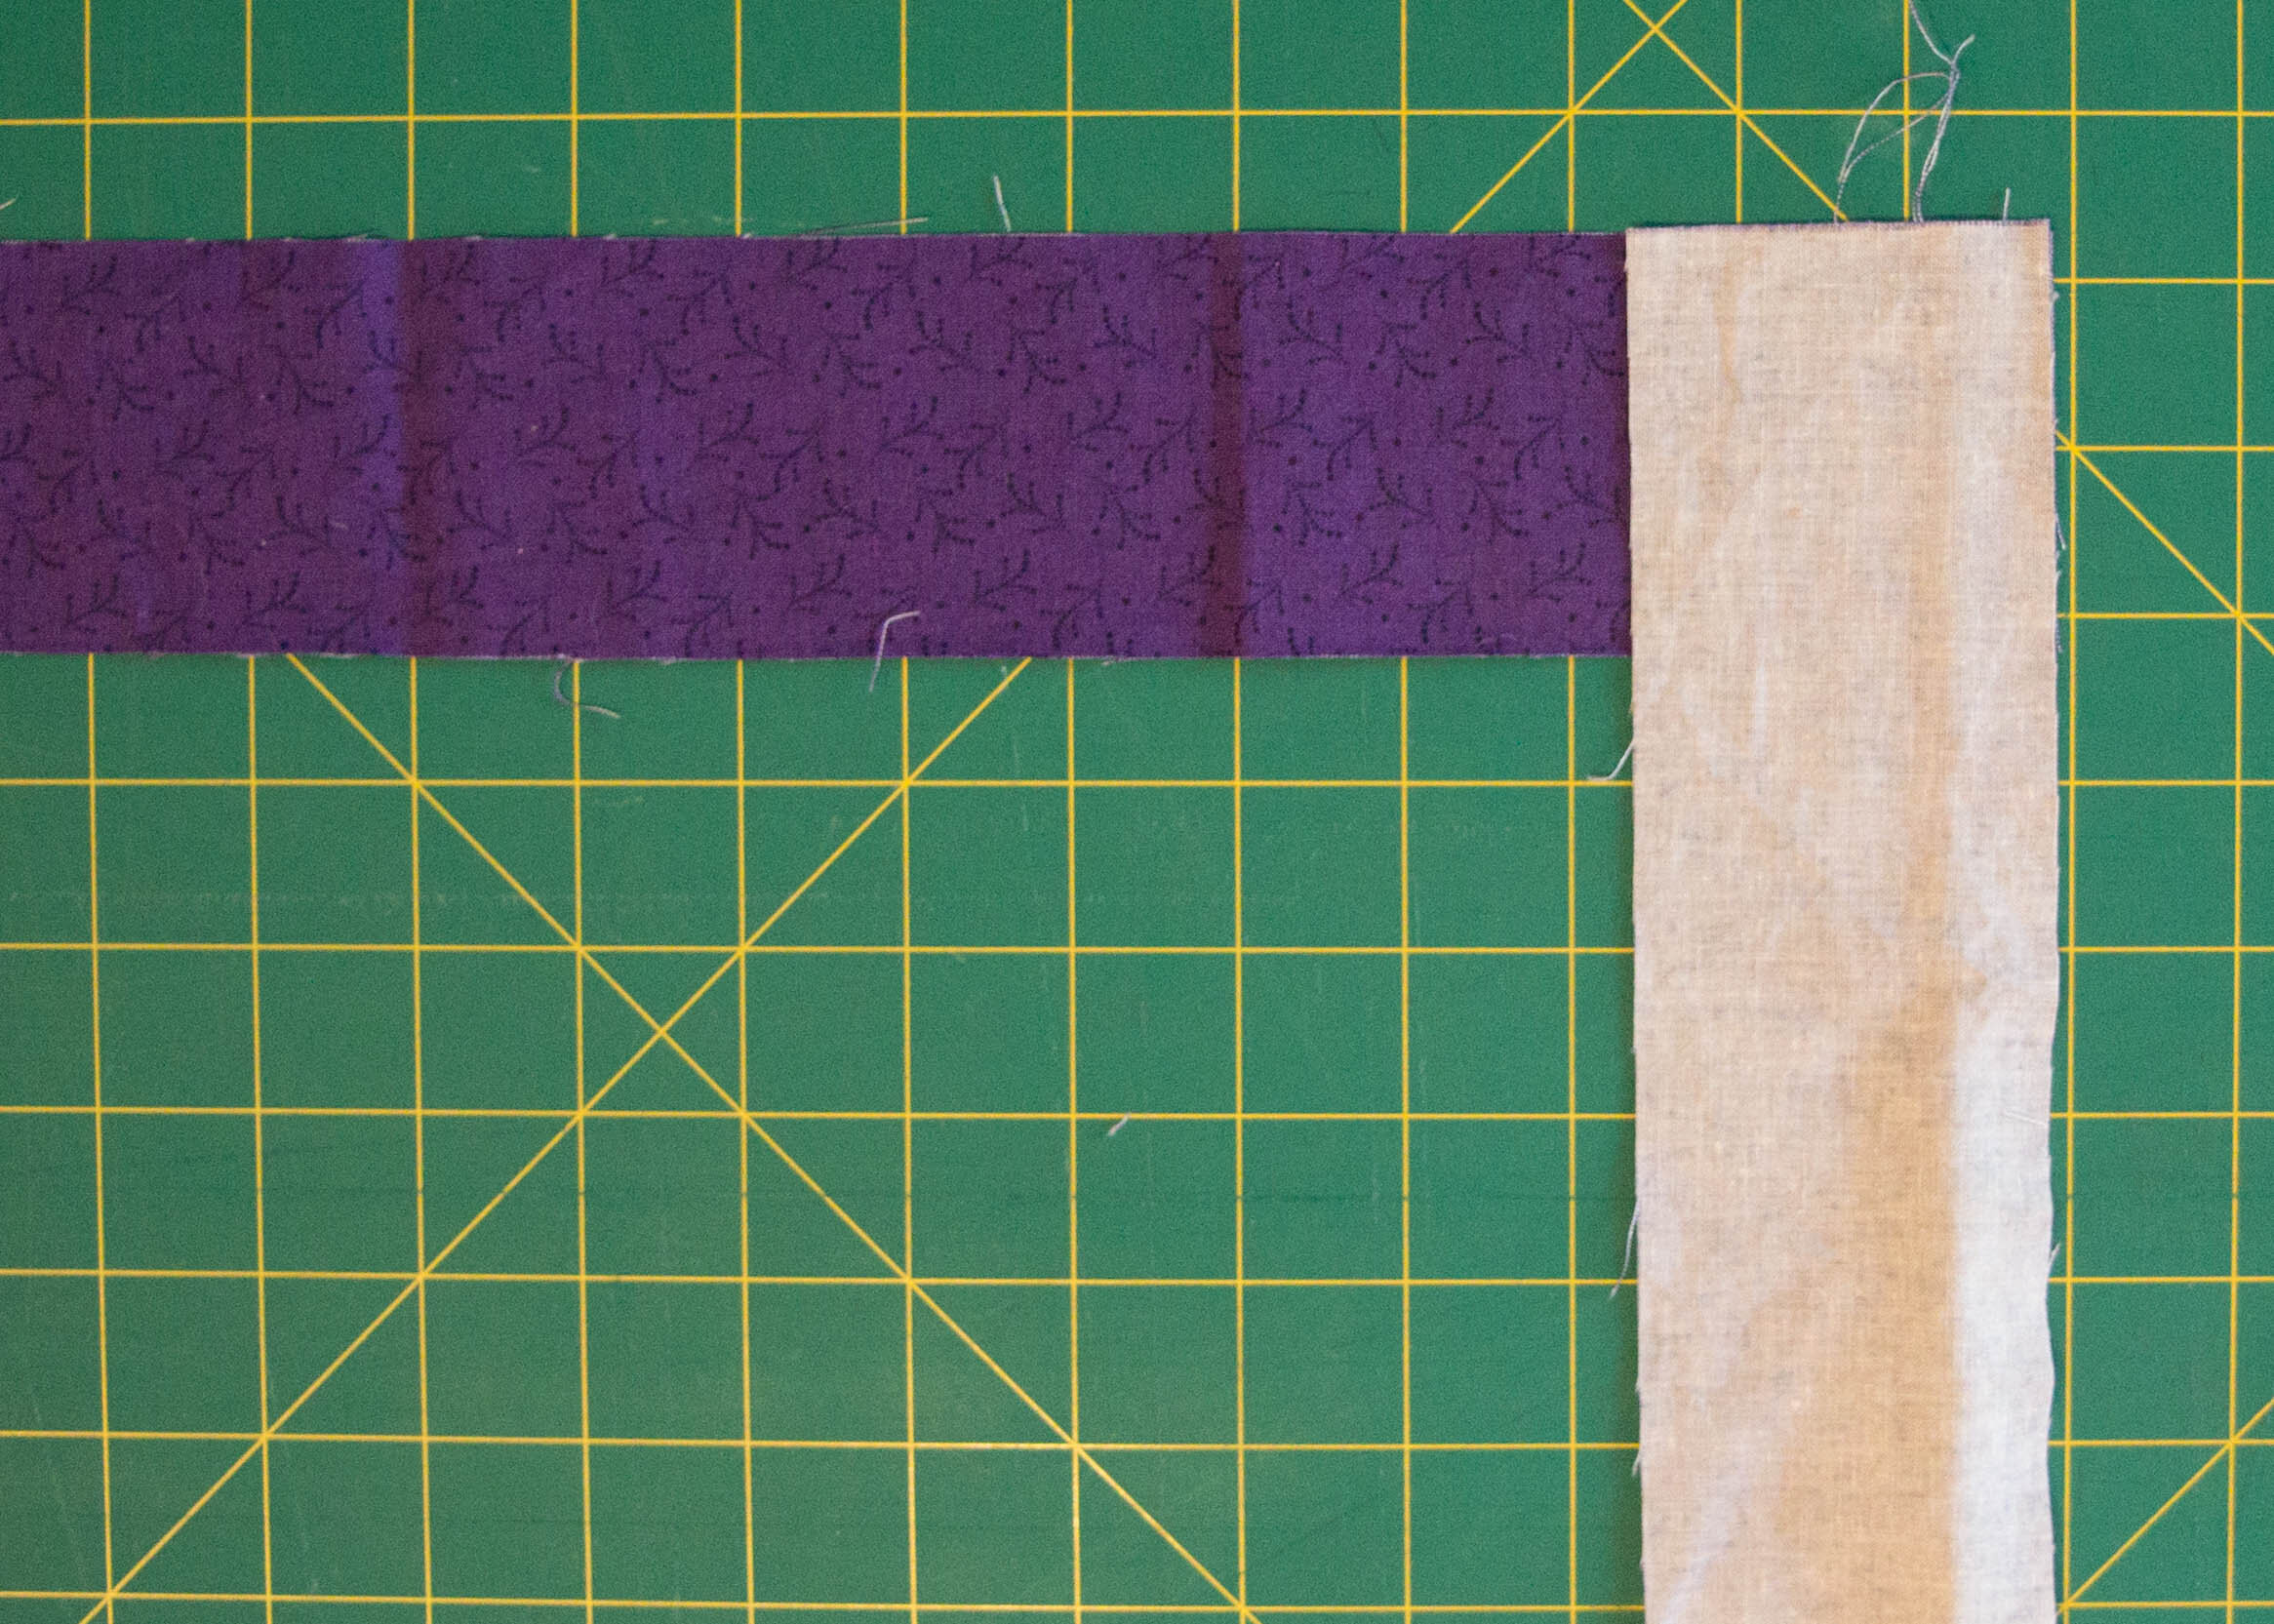
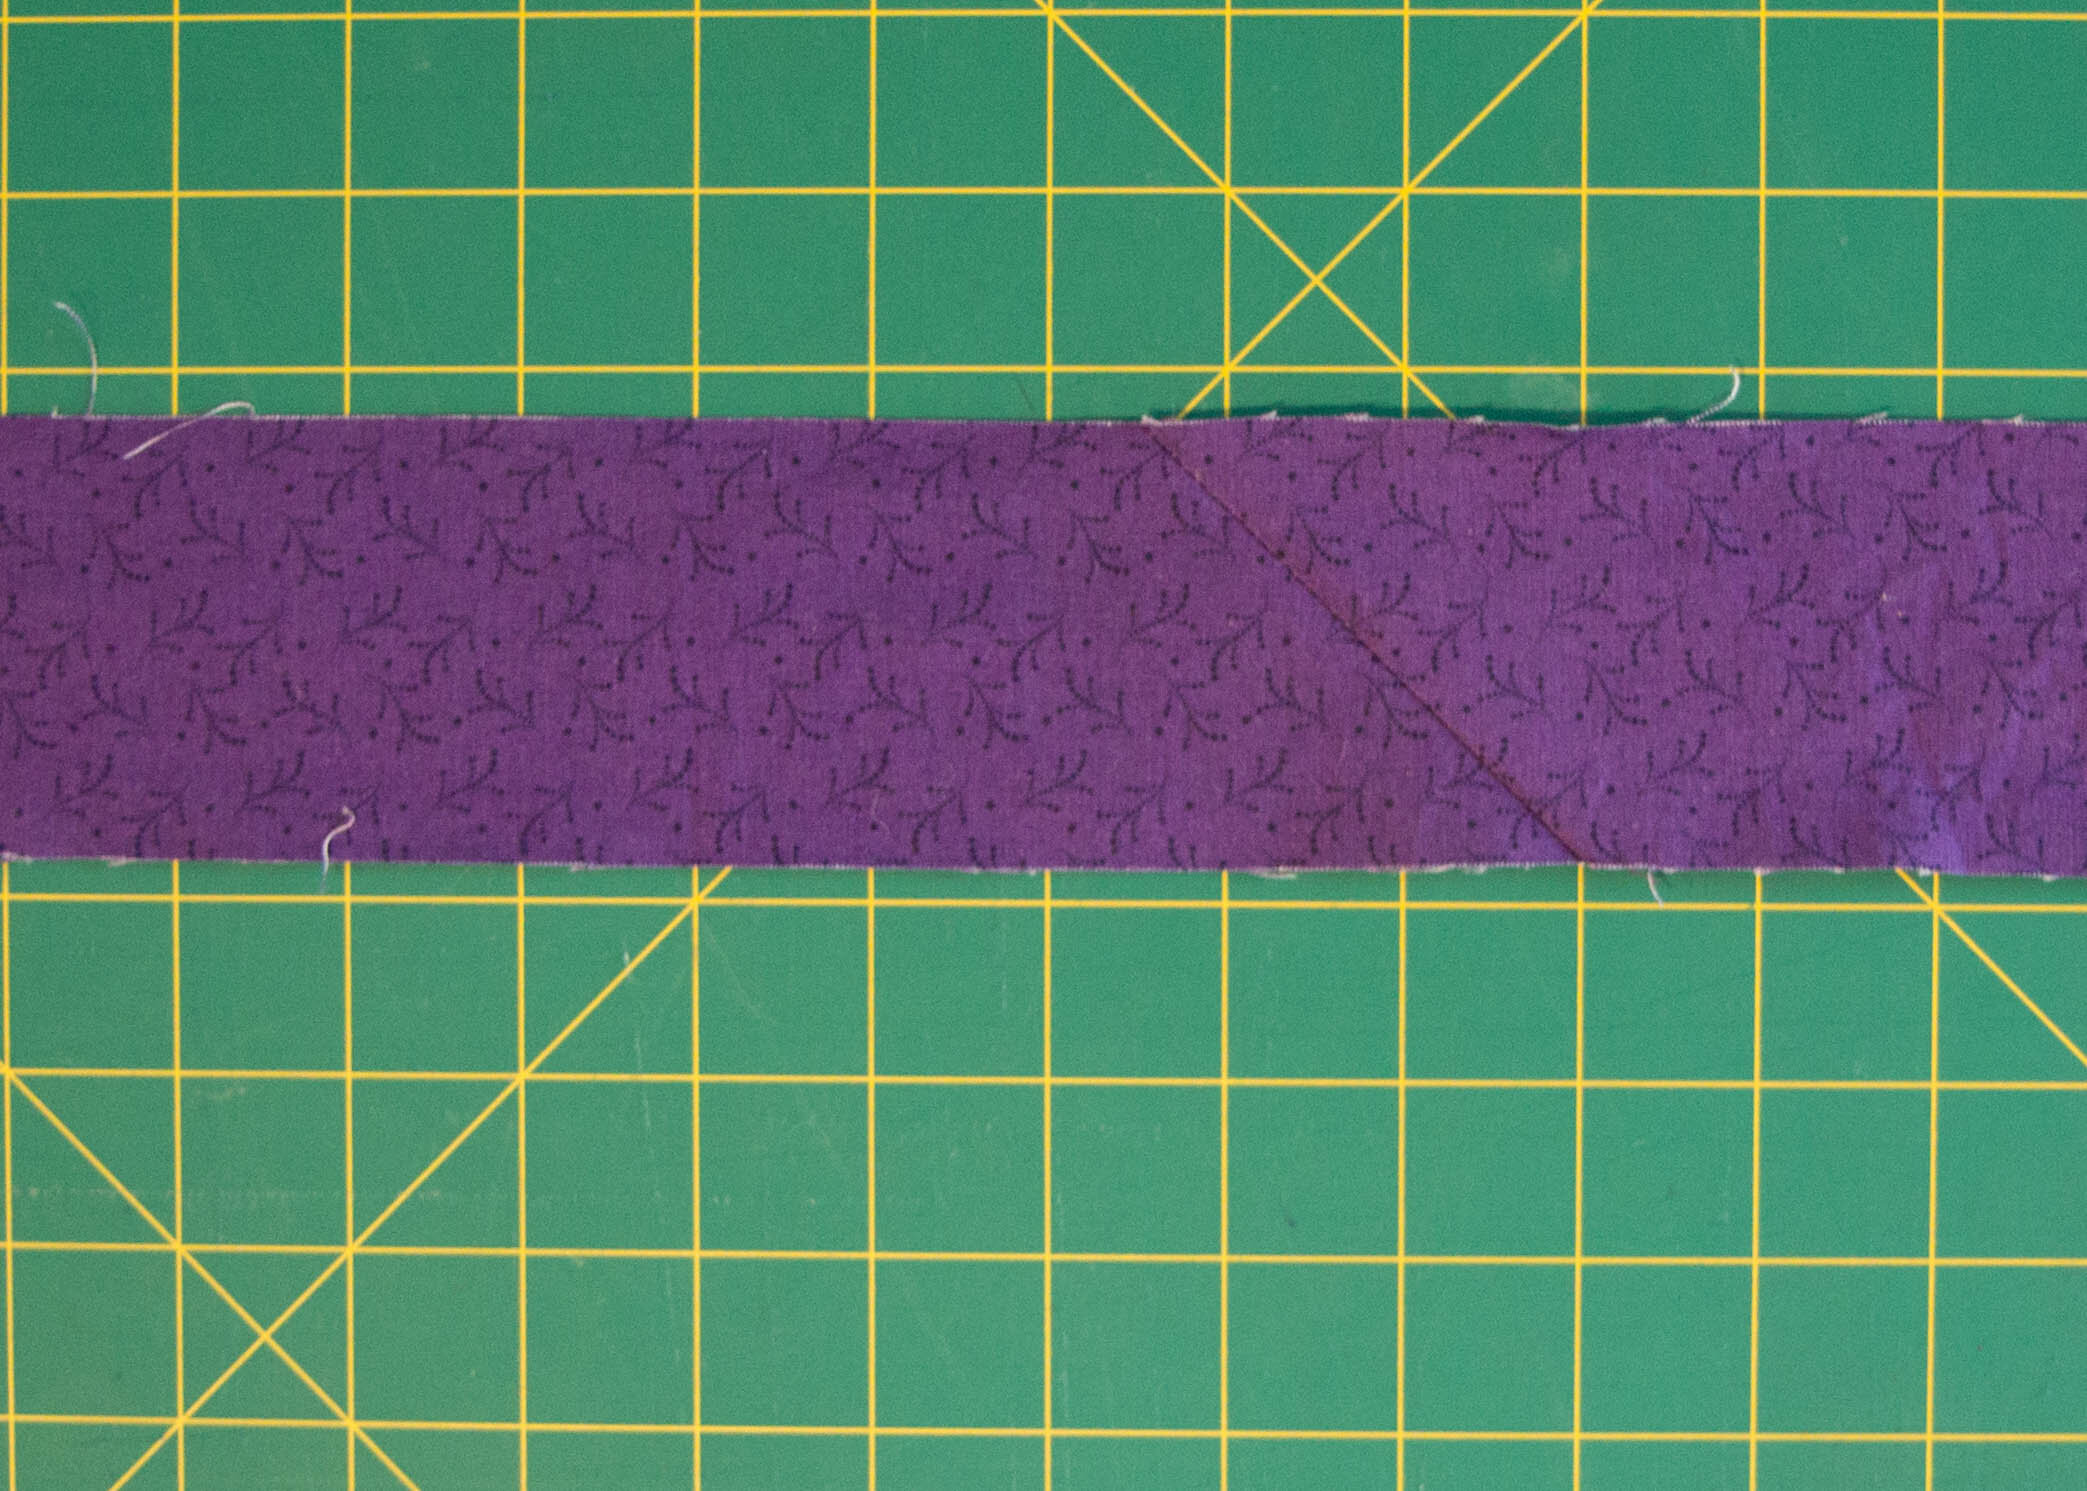
Lie one binding strip horizontally, right-side-up. Lie the next strip vertically, right-side-down with the two ends overlapping (Image 1).
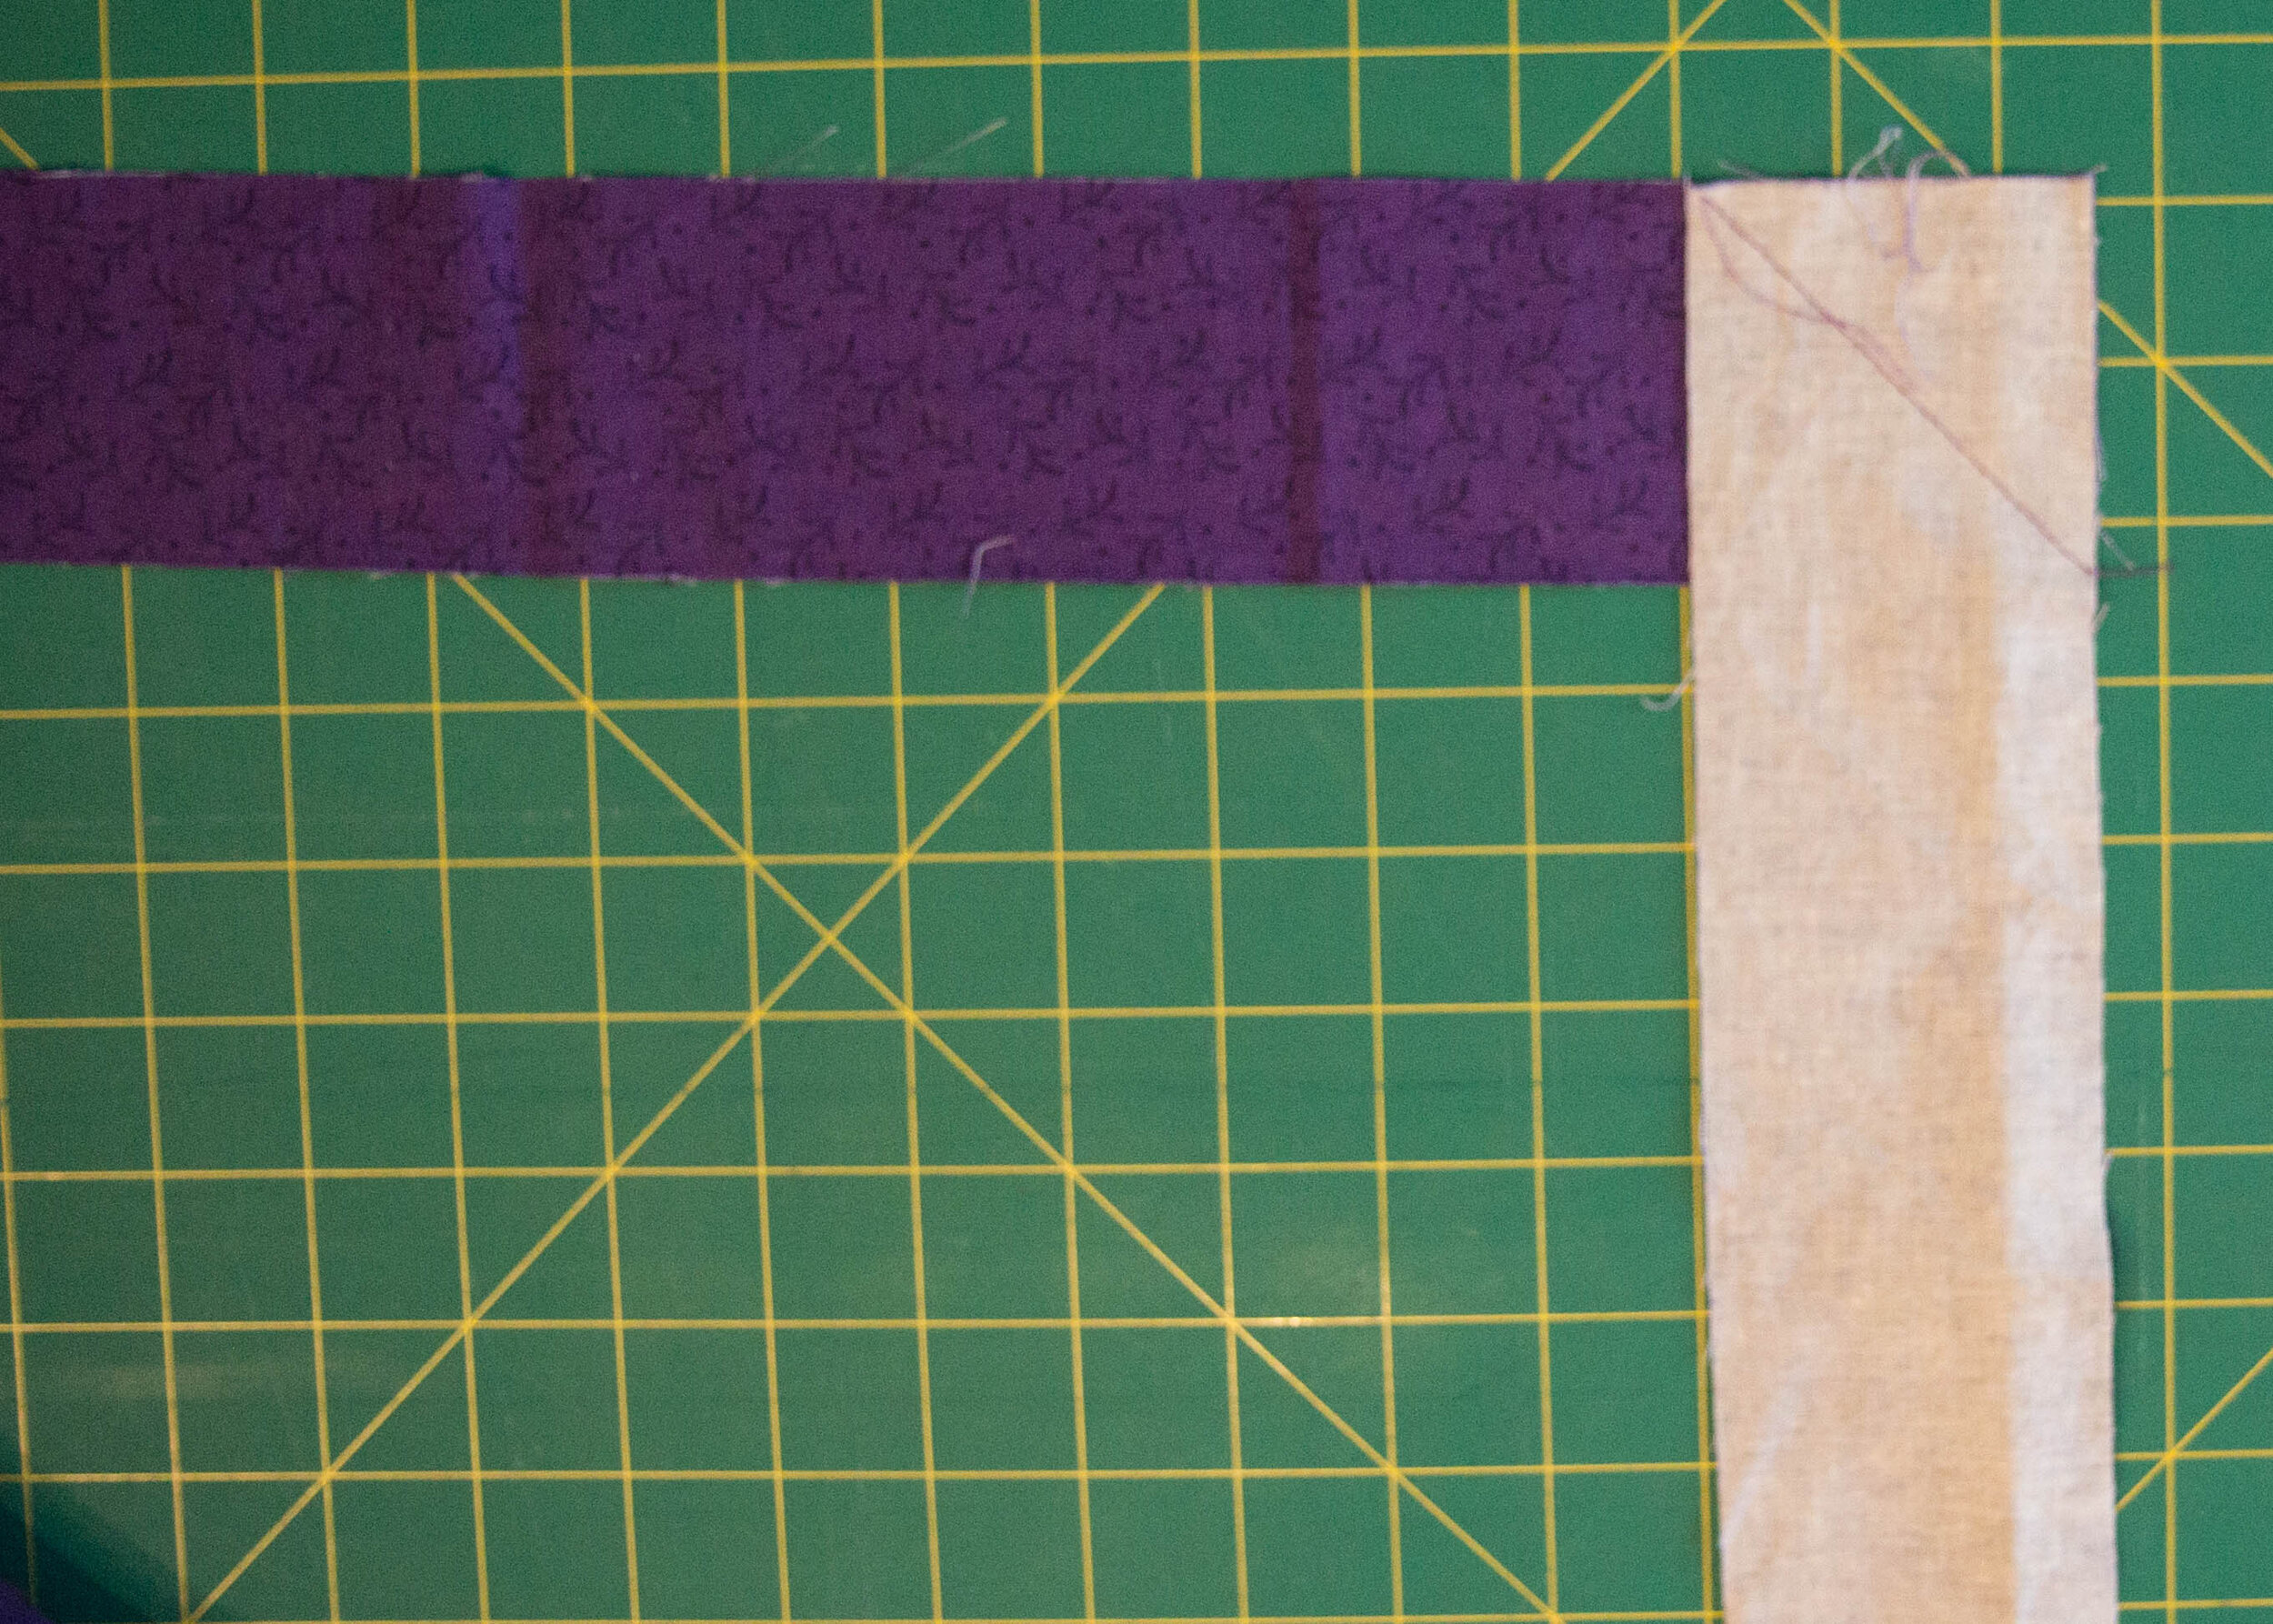
Stitch from the top left-hand corner of the overlapped section to the bottom right (Image 2). You may like to mark this line before stitching.
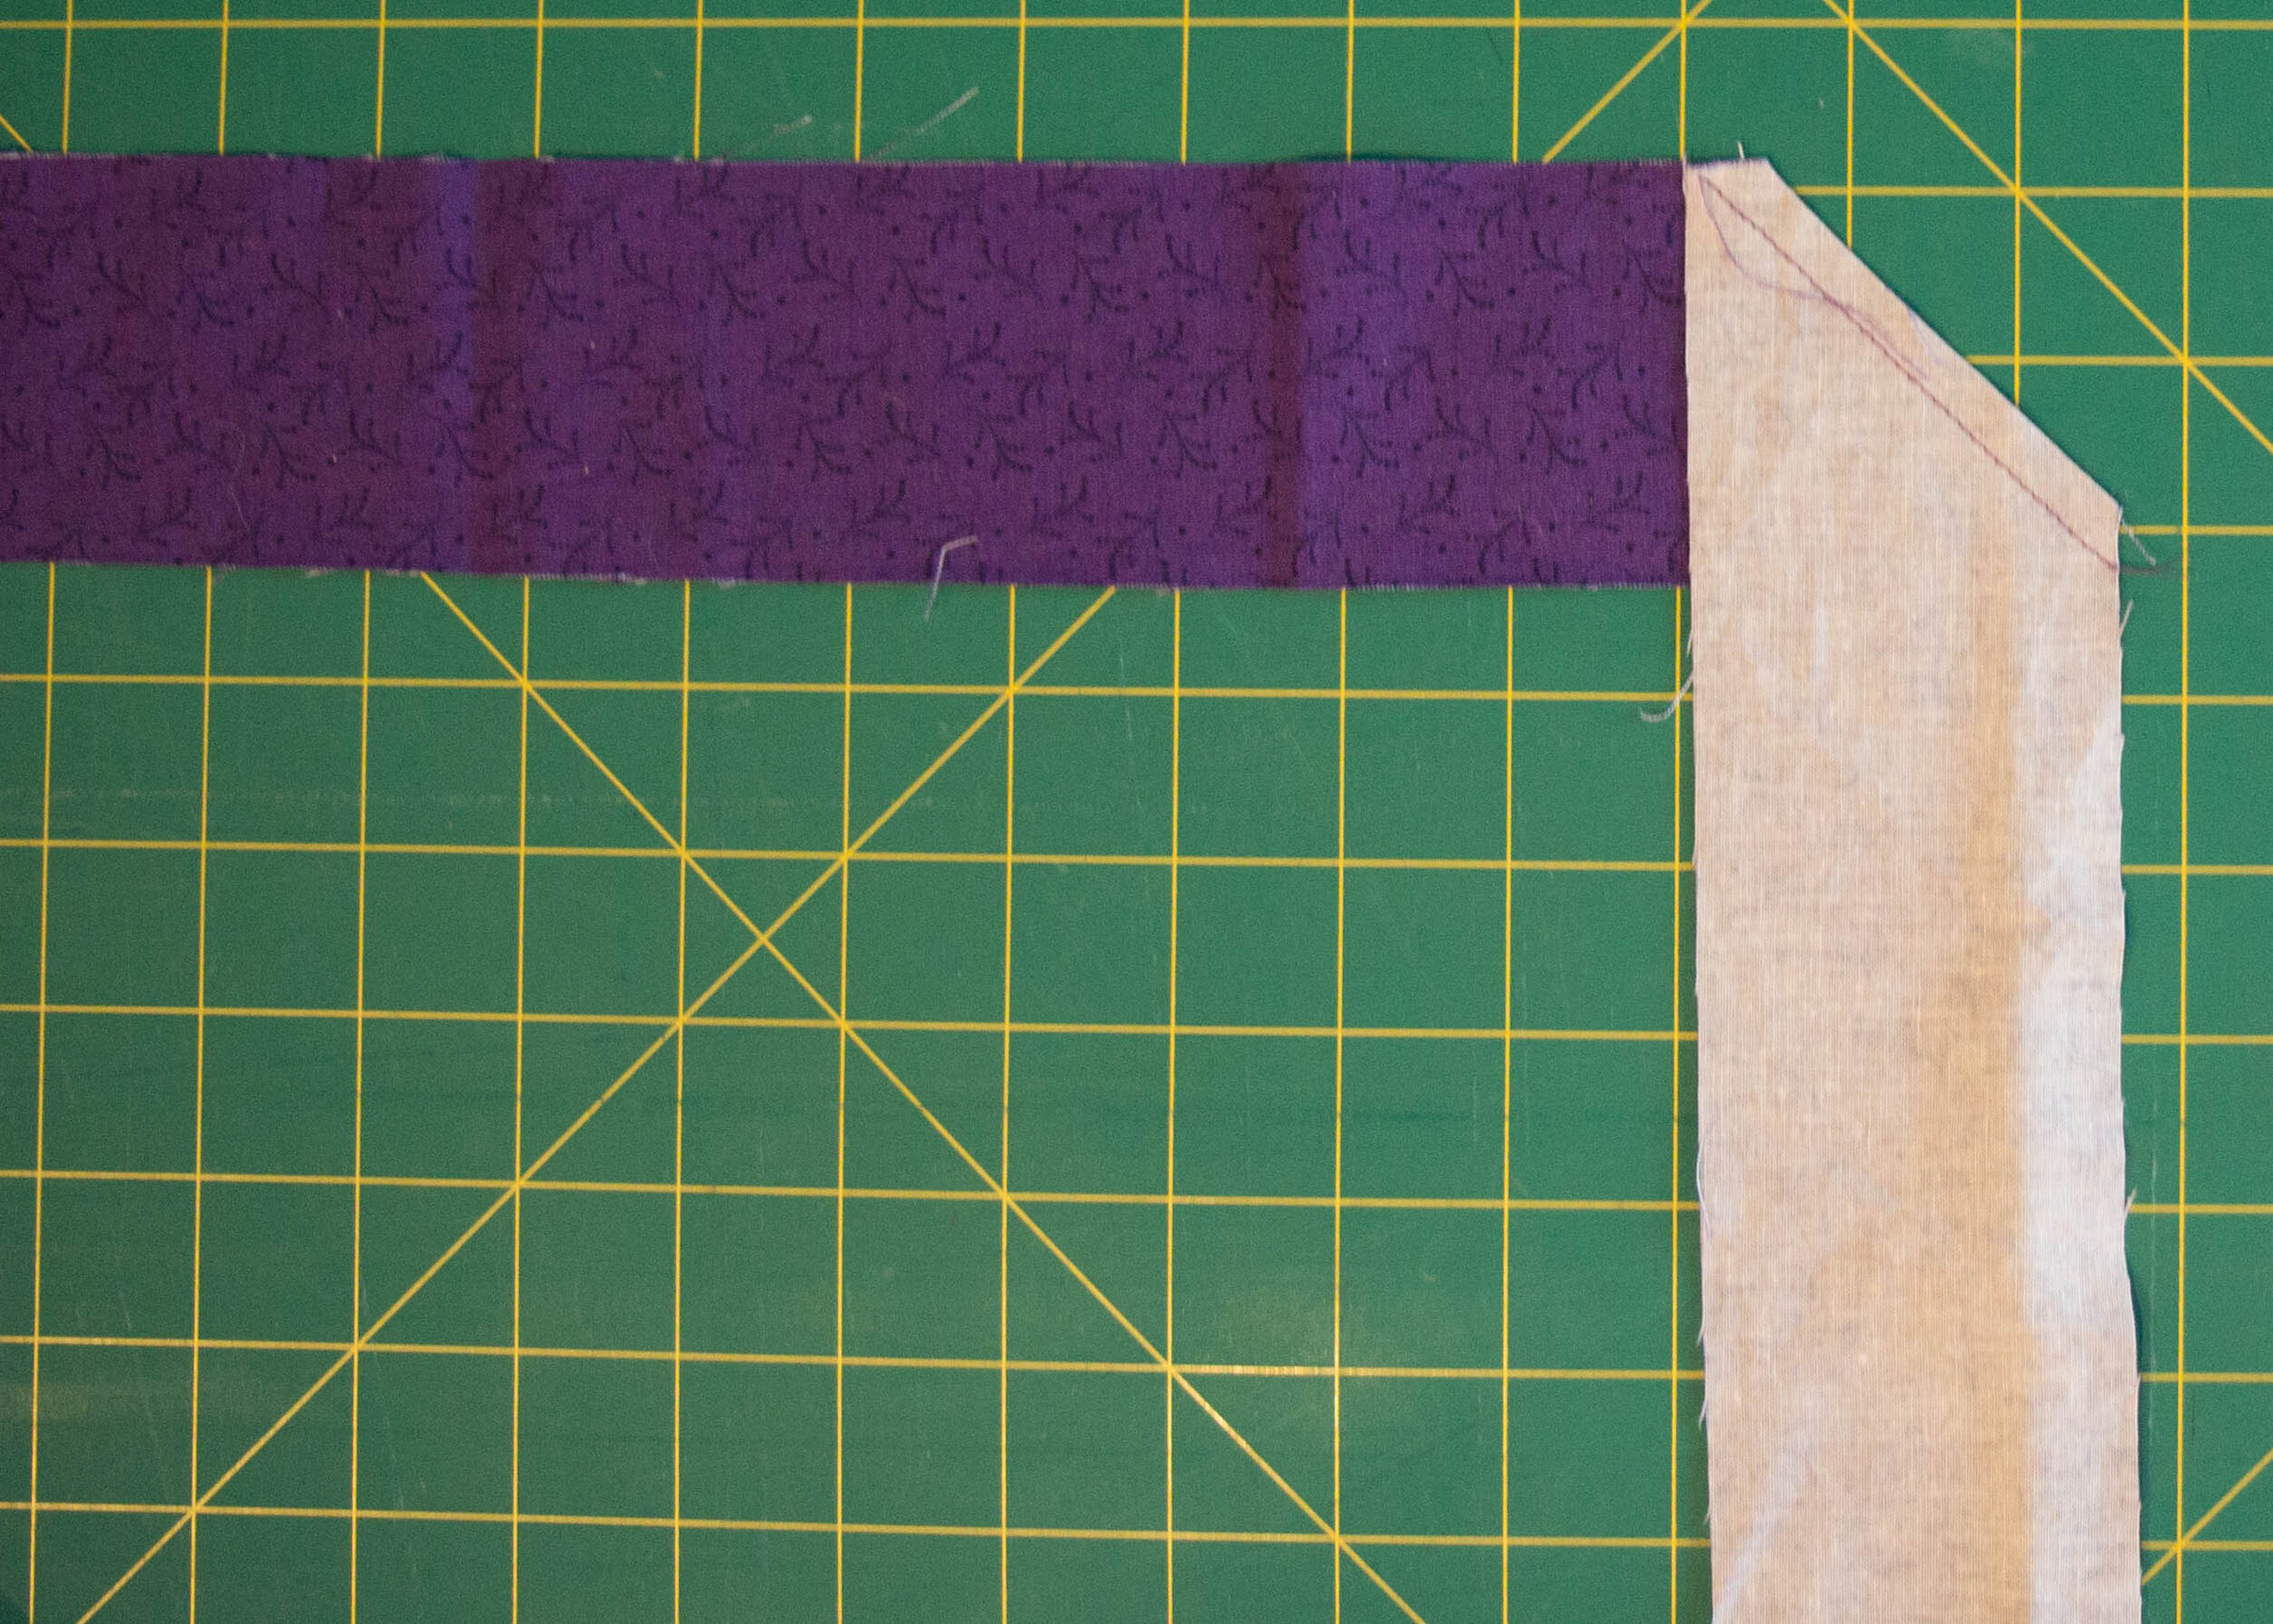
Trim excess fabric, leaving a ¼ inch seam (Image 3).
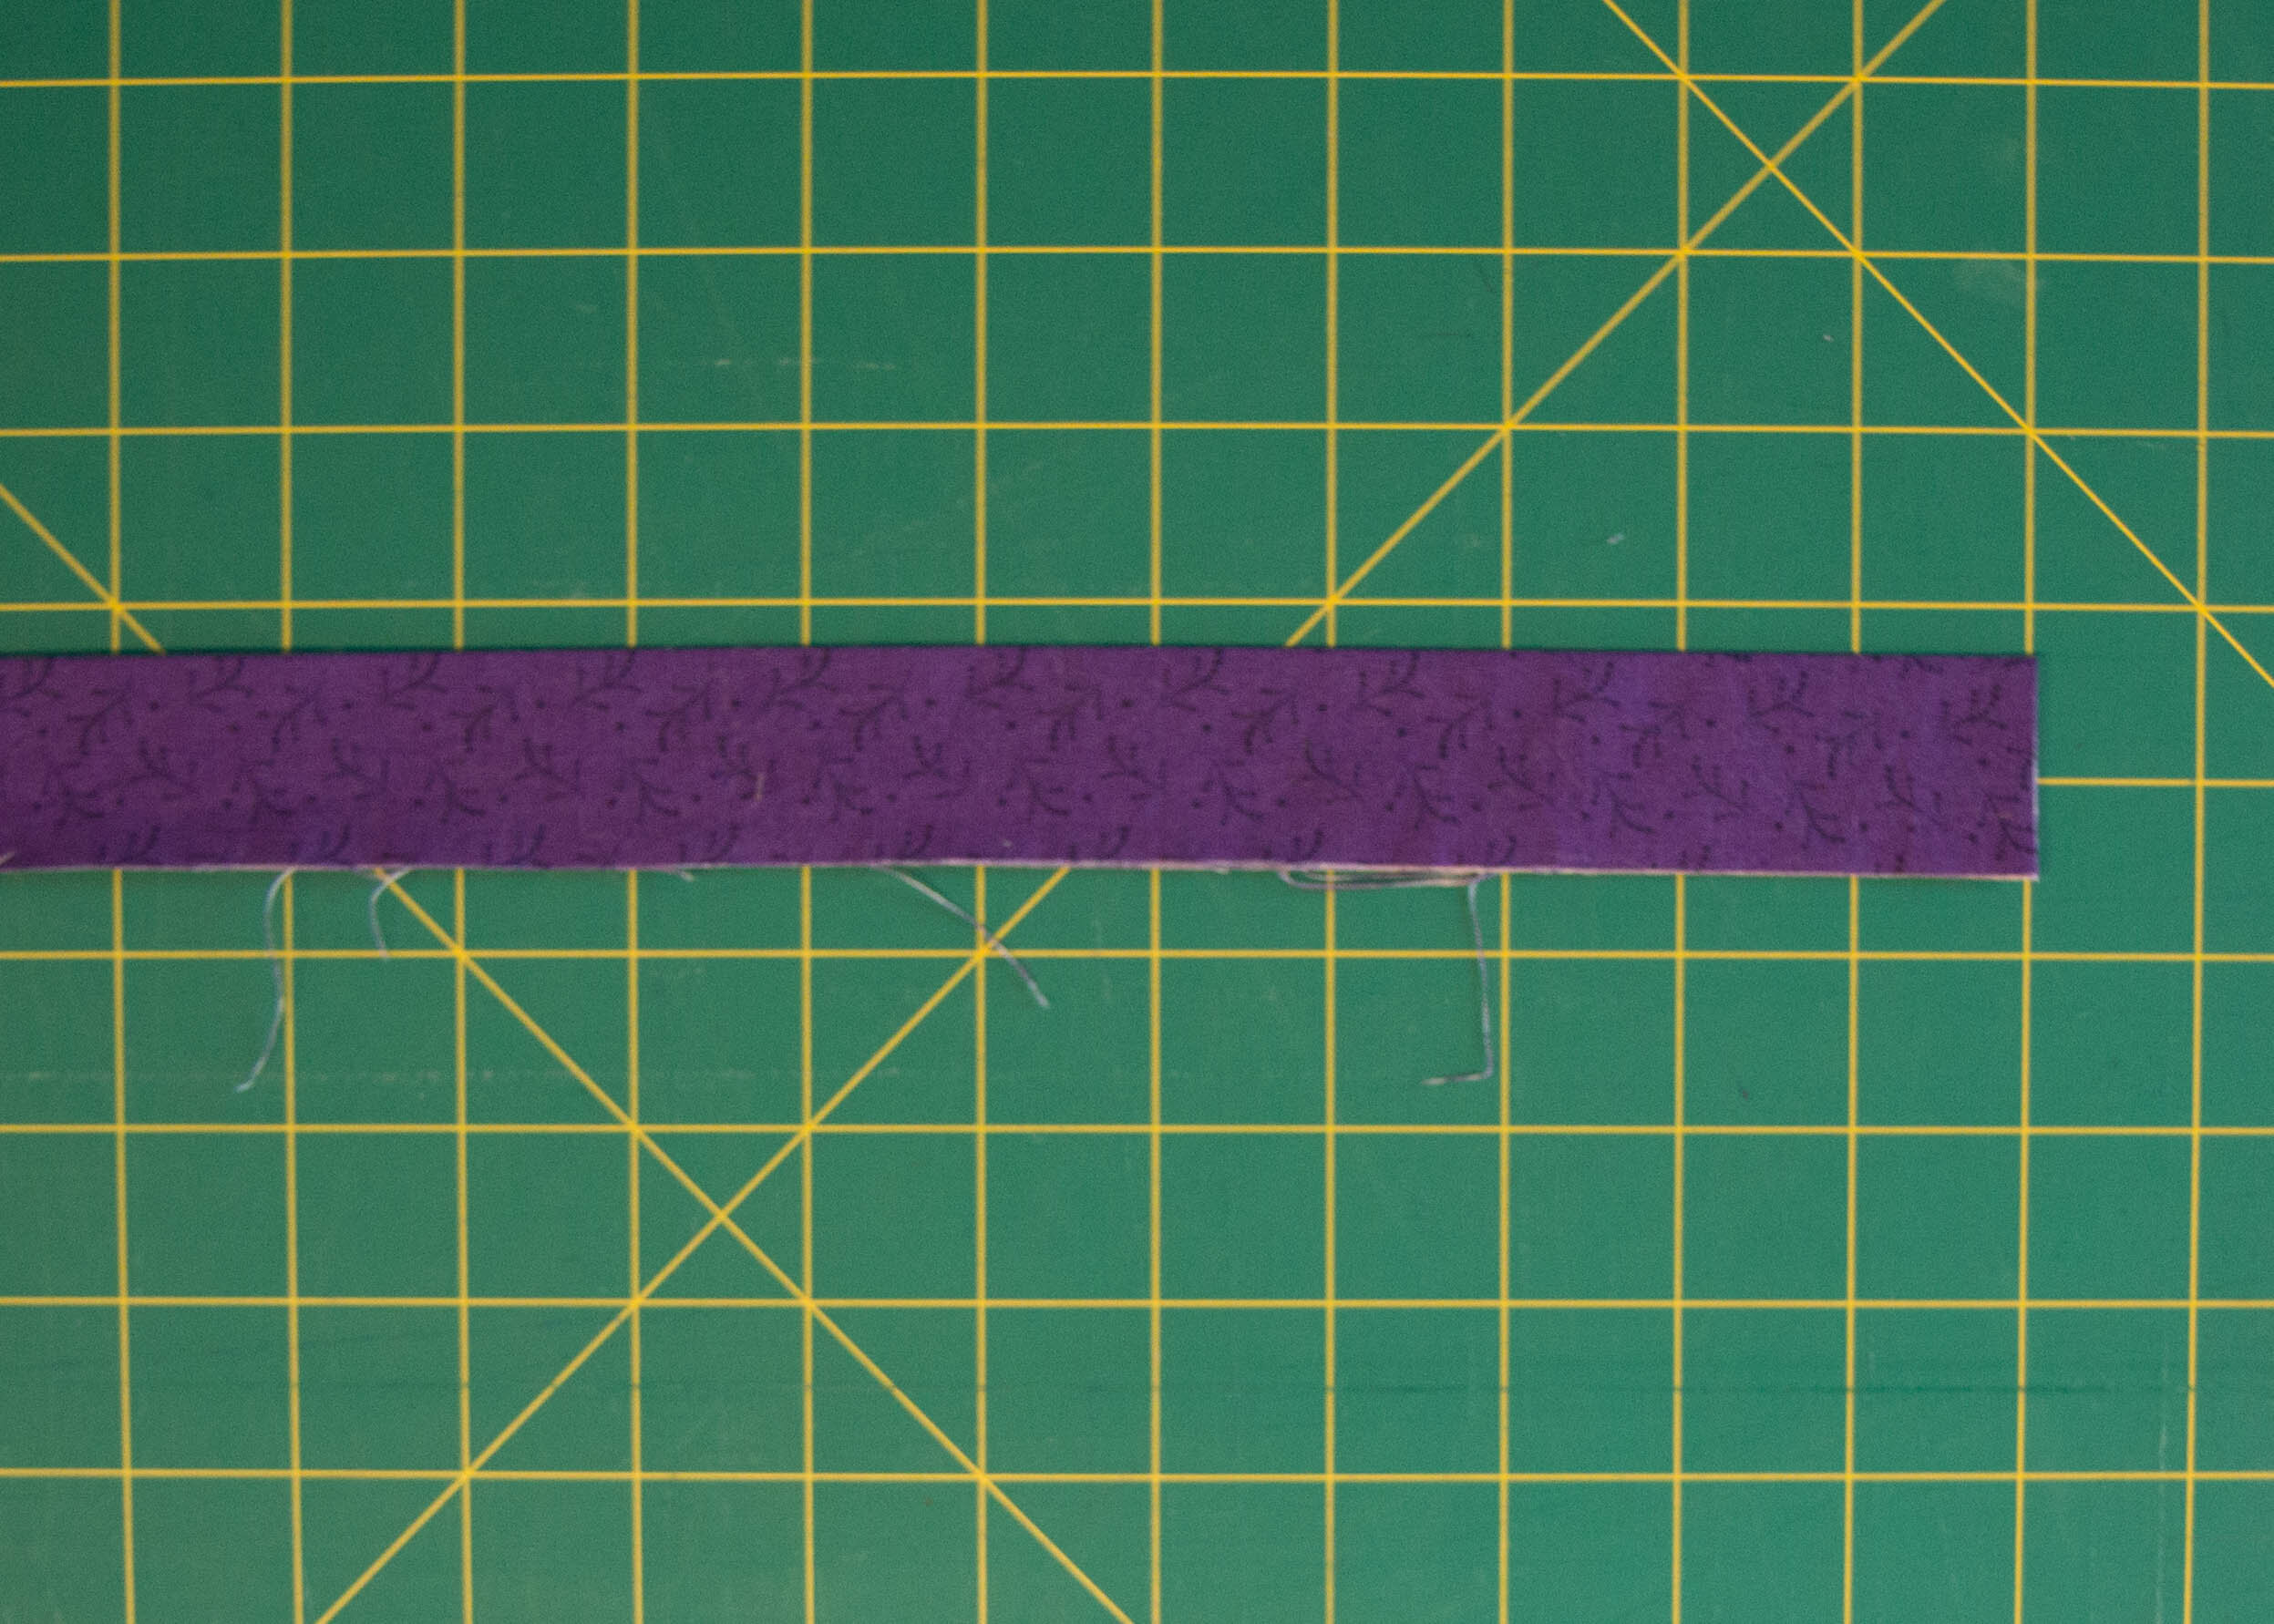
Fold up second strip of fabric and press seam to one side (Image 4).
Repeat till all your binding pieces are joined together to make one long piece.
Fold binding in half down the whole length and press (Image 5).
Step 3: Sew Binding to Quilt Front
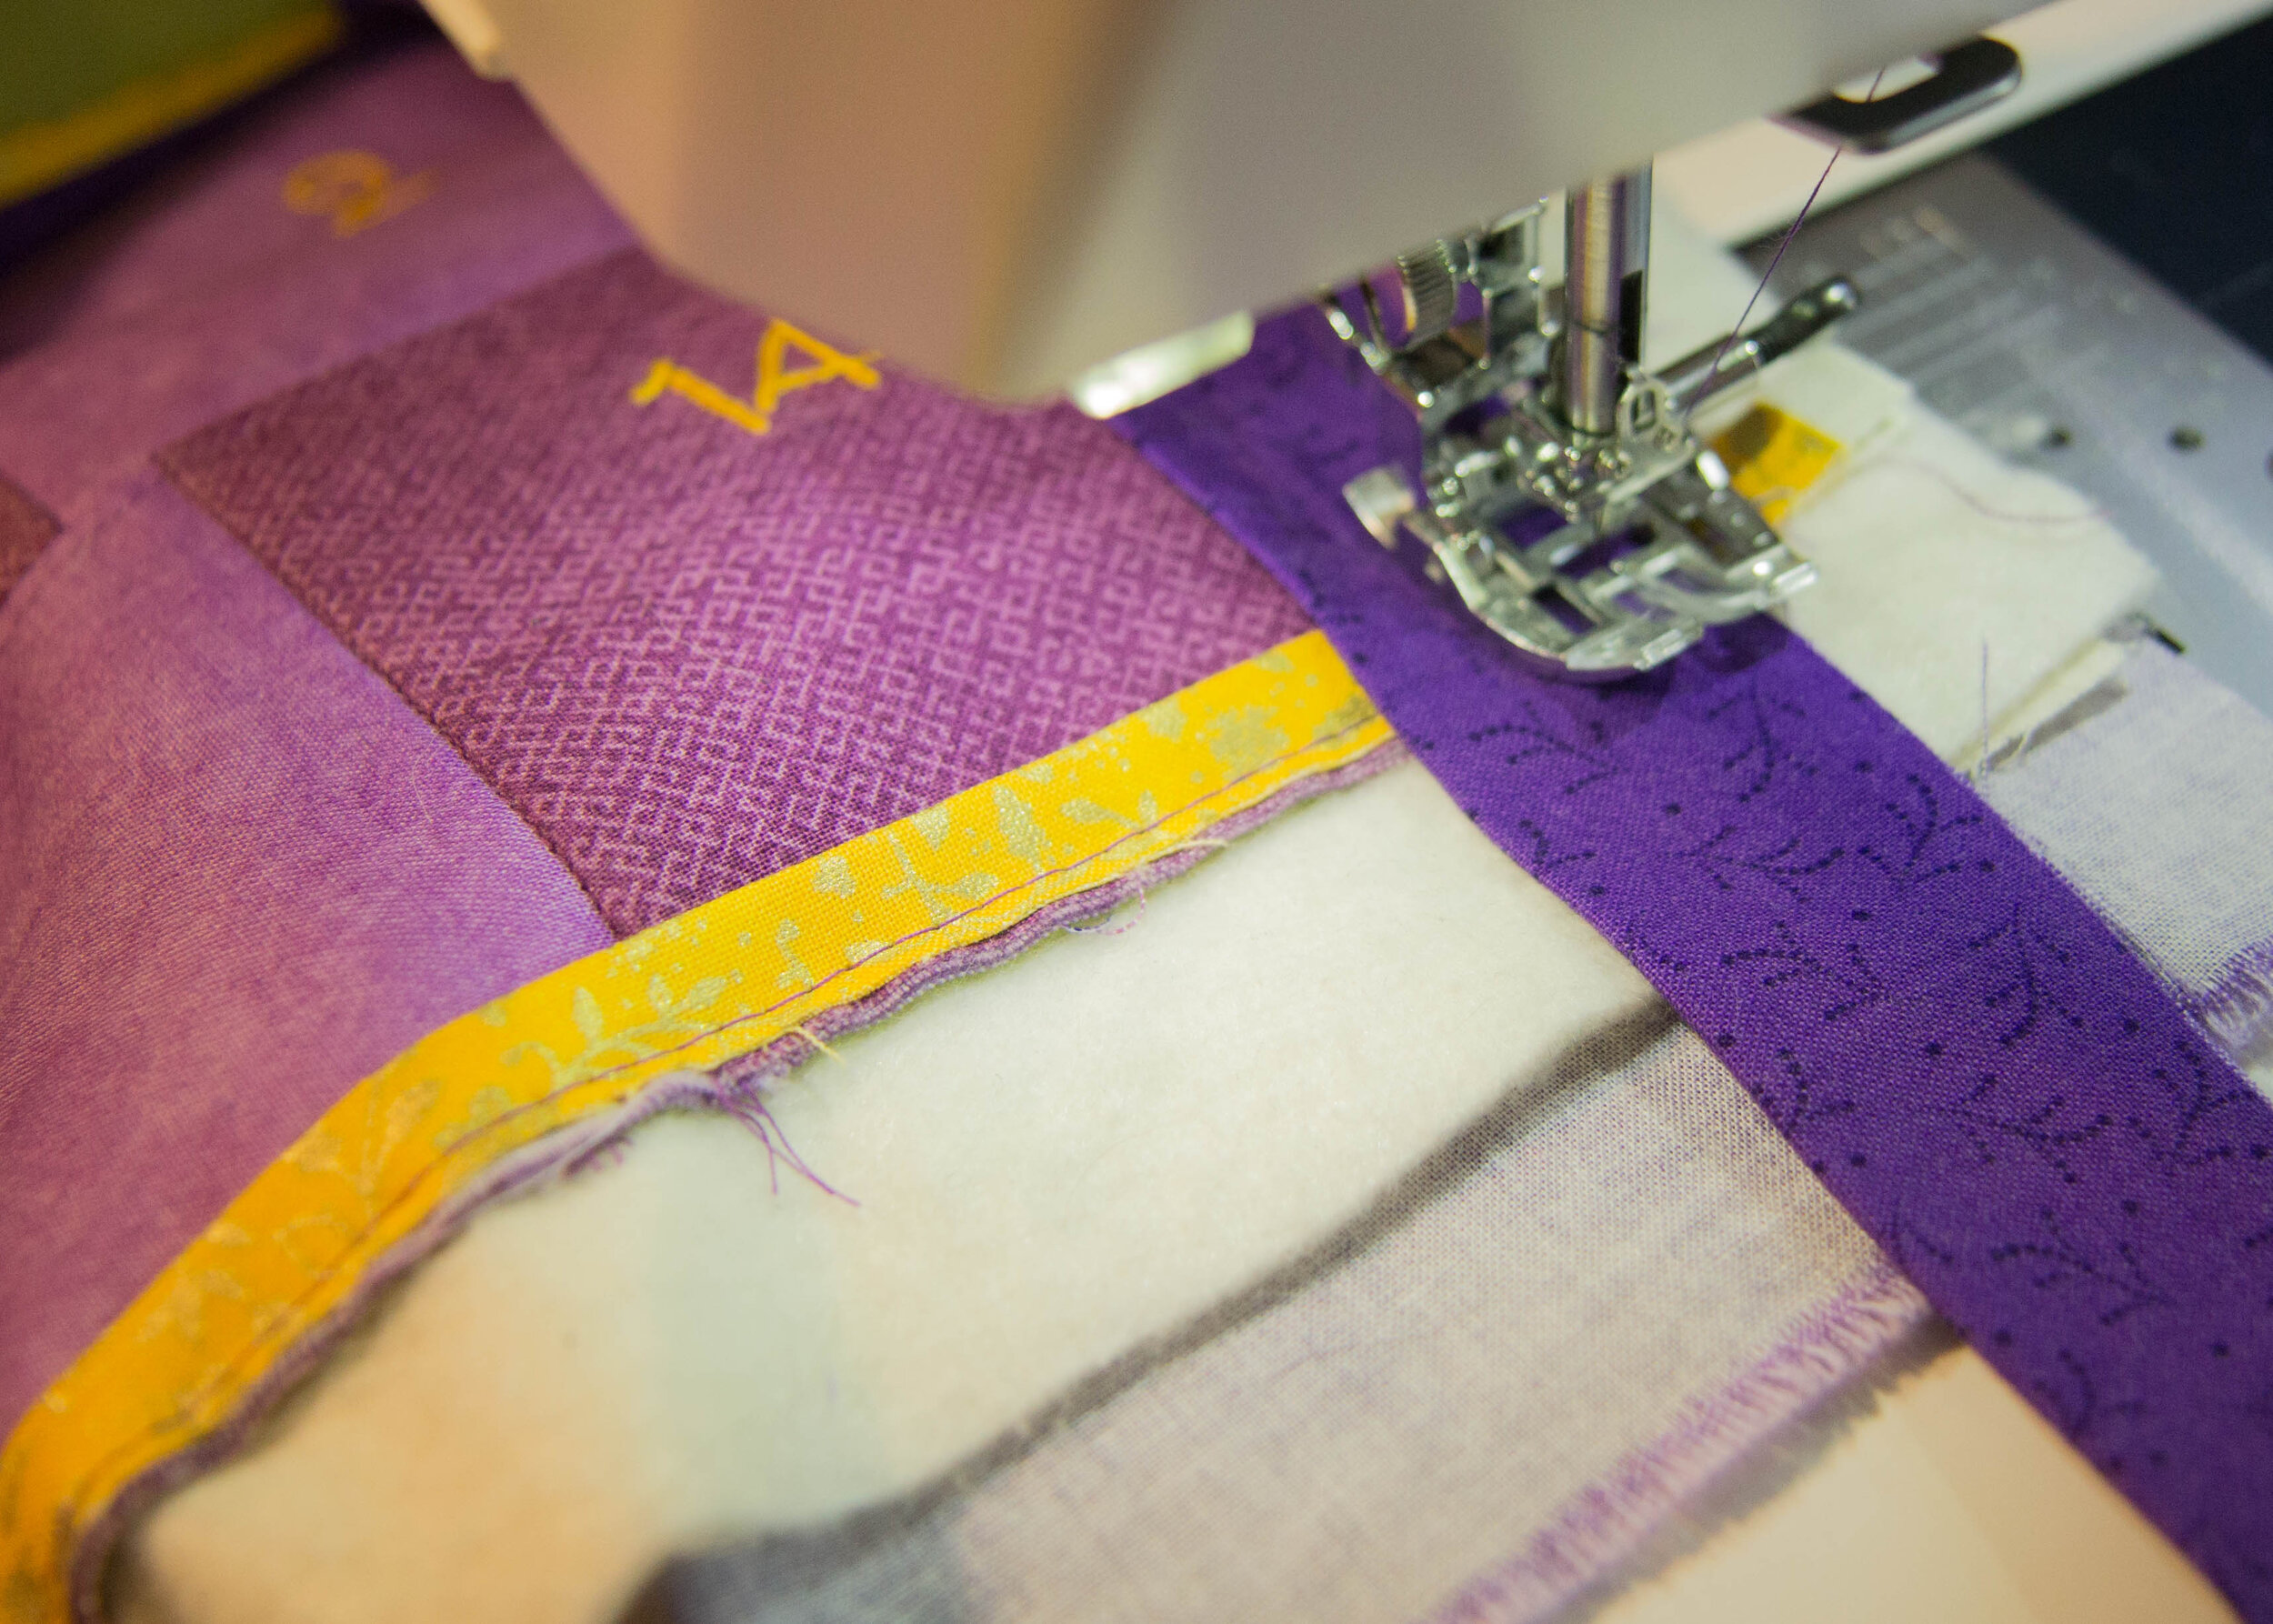
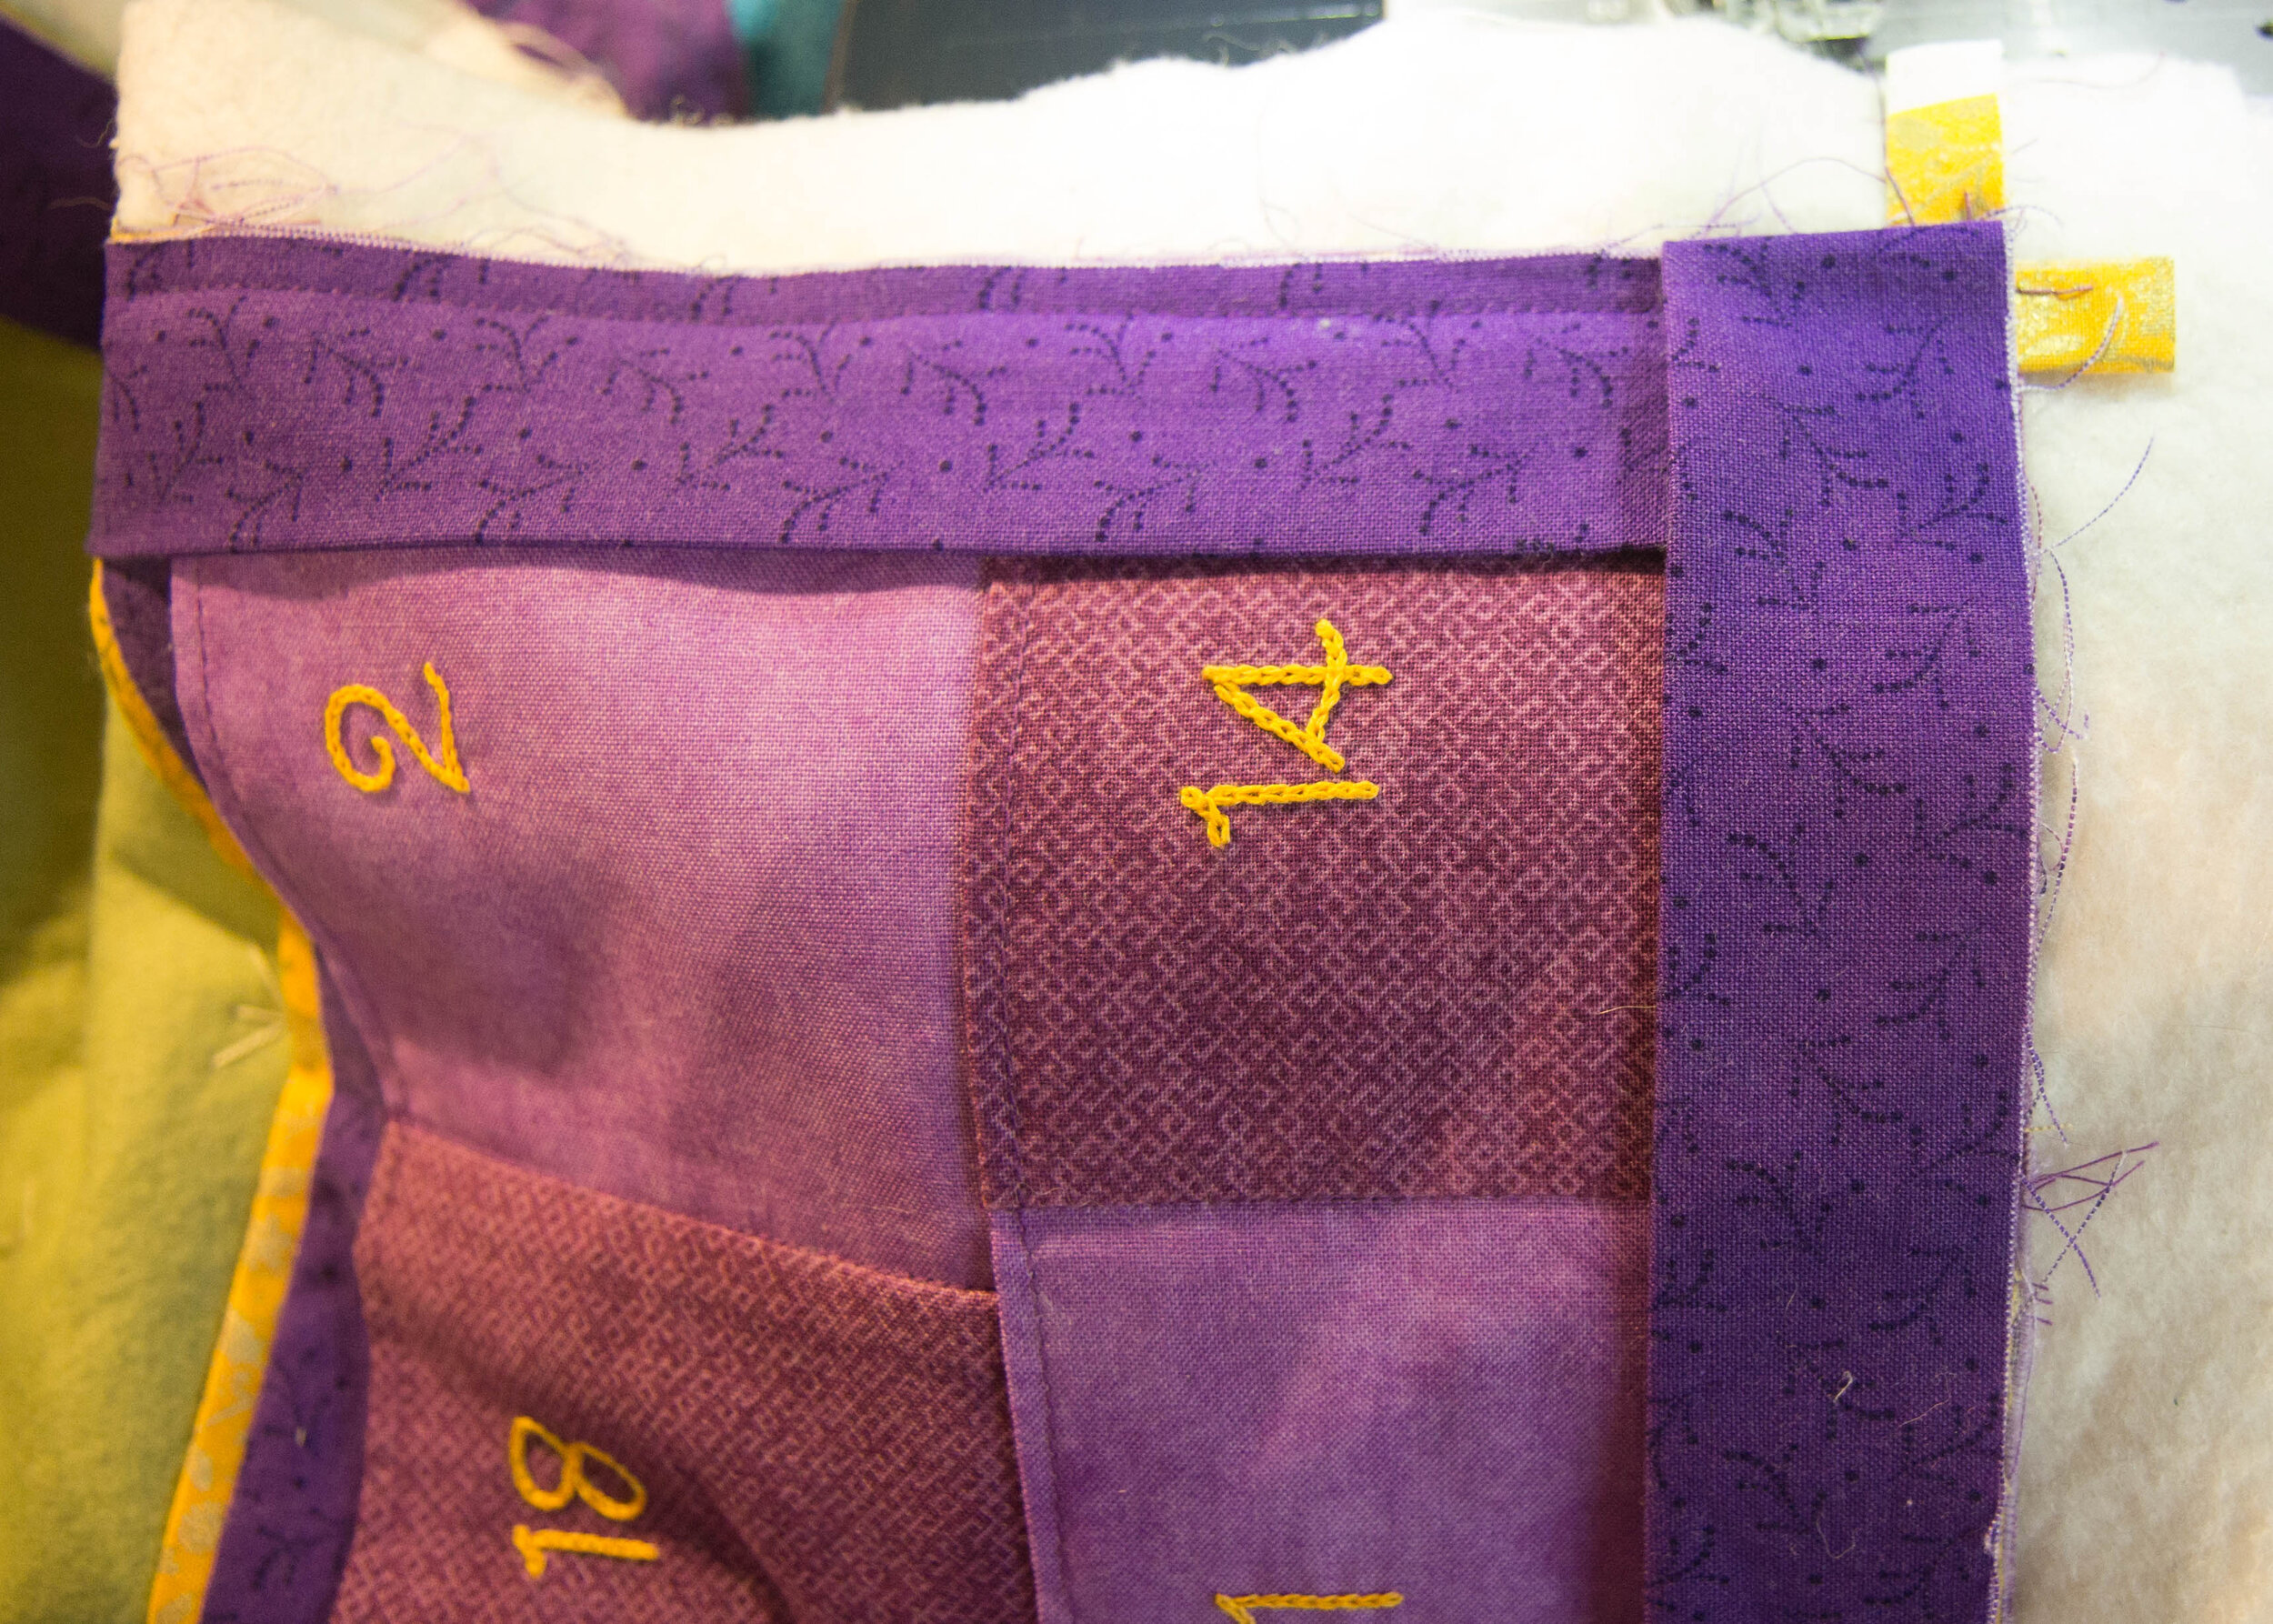
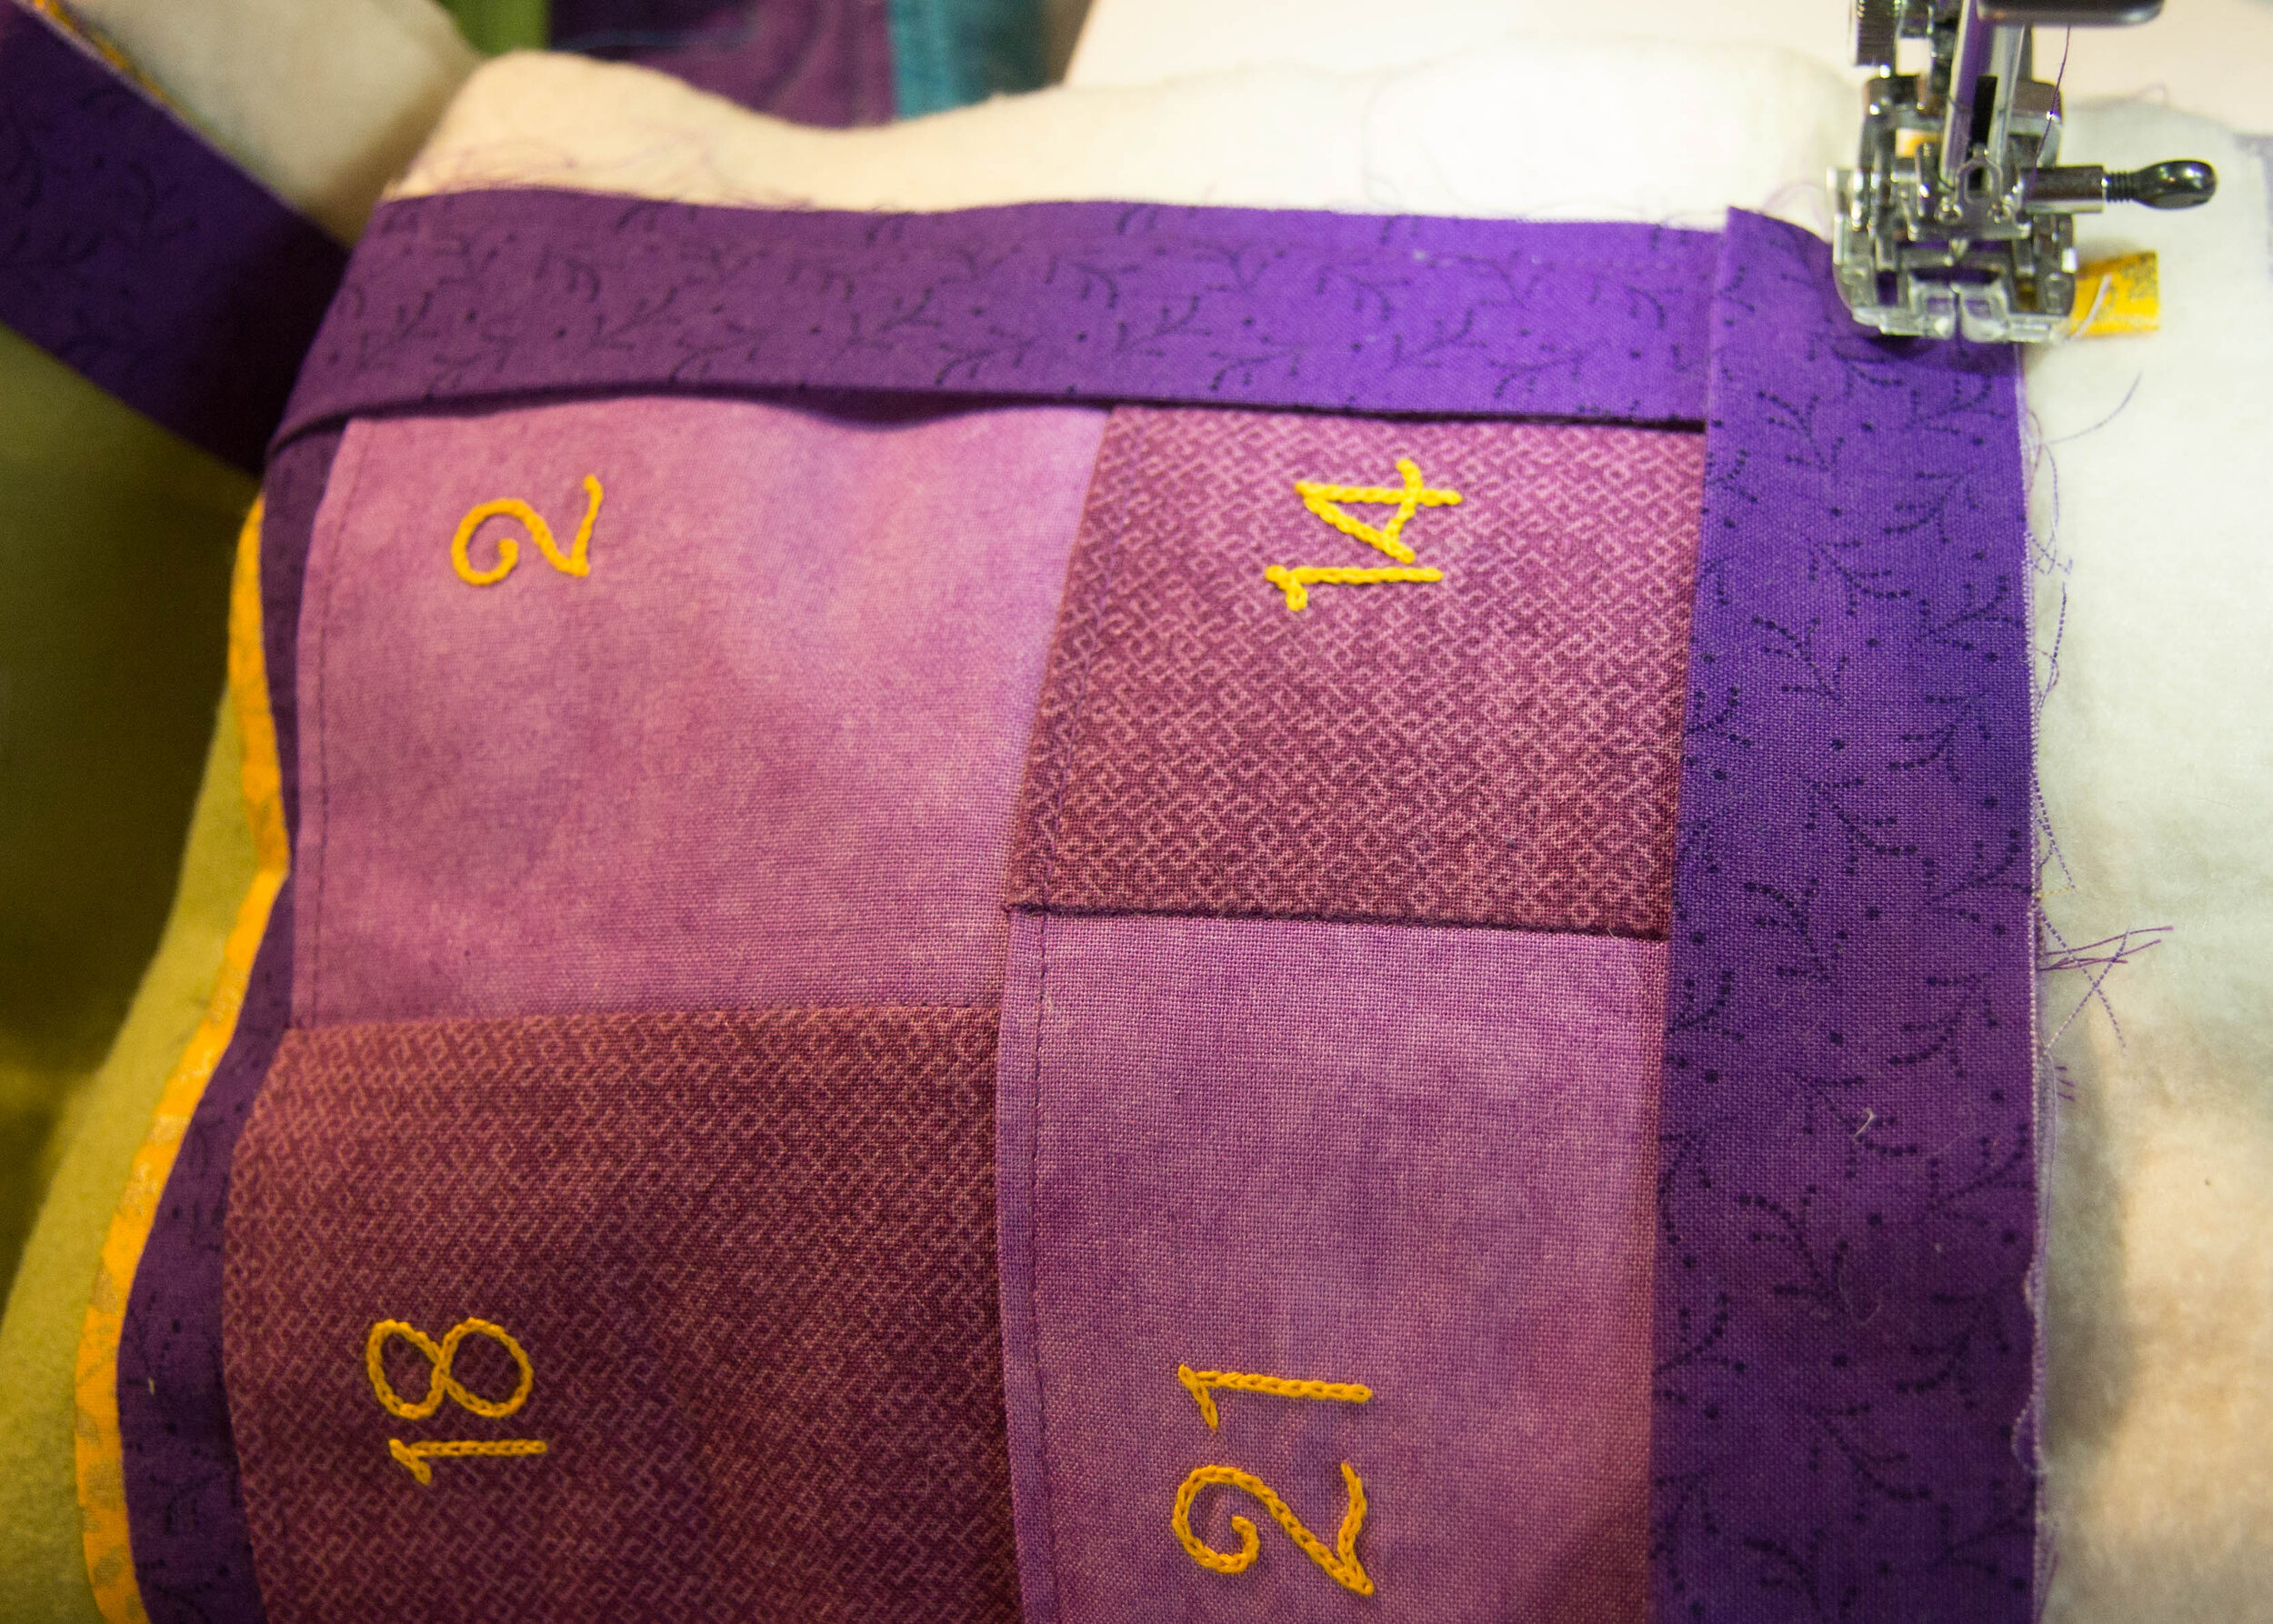
Starting 6 inches from one end of the binding and in the middle of one of the quilt sides, stitch the binding with a ¼ inch seam, lining up all the raw edges (Image 6). Stop and back stitch when you are ¼ inch from the first corner (Image 7).
Lift presser foot and pull quilt out from underneath it. Fold binding up at a right angle to how you were just stitching (Image 8).
Fold binding down on top of this first fold, ensuring the raw edges of the binding are now lined up with the raw edge of the next side (Image 9).
Start stitching again a ¼ inch from the end, making sure to secure your stitches (Image 10).
Repeat with remaining three corners as you come to them.
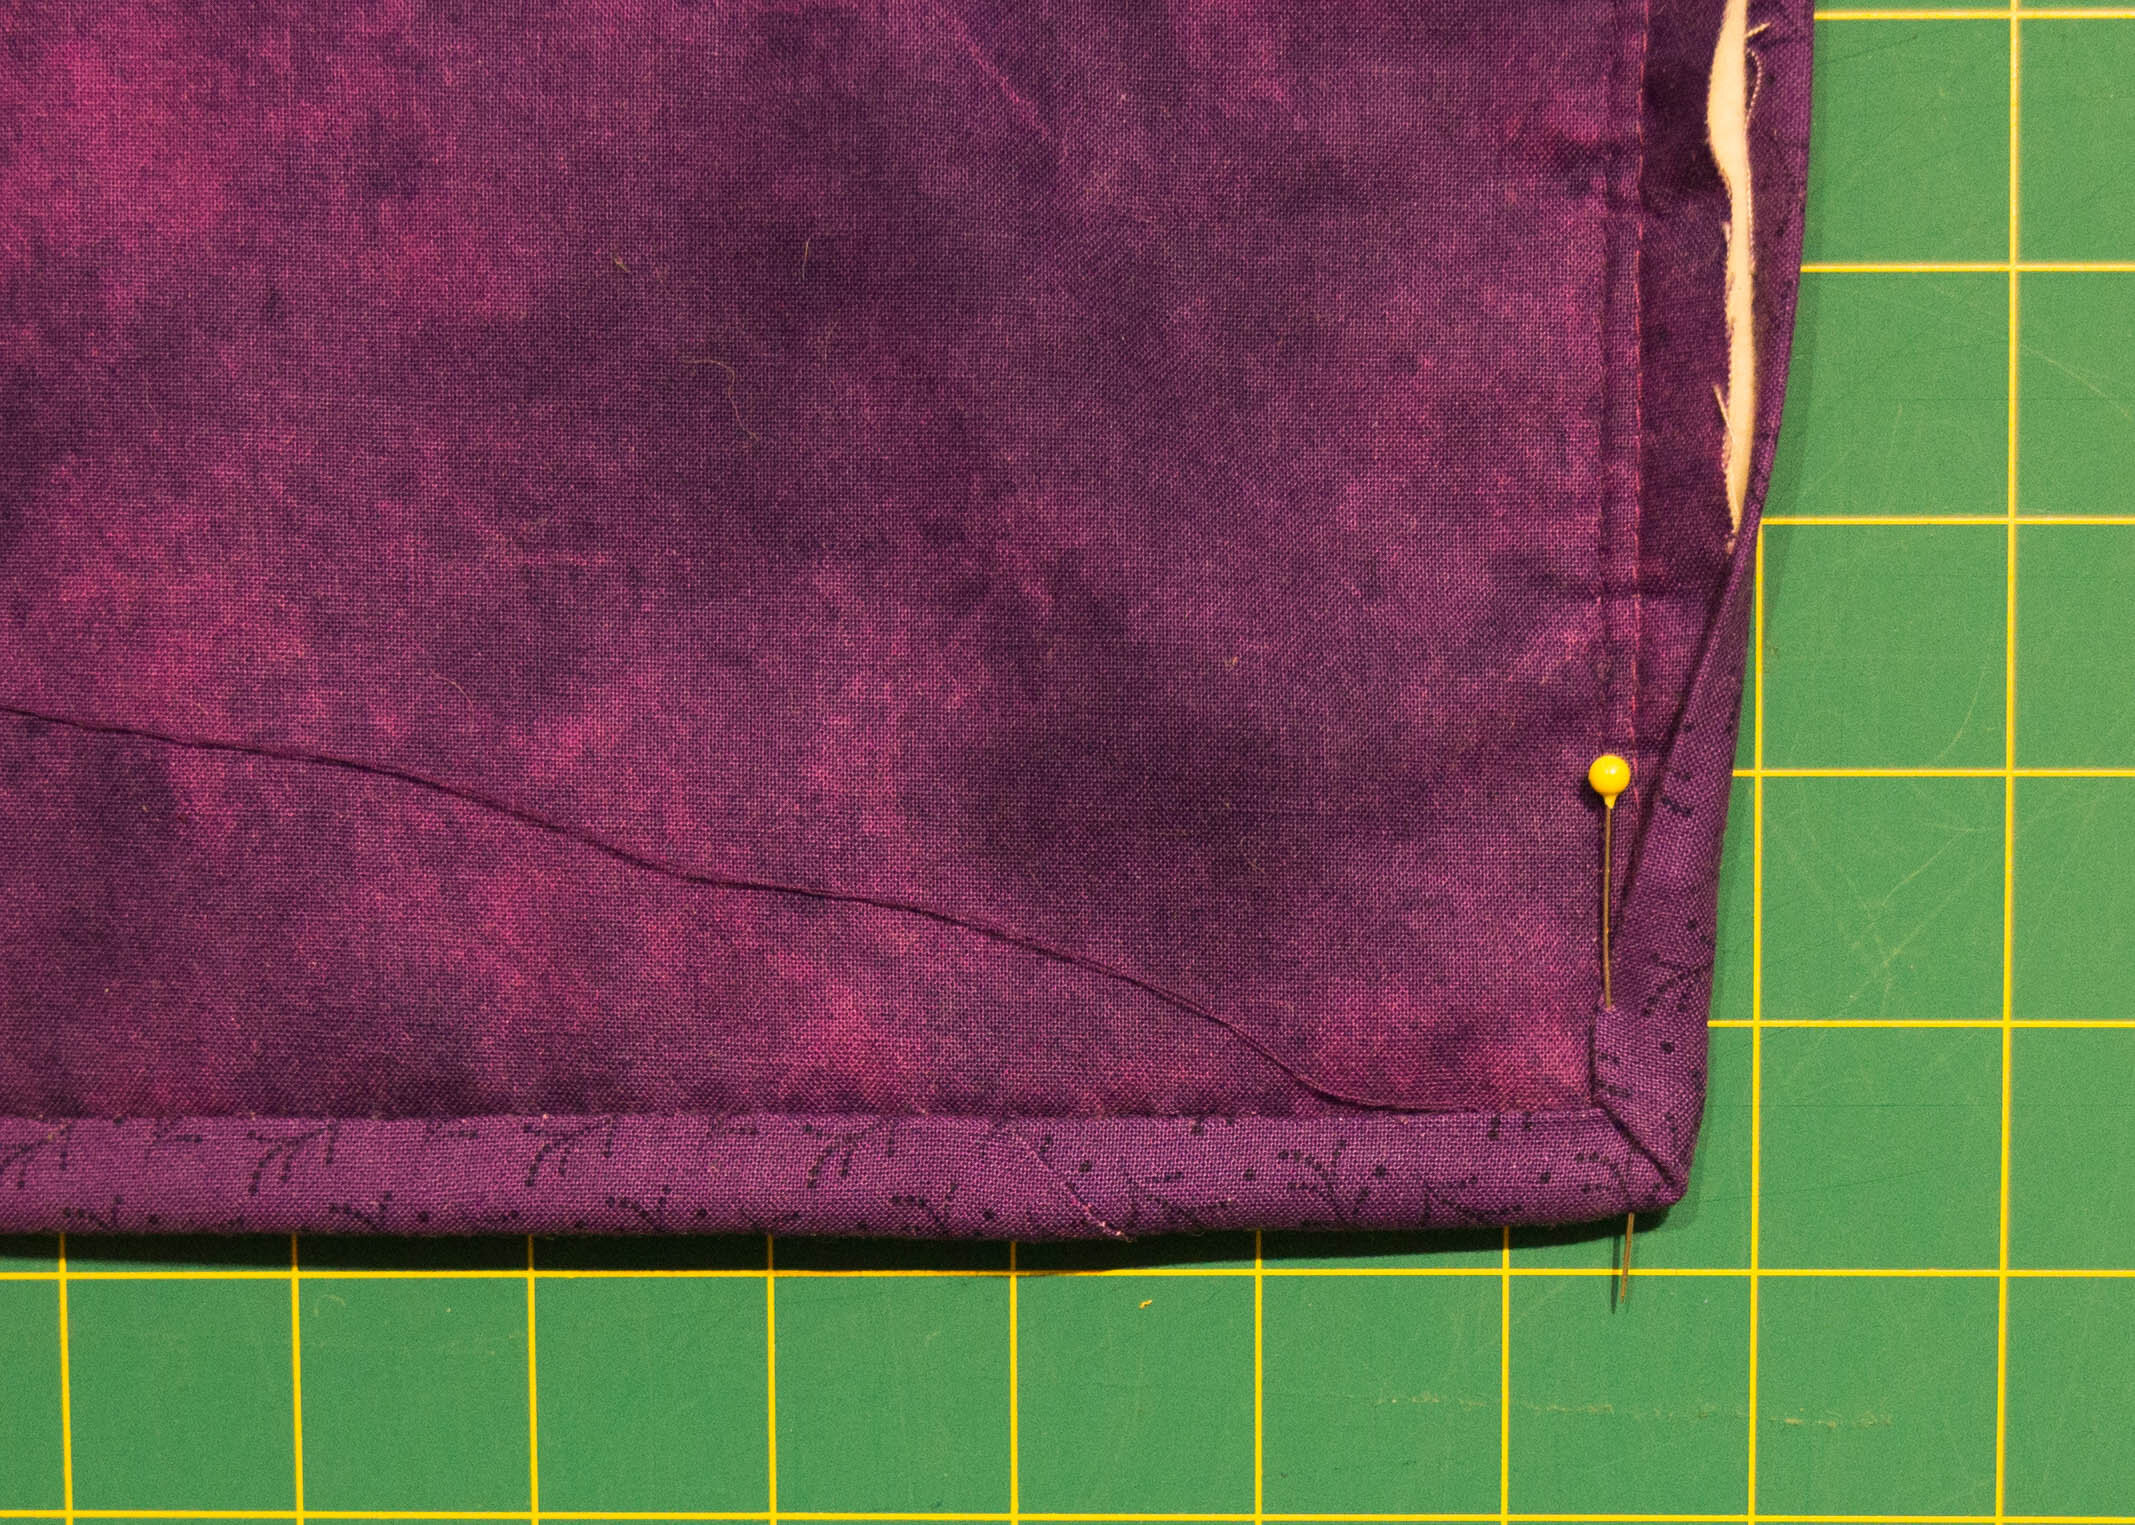
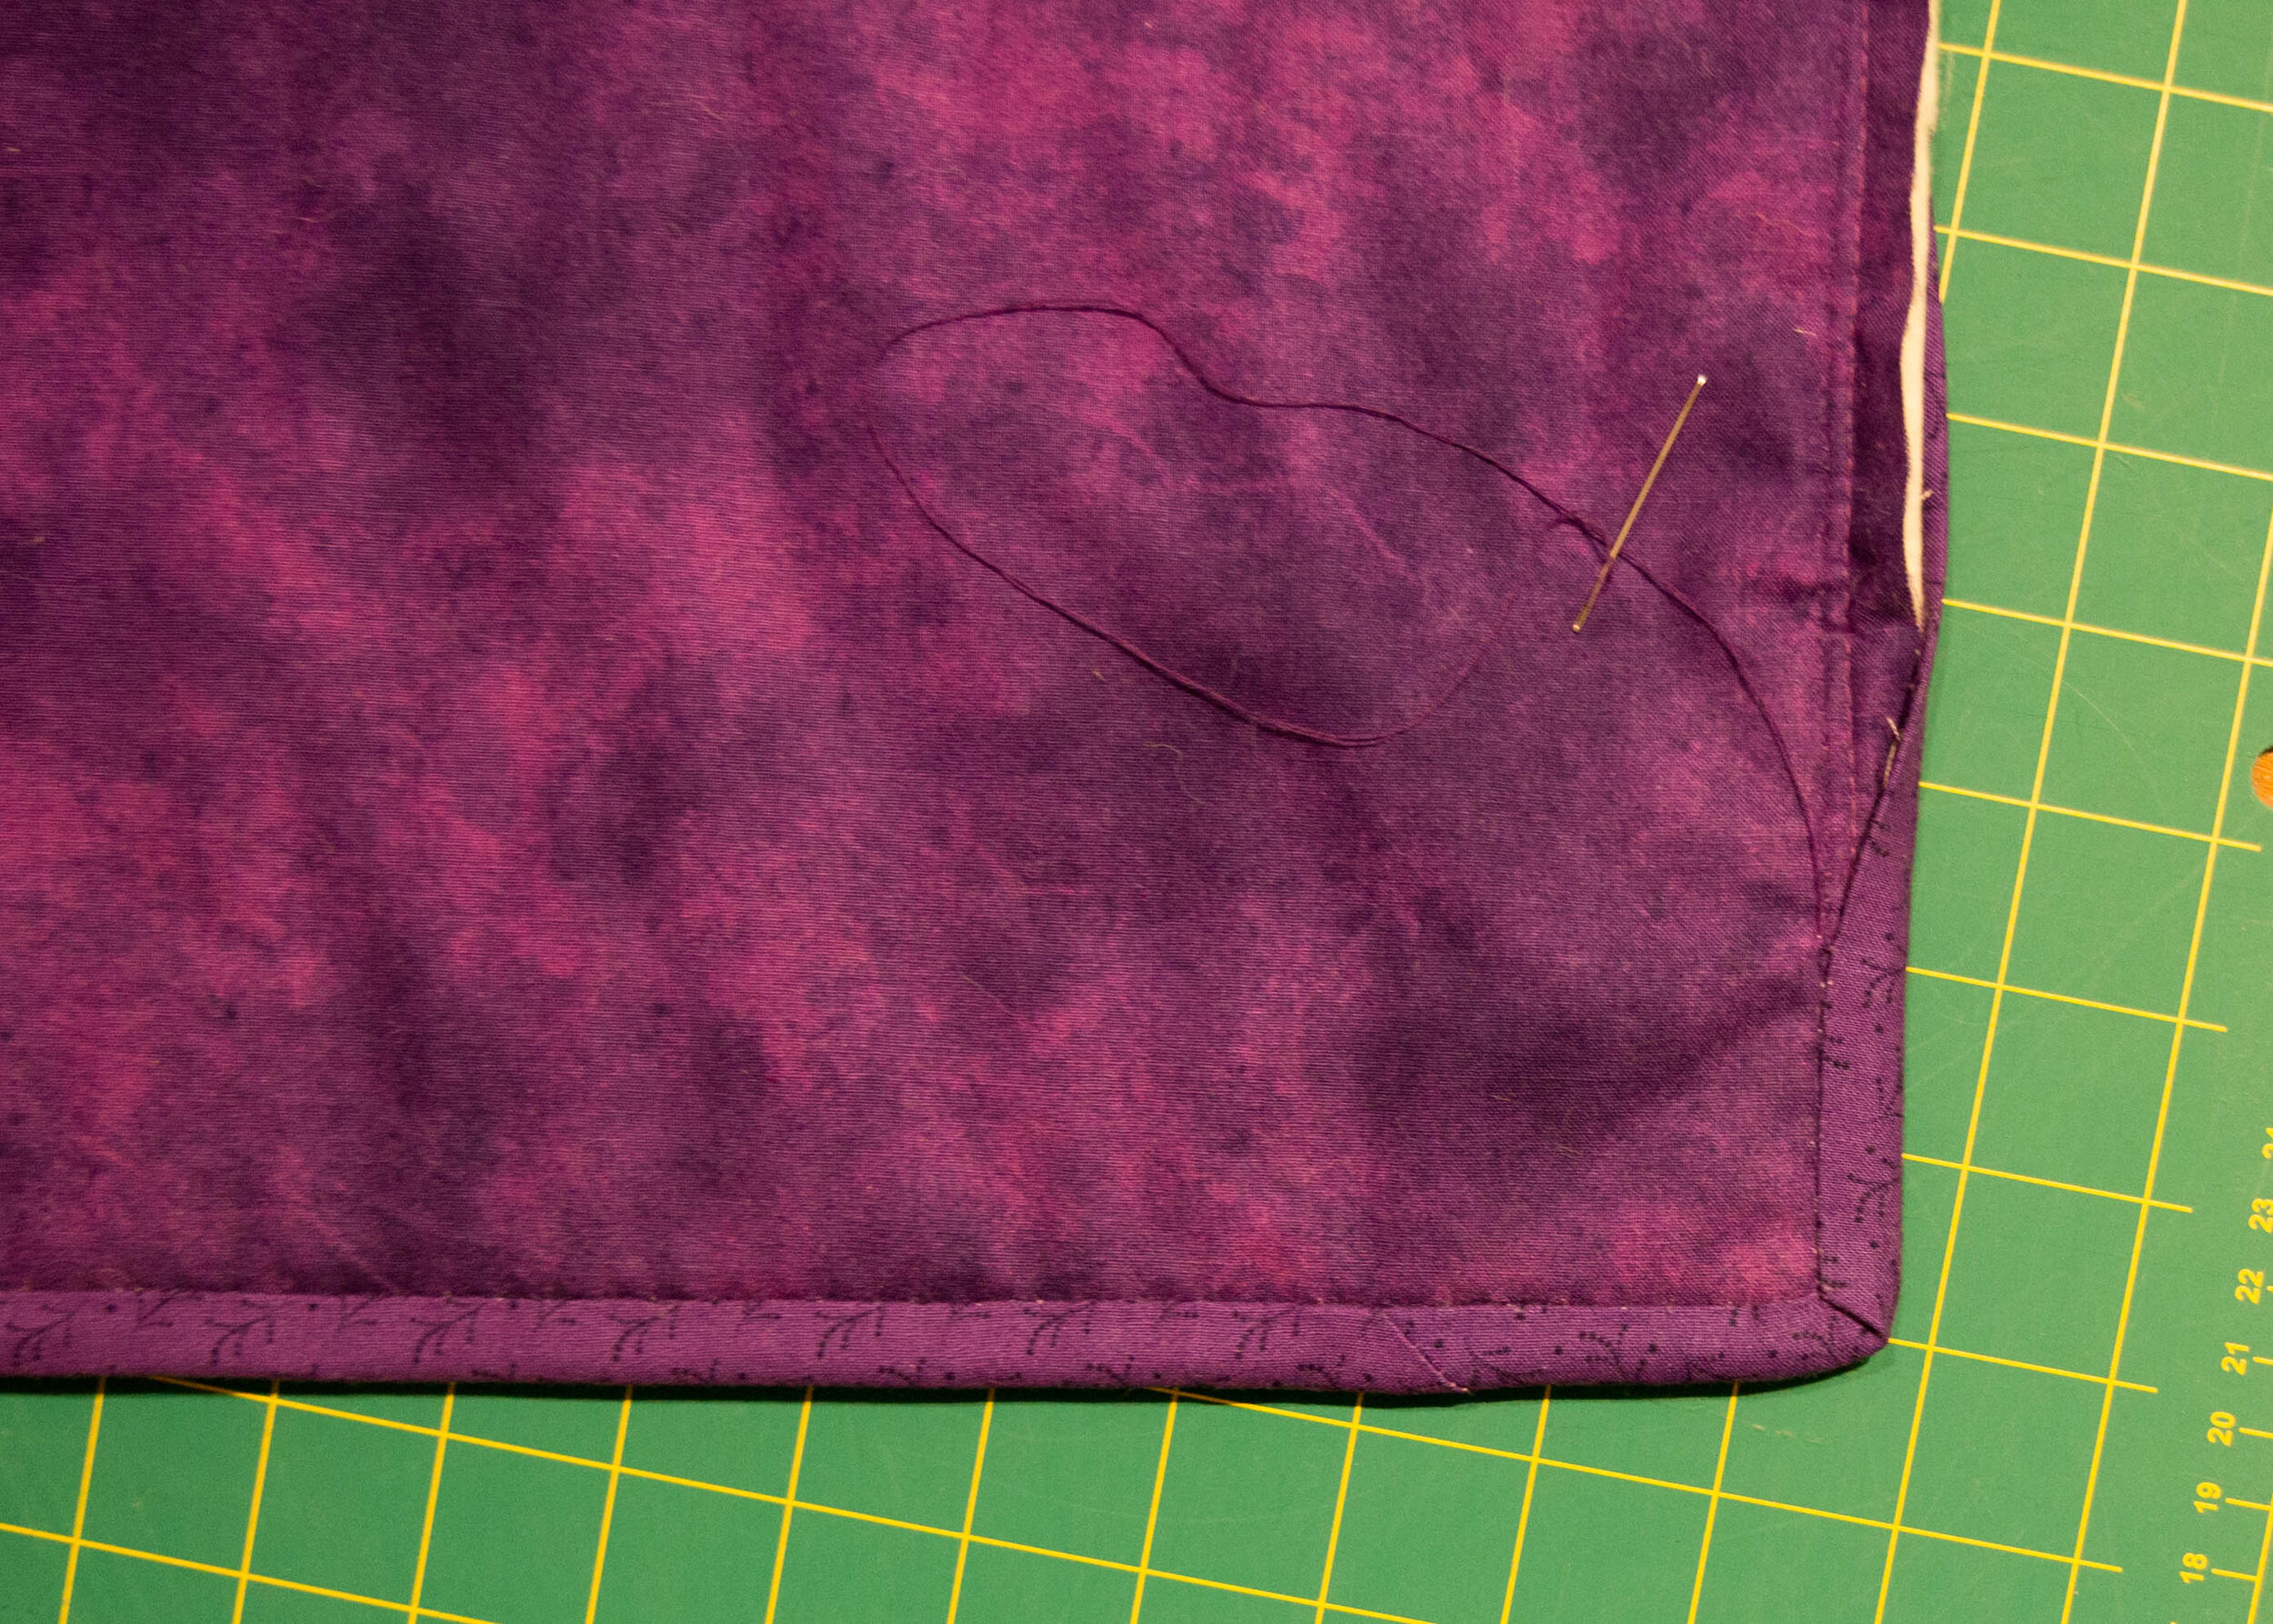
Stop and secure your stitches when you have about 8 inches left of the quilt edge (Image 11).

Step 4: Join the Ends
Trim your two binding ends so that they overlap by same amount your strip width was cut (Image 12). If you cut your strips 2¼ inches wide then the ends need to overlap by 2¼ inches. If you cut your strips 2½ inches wide you need to overlap by 2½ inches.
Cross the two ends over at right angles, just as previously when joining all the binding strips together (Image 13).
Join the two ends in the same manner you joined the binding strips at the start.
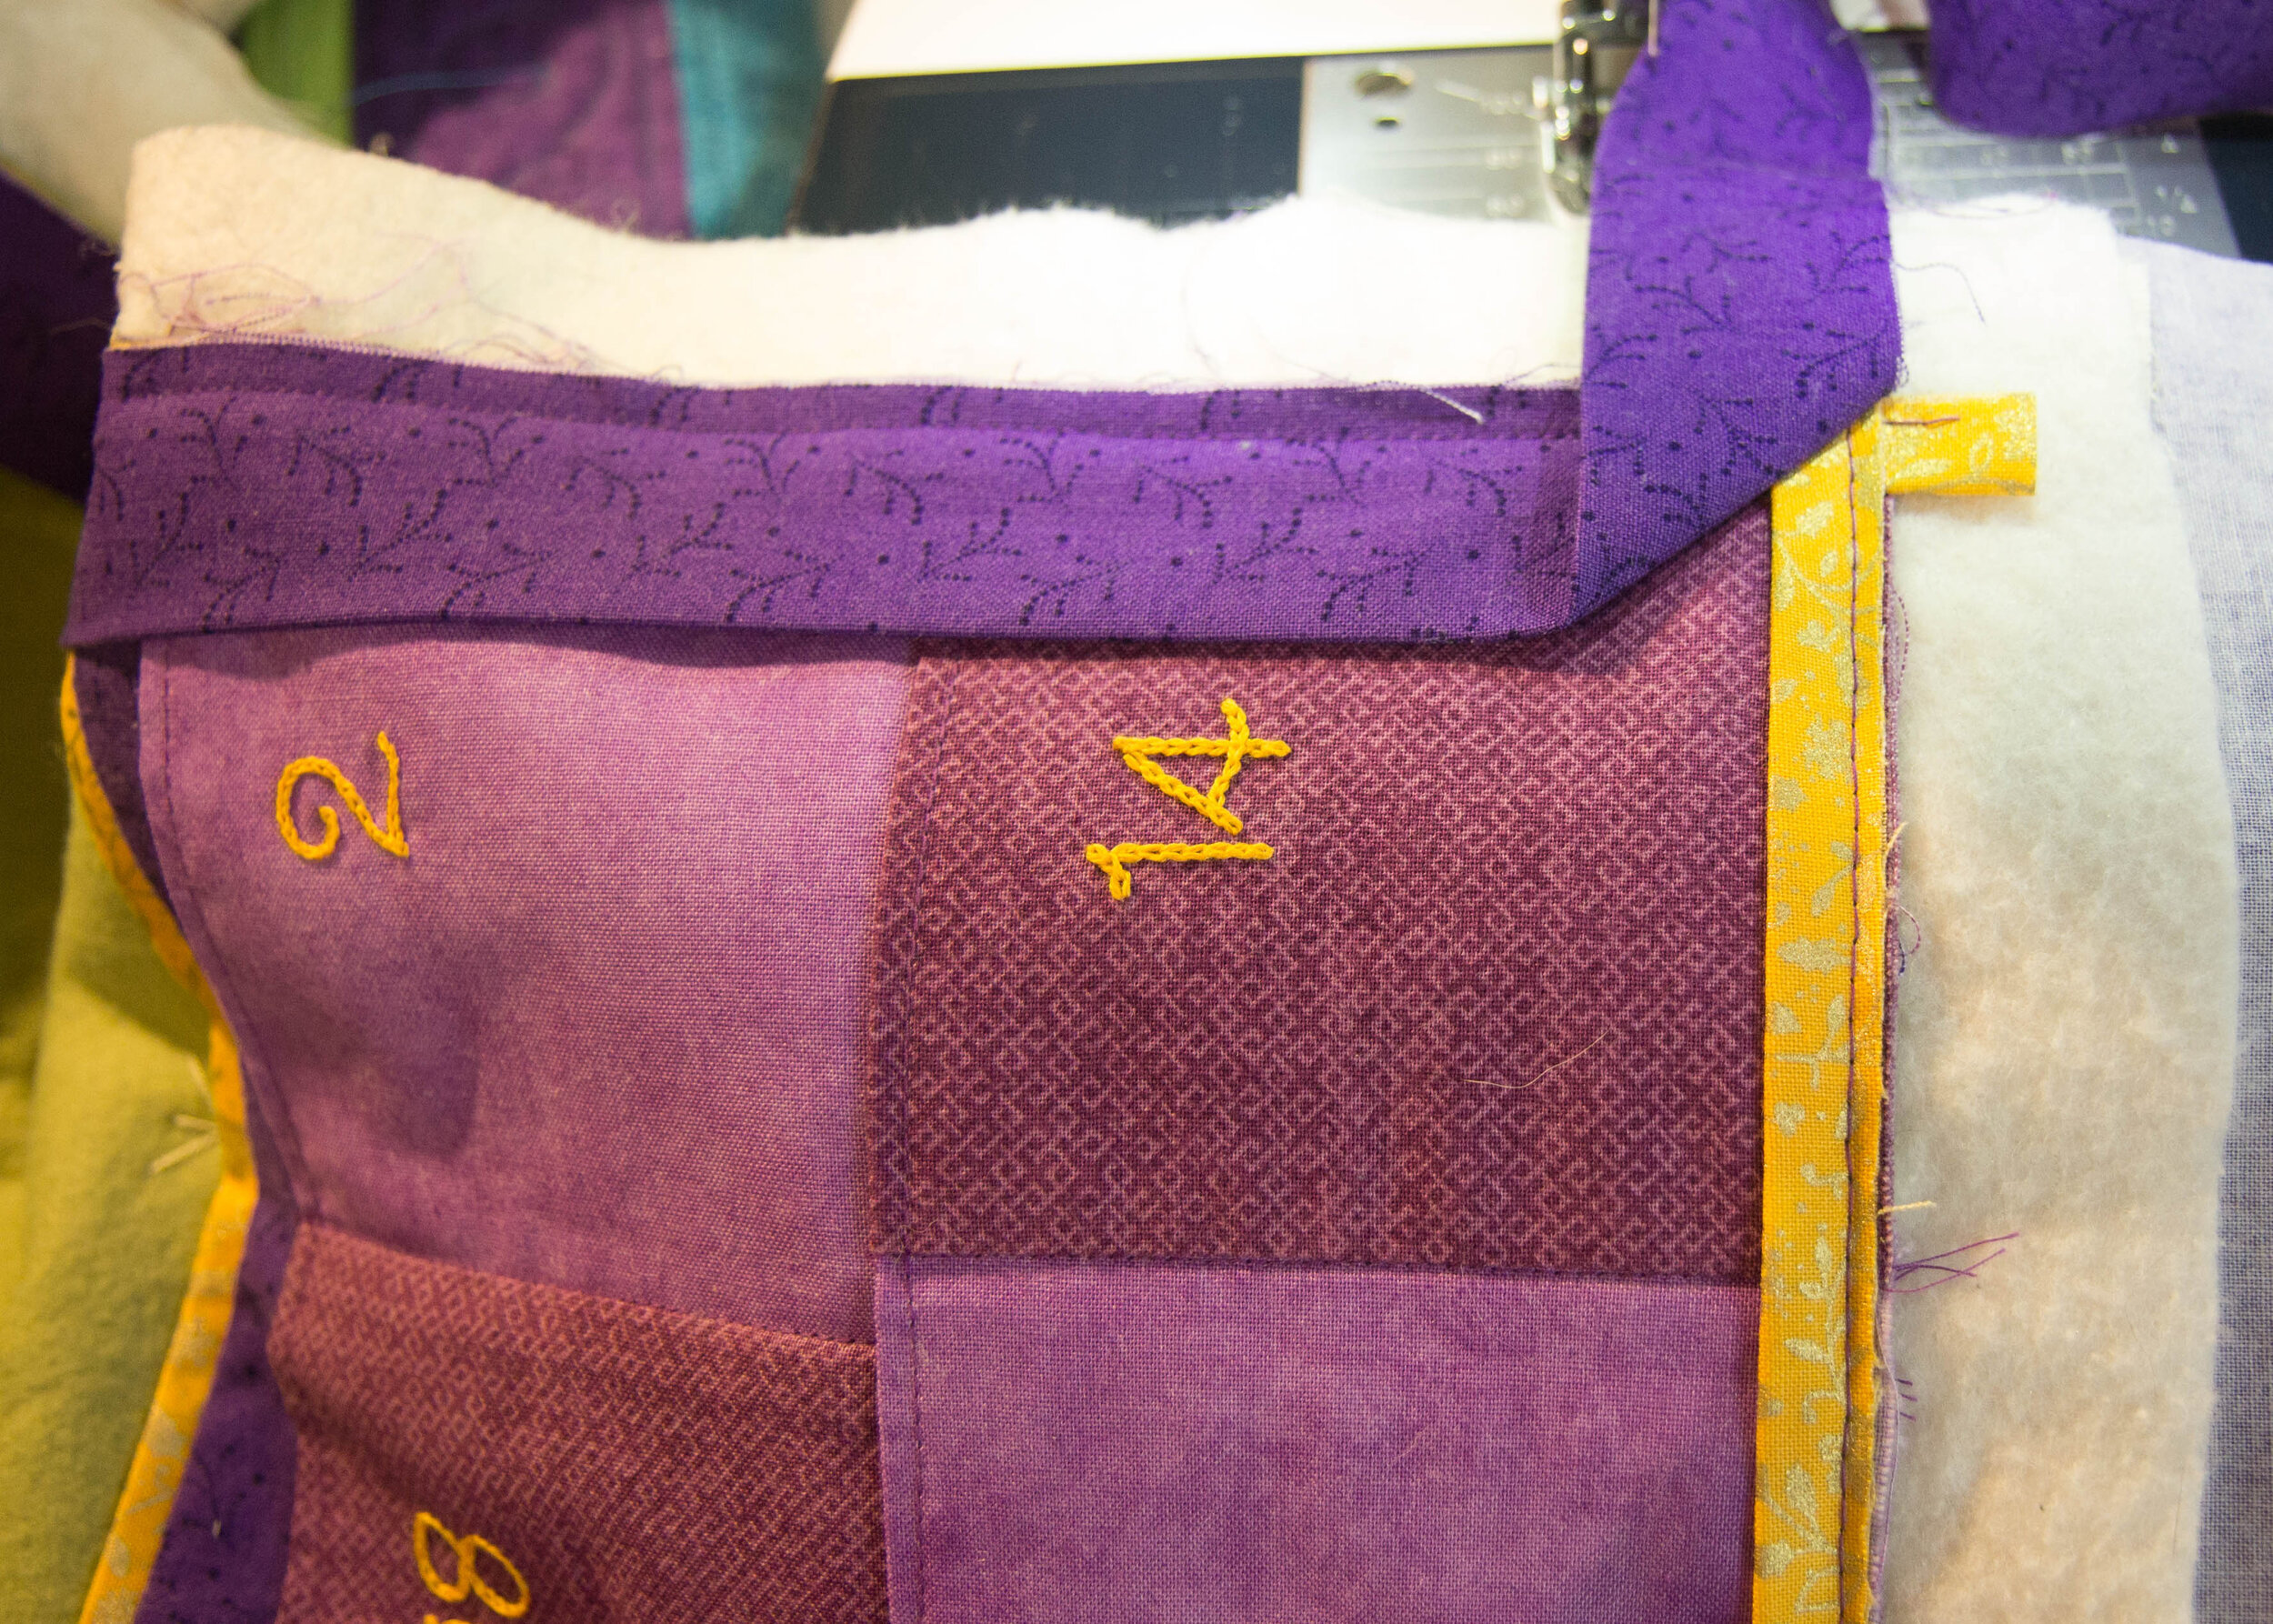
Stitch diagonally from corner to corner (Image 14), trim off excess fabric (Image 15), press to one side (Image 16).
Stitch down this last section of binding.

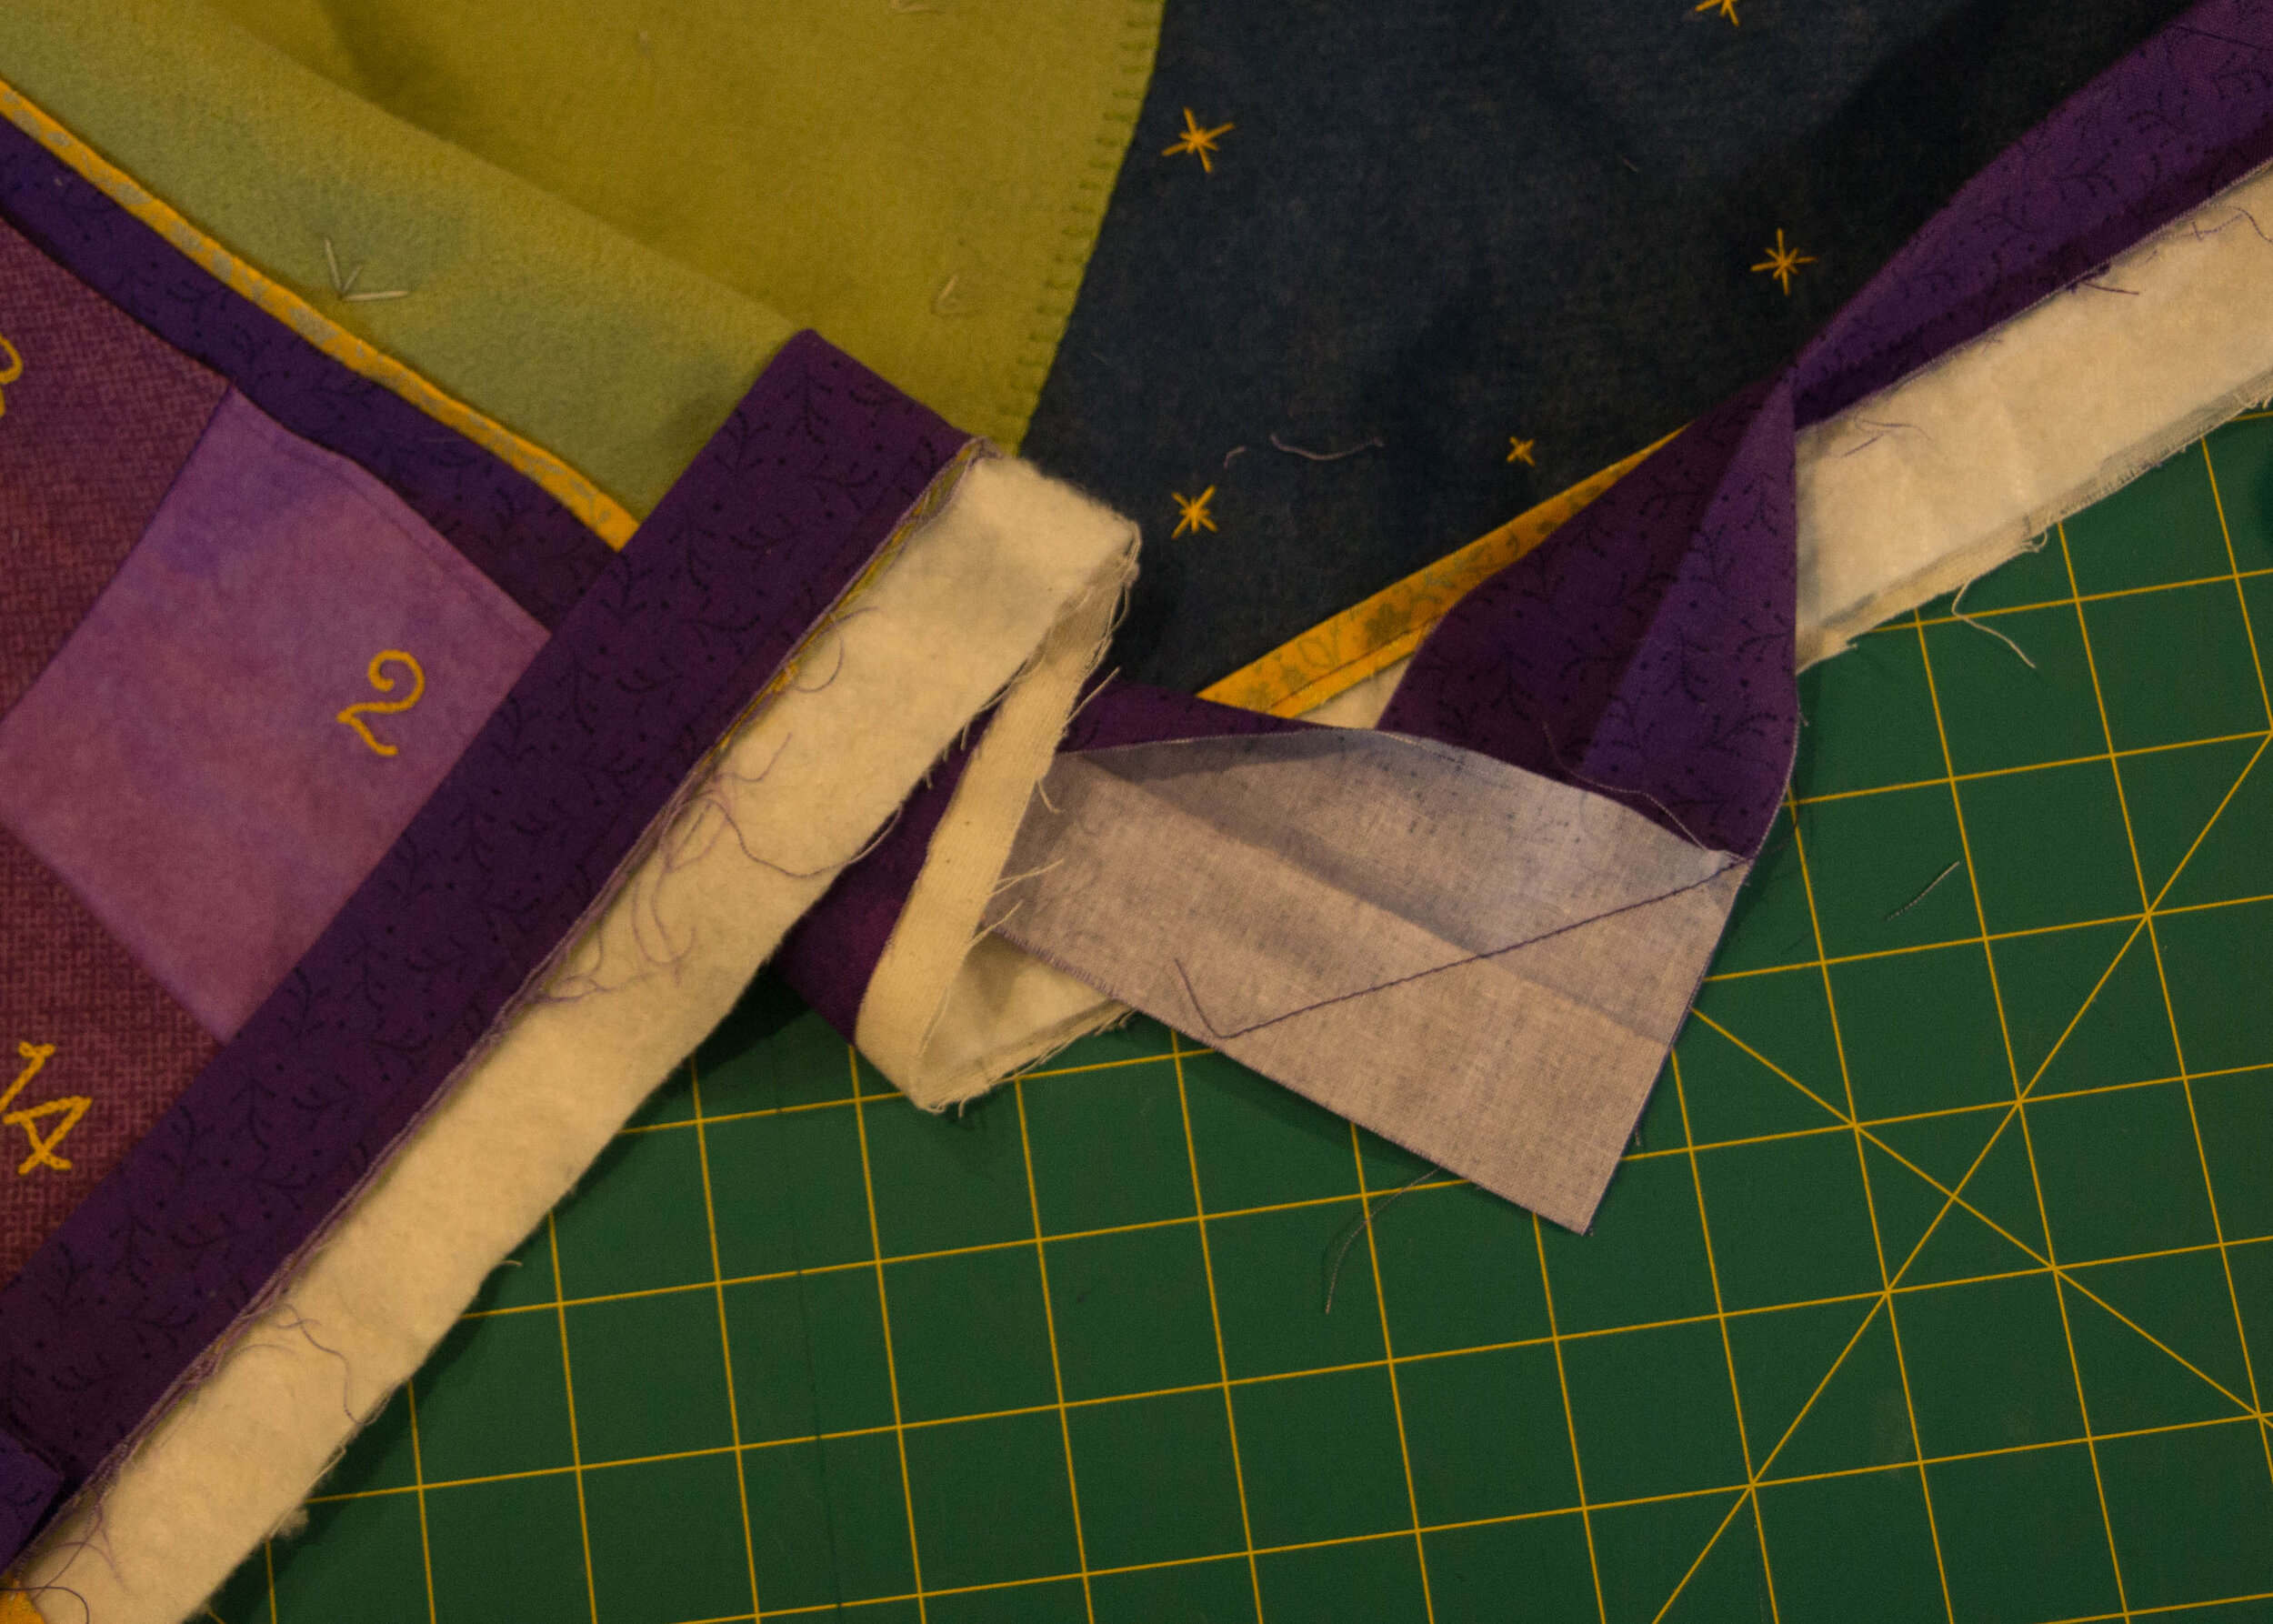
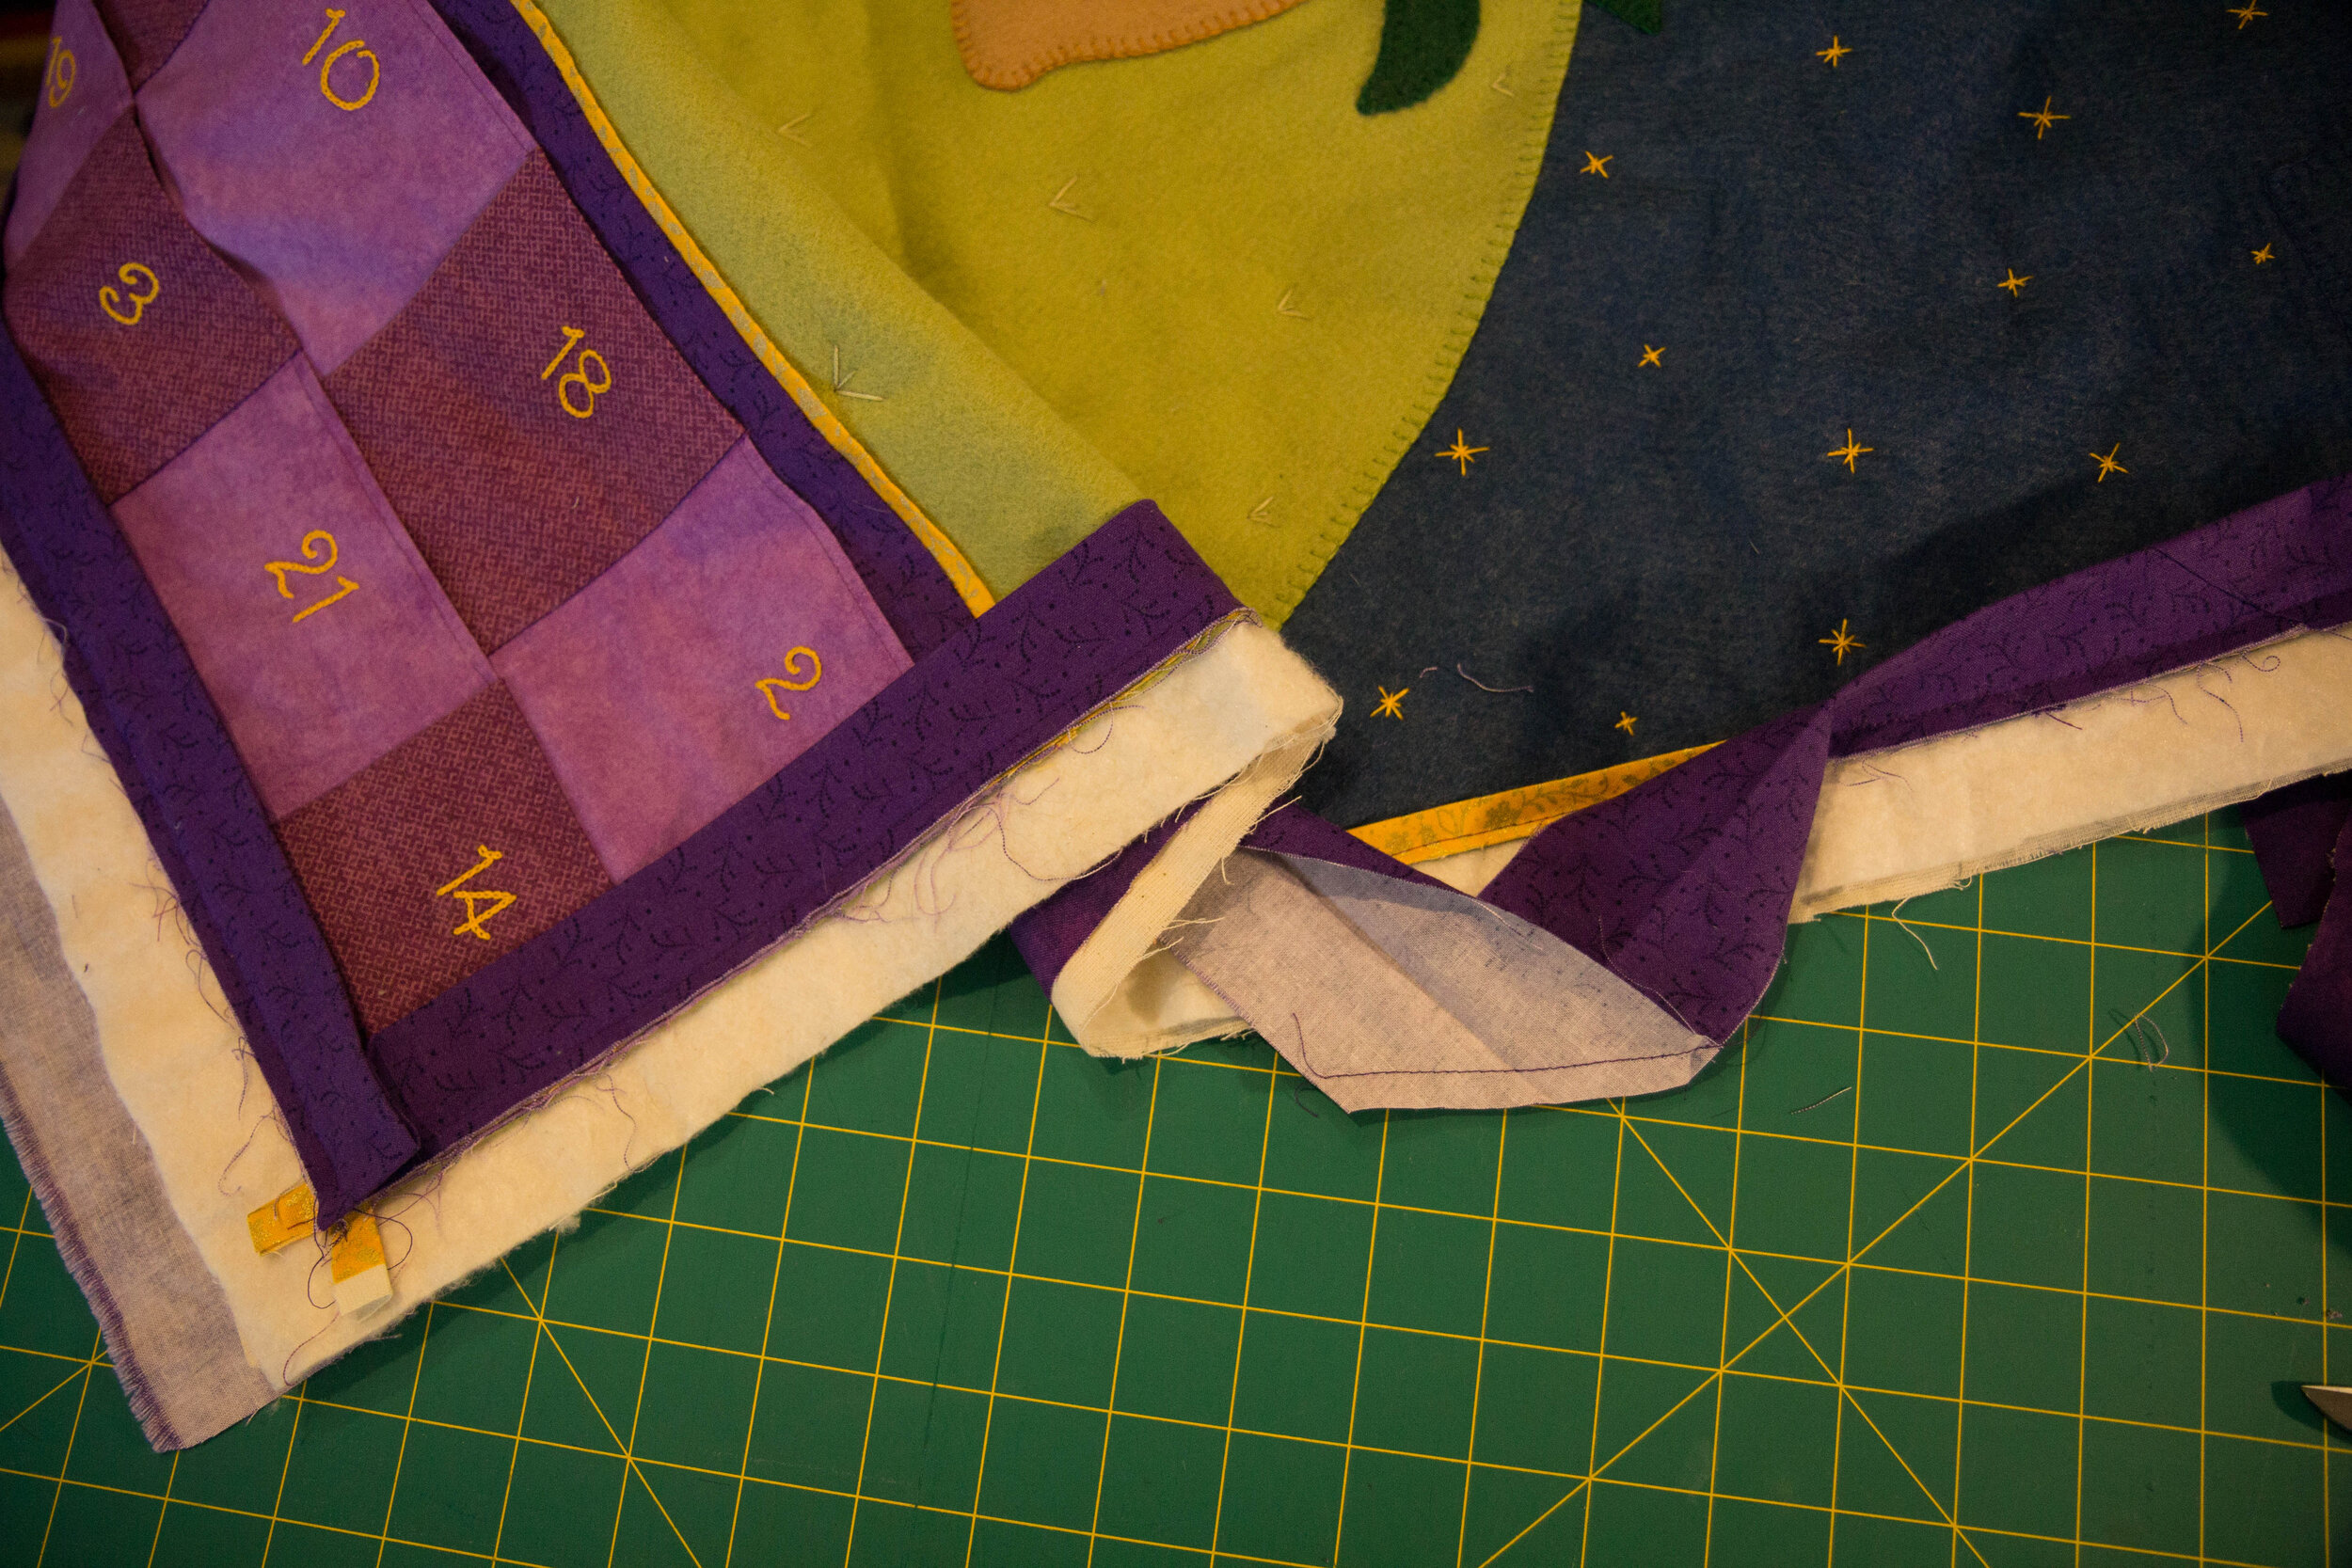
Step 5: Hand-Sew to Back
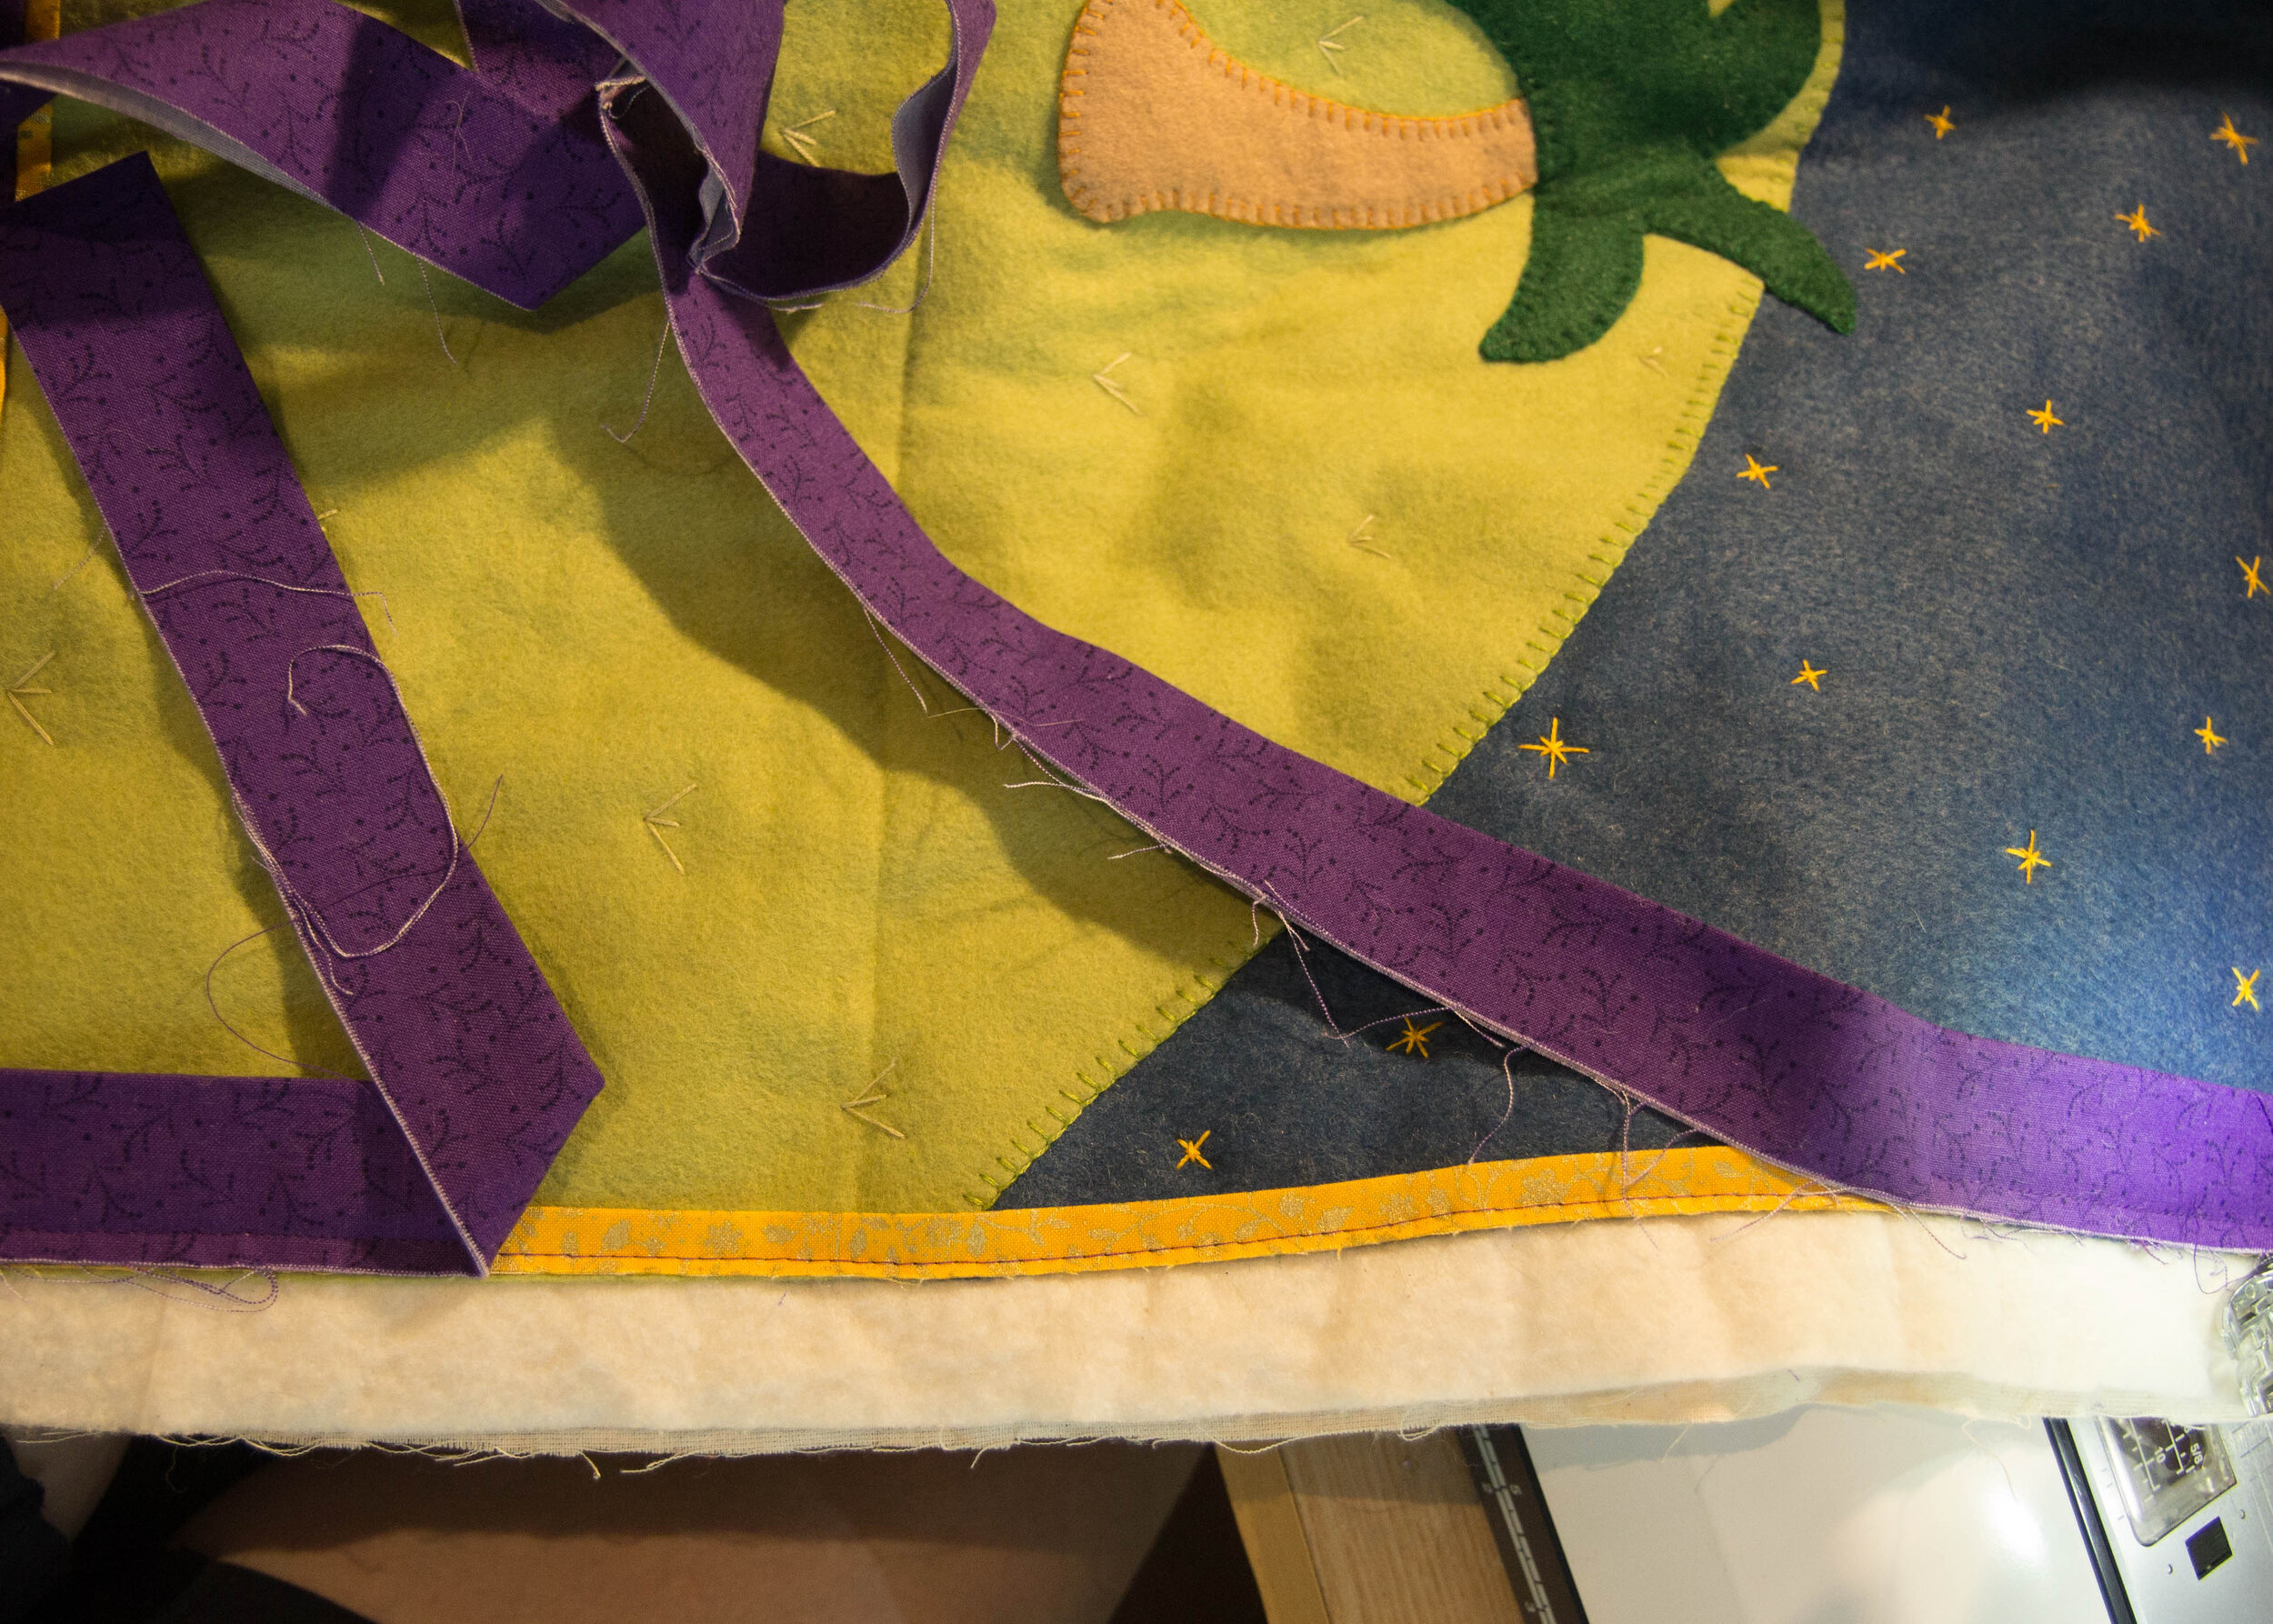
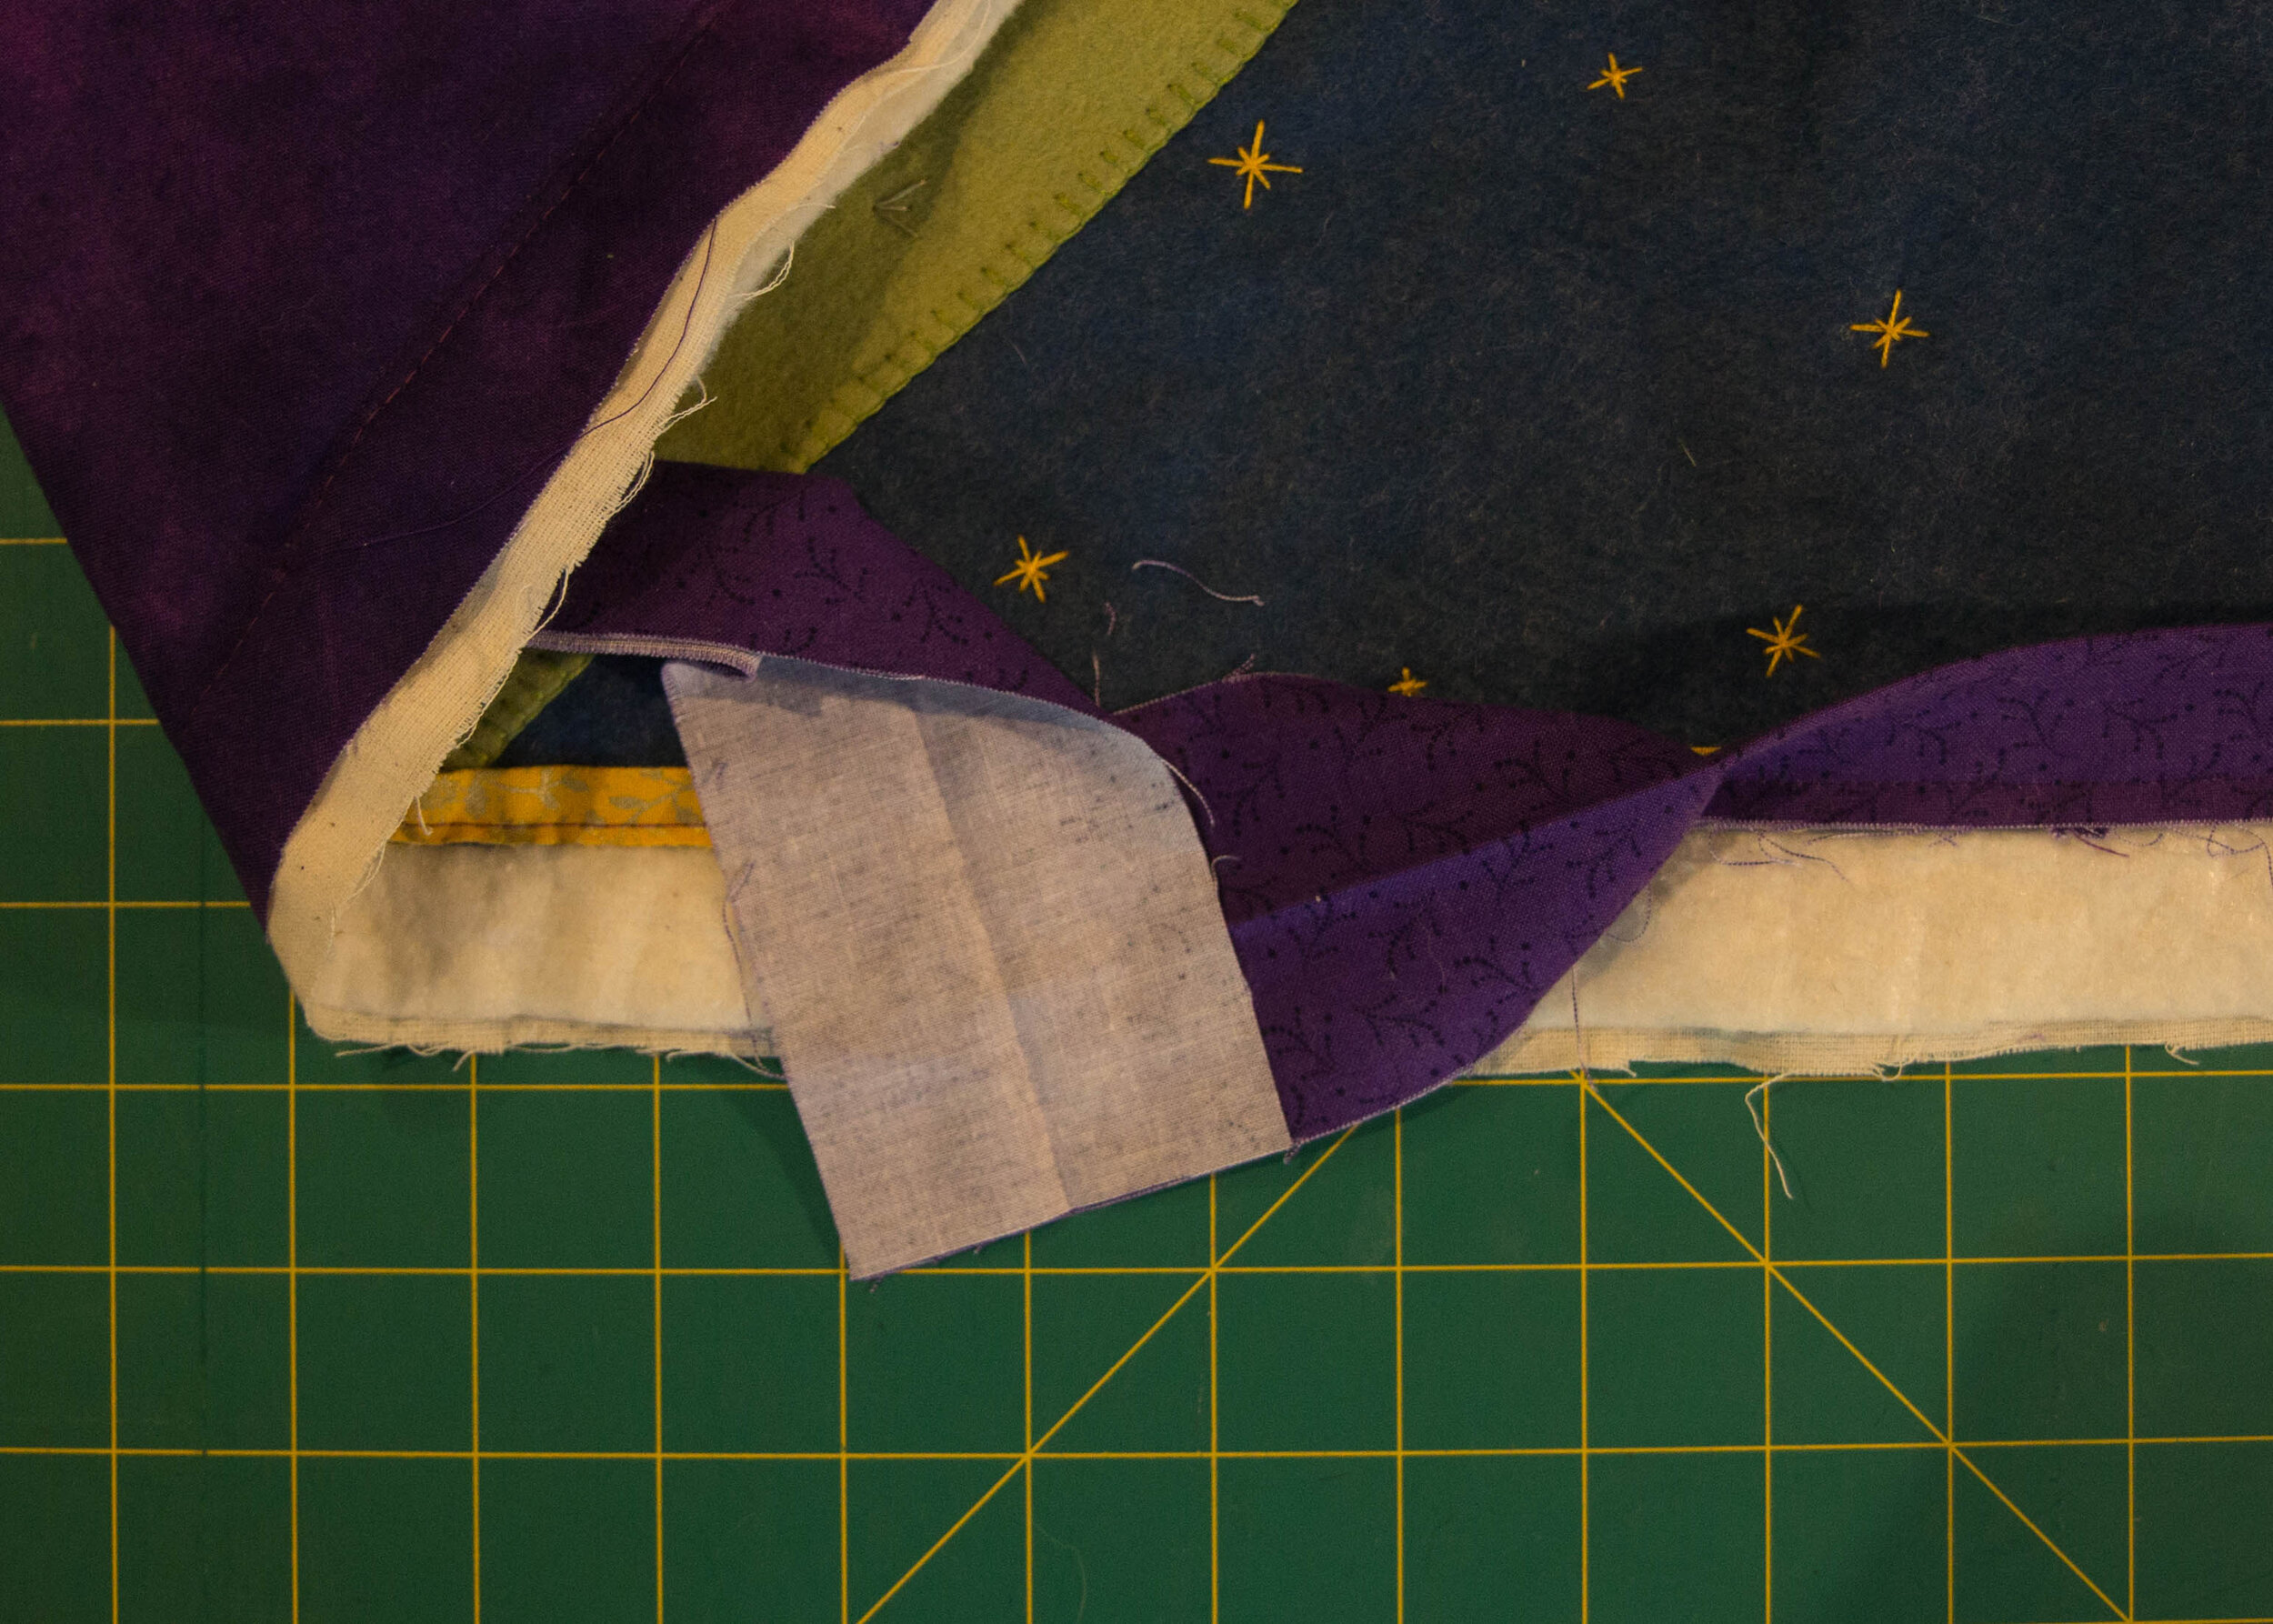
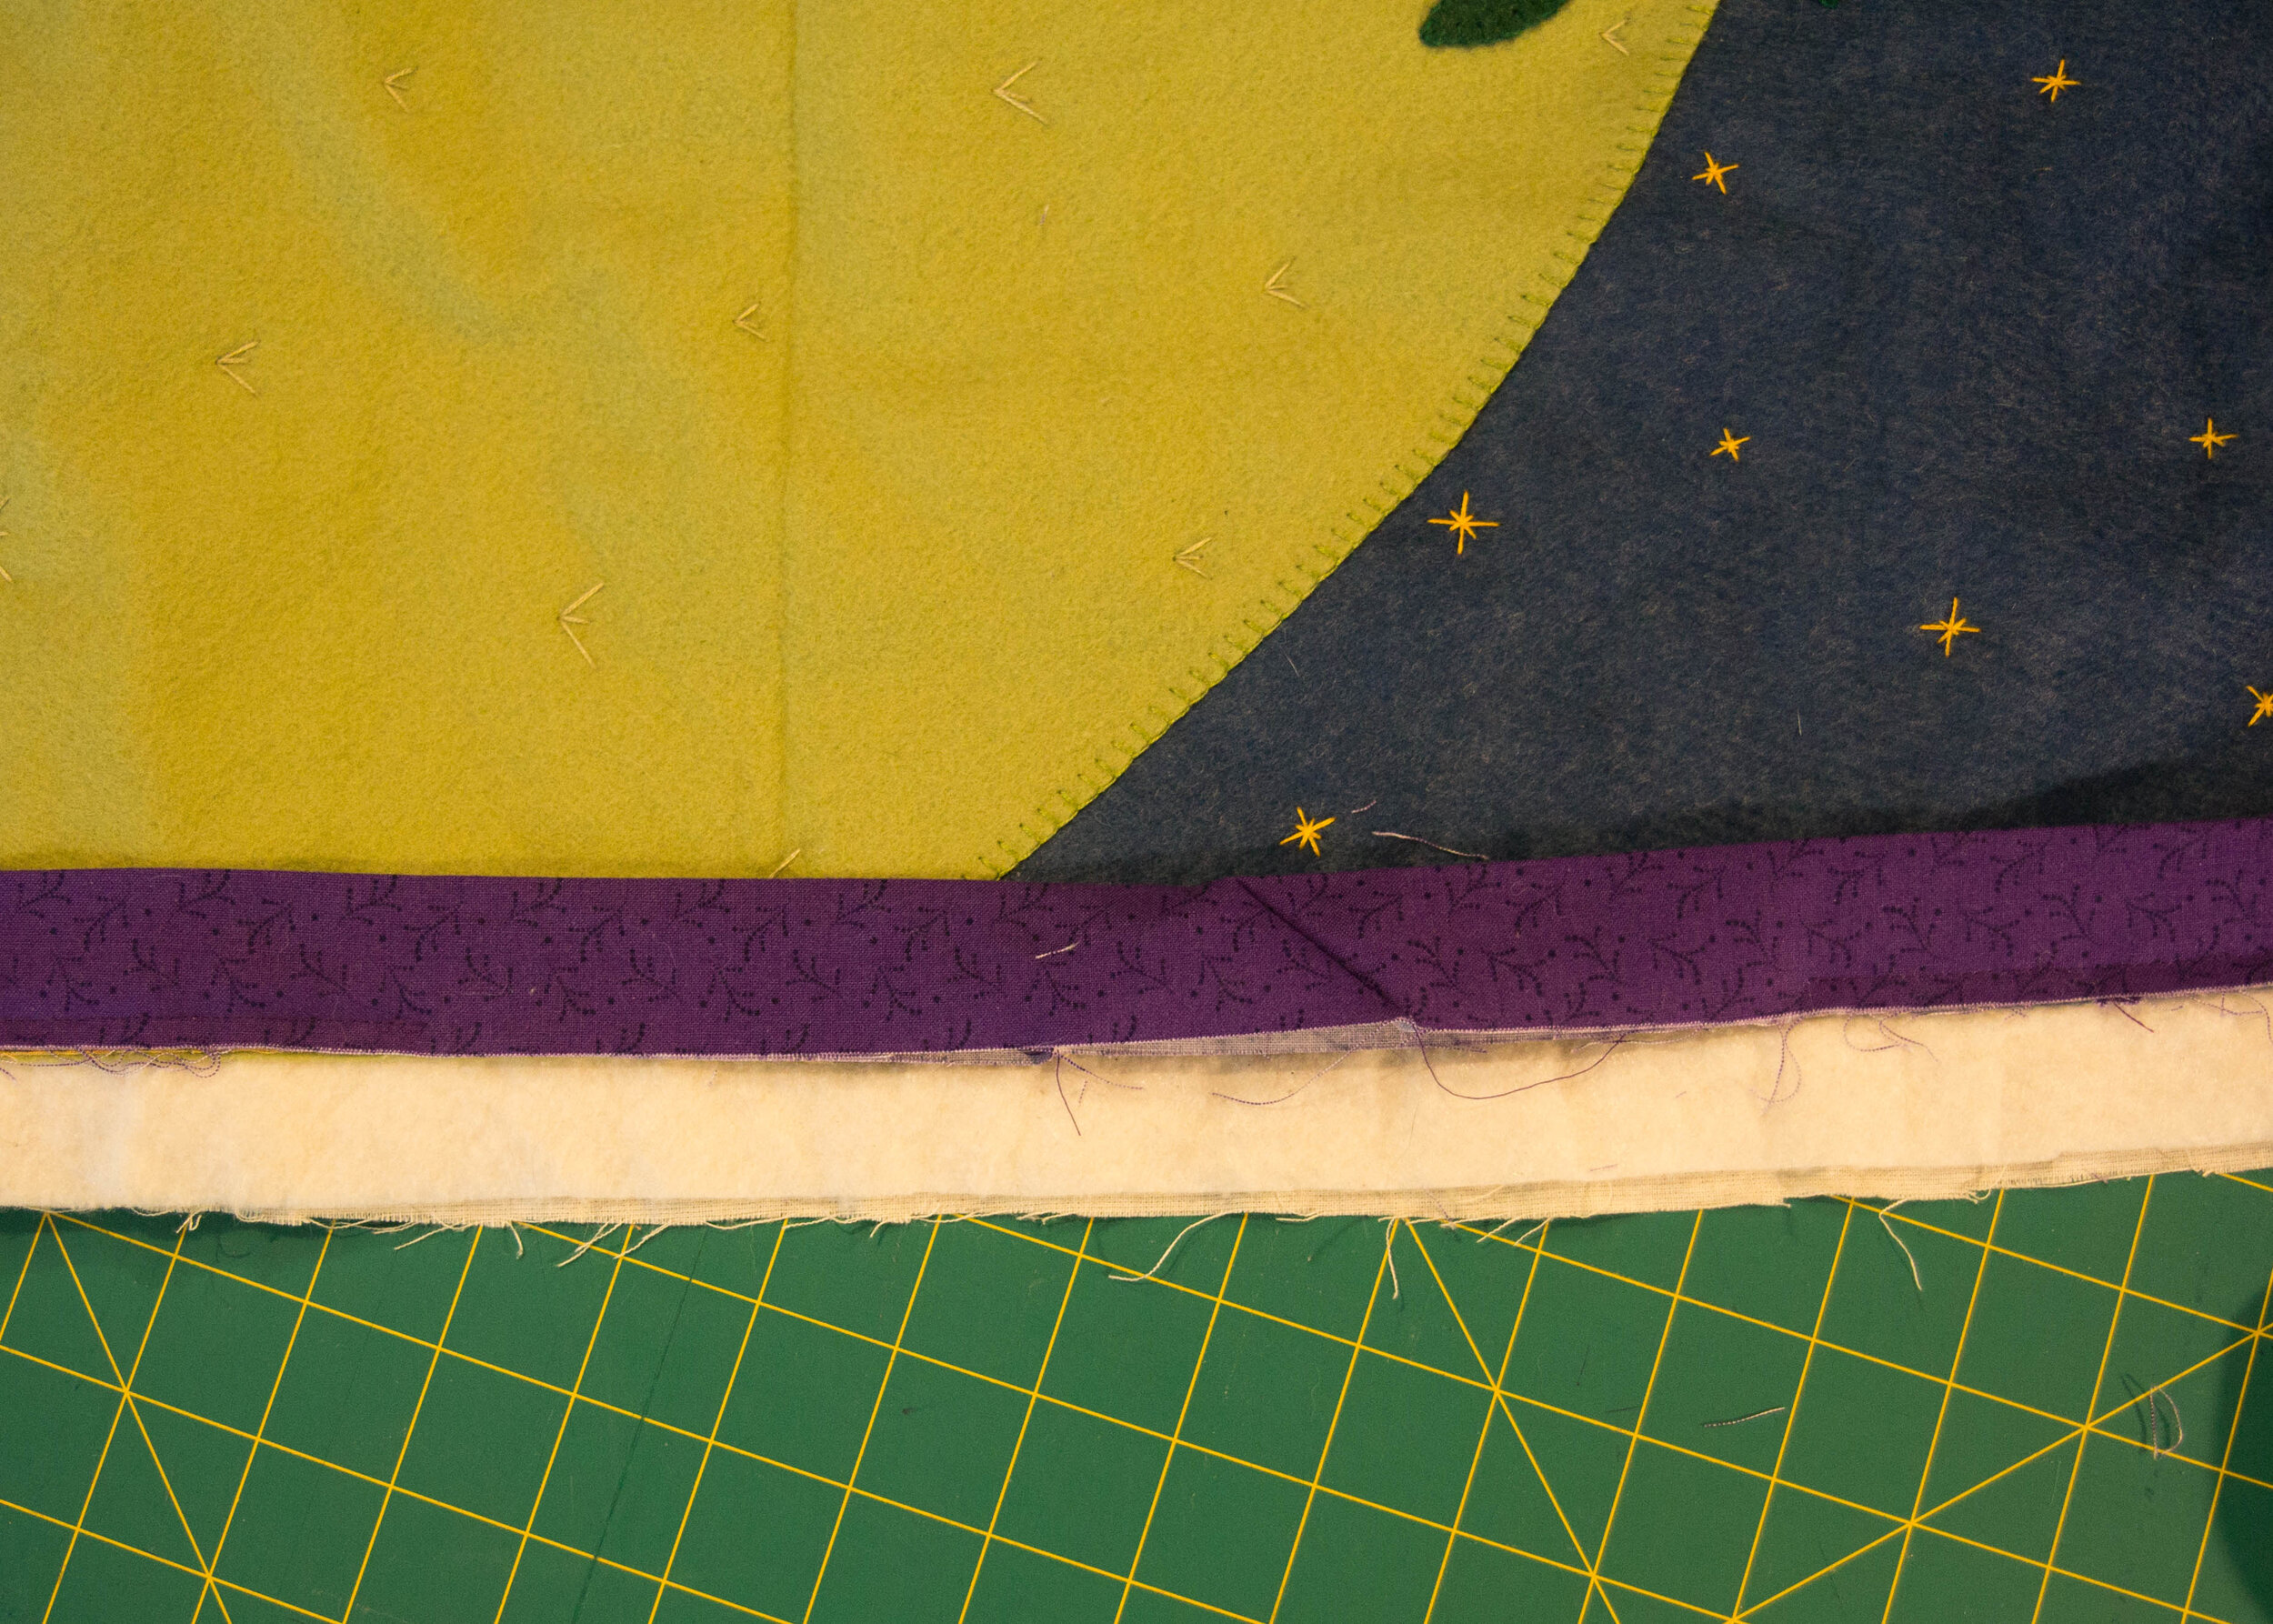
Trim excess backing, and batting in line with top and binding edges or a little further out, depending on how tightly you want to fold your binding over (Image 17).
Fold binding round to the back of the project and stitch down by hand with a slip stitch (Image 18).
When you get close to a corner, stop and fold the next side up neatly to form a mitred corner, then continue stitching (Image 19).
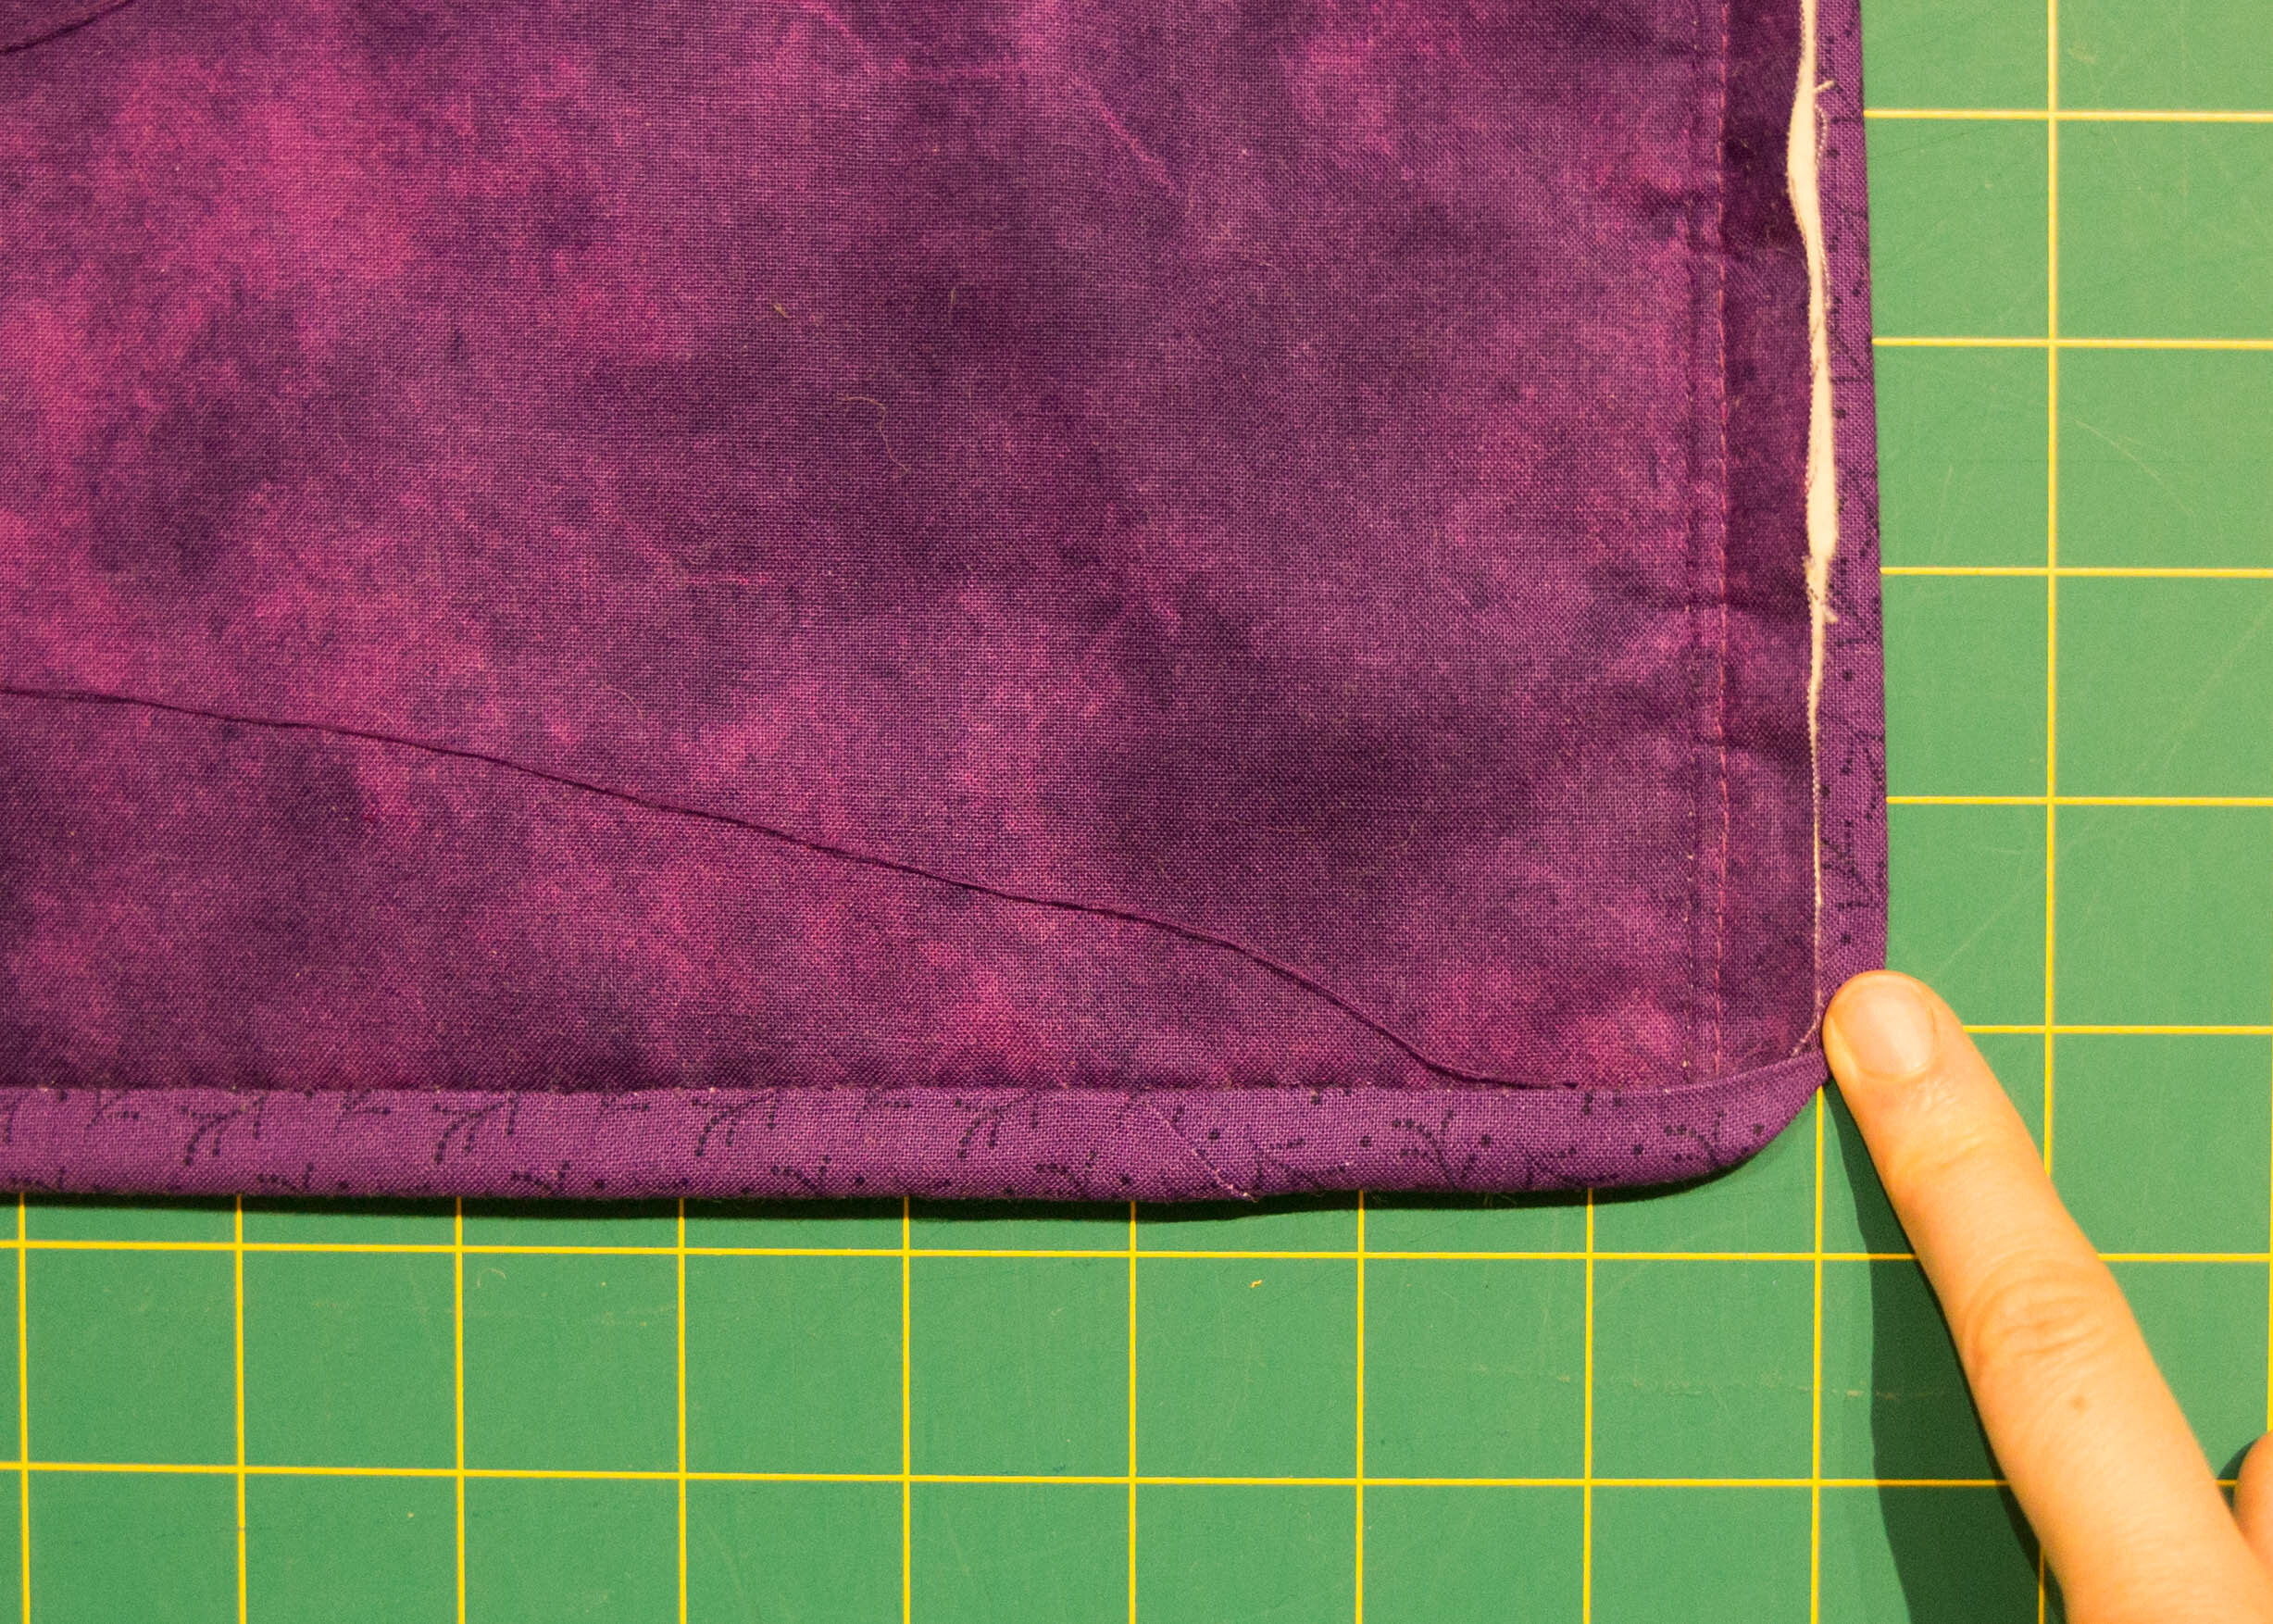
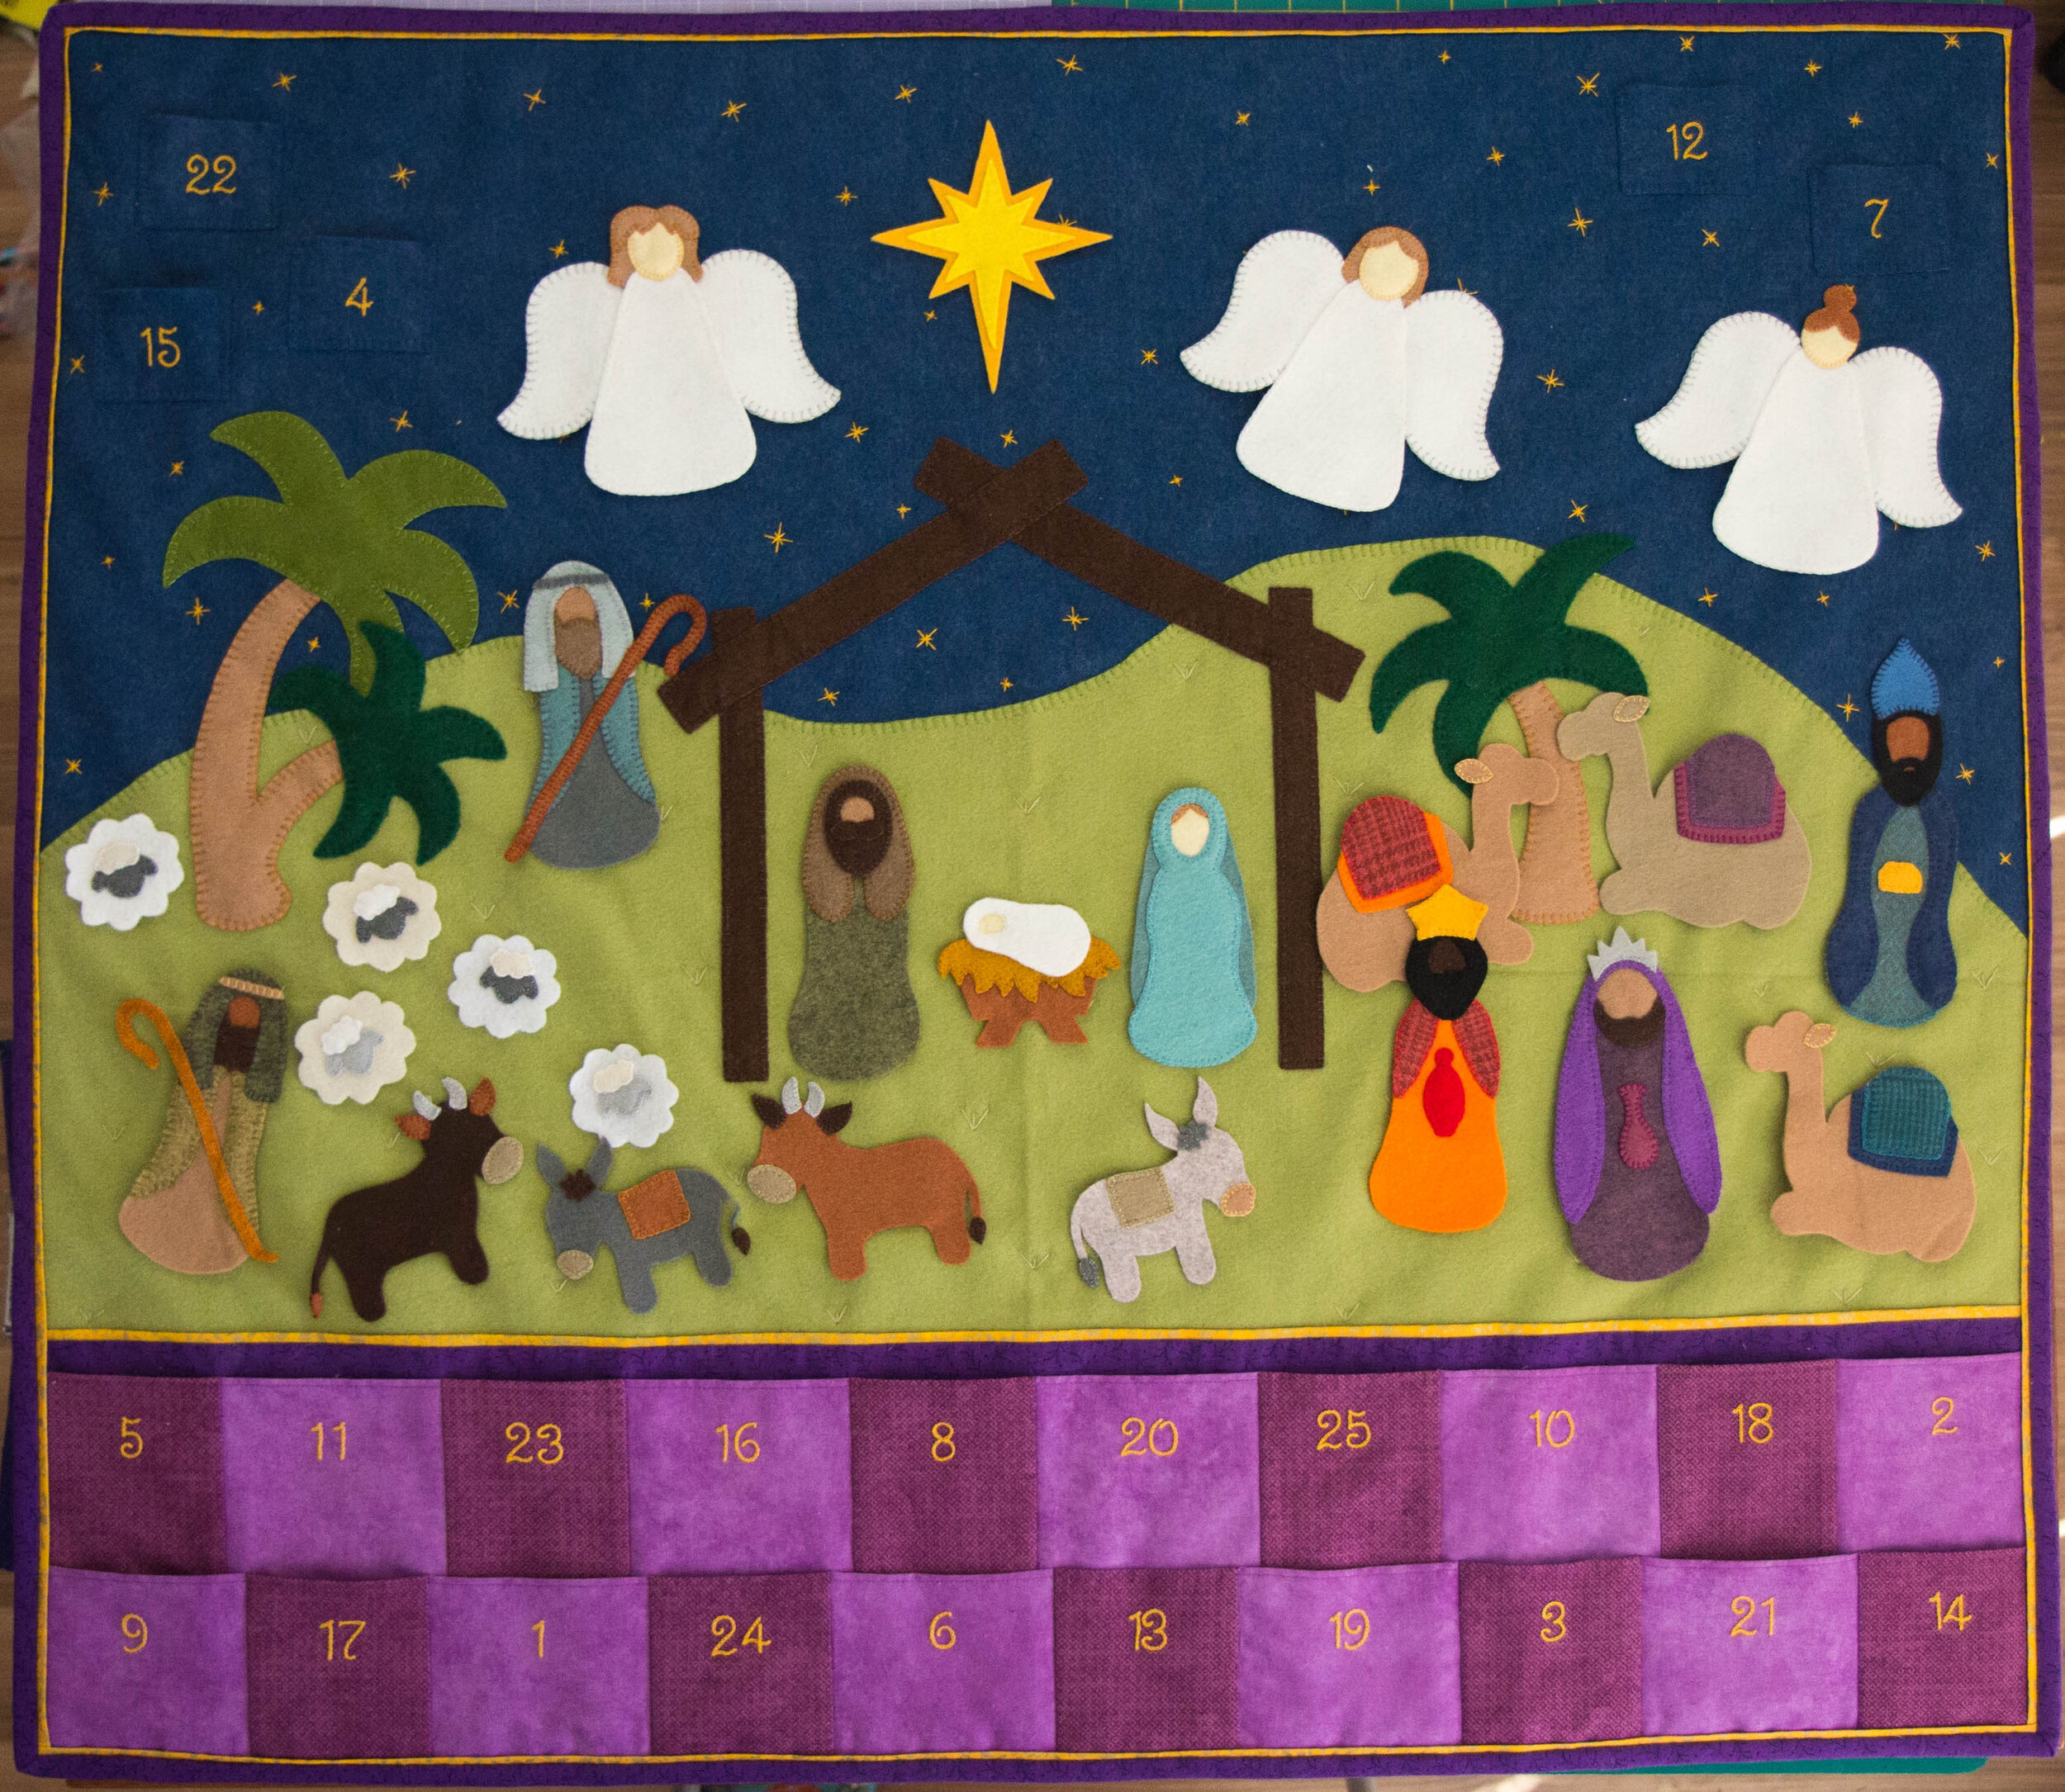
Once you’ve made it all the way around you’re done! Don’t forget to put a label on your work to remind you in the years to come who made it and when. This project I’m binding in the pictures is my interactive Nativity Advent Calendar. You can find the pattern for it in my Etsy shop.
Happy Sewing!