Earth Friendly Breast/Nursing Pads
After finishing off my cloth wipes stash last week I moved this week onto some cloth breast/nursing pads. I purposely made the wipes first because they used up the bulk of the towels, leaving just some narrow strips. These strips were too small for more wipes but perfect for cutting out cores for some nursing pads.
These nursing pads are made out of the same materials as the wipes, flannelette and towelling. I used an old flannelette sheet and the remaining scraps of the towels used for the cloth wipes. Some people like to add in a waterproof layer, such as PUL, however this makes them less breathable and also less eco friendly. With enough absorbency and frequent changes a waterproof layer is not necessary.
I have made my pads rather on the large side as this ensures good coverage with hopefully no leaks out the sides, and also allows me to include two layers of different sized towelling, spreading out the bulk. No-one likes it when their small nursing pads are immediately obvious because all the bulk is concentrated in the centre of your boob!
How to make:
Step 1
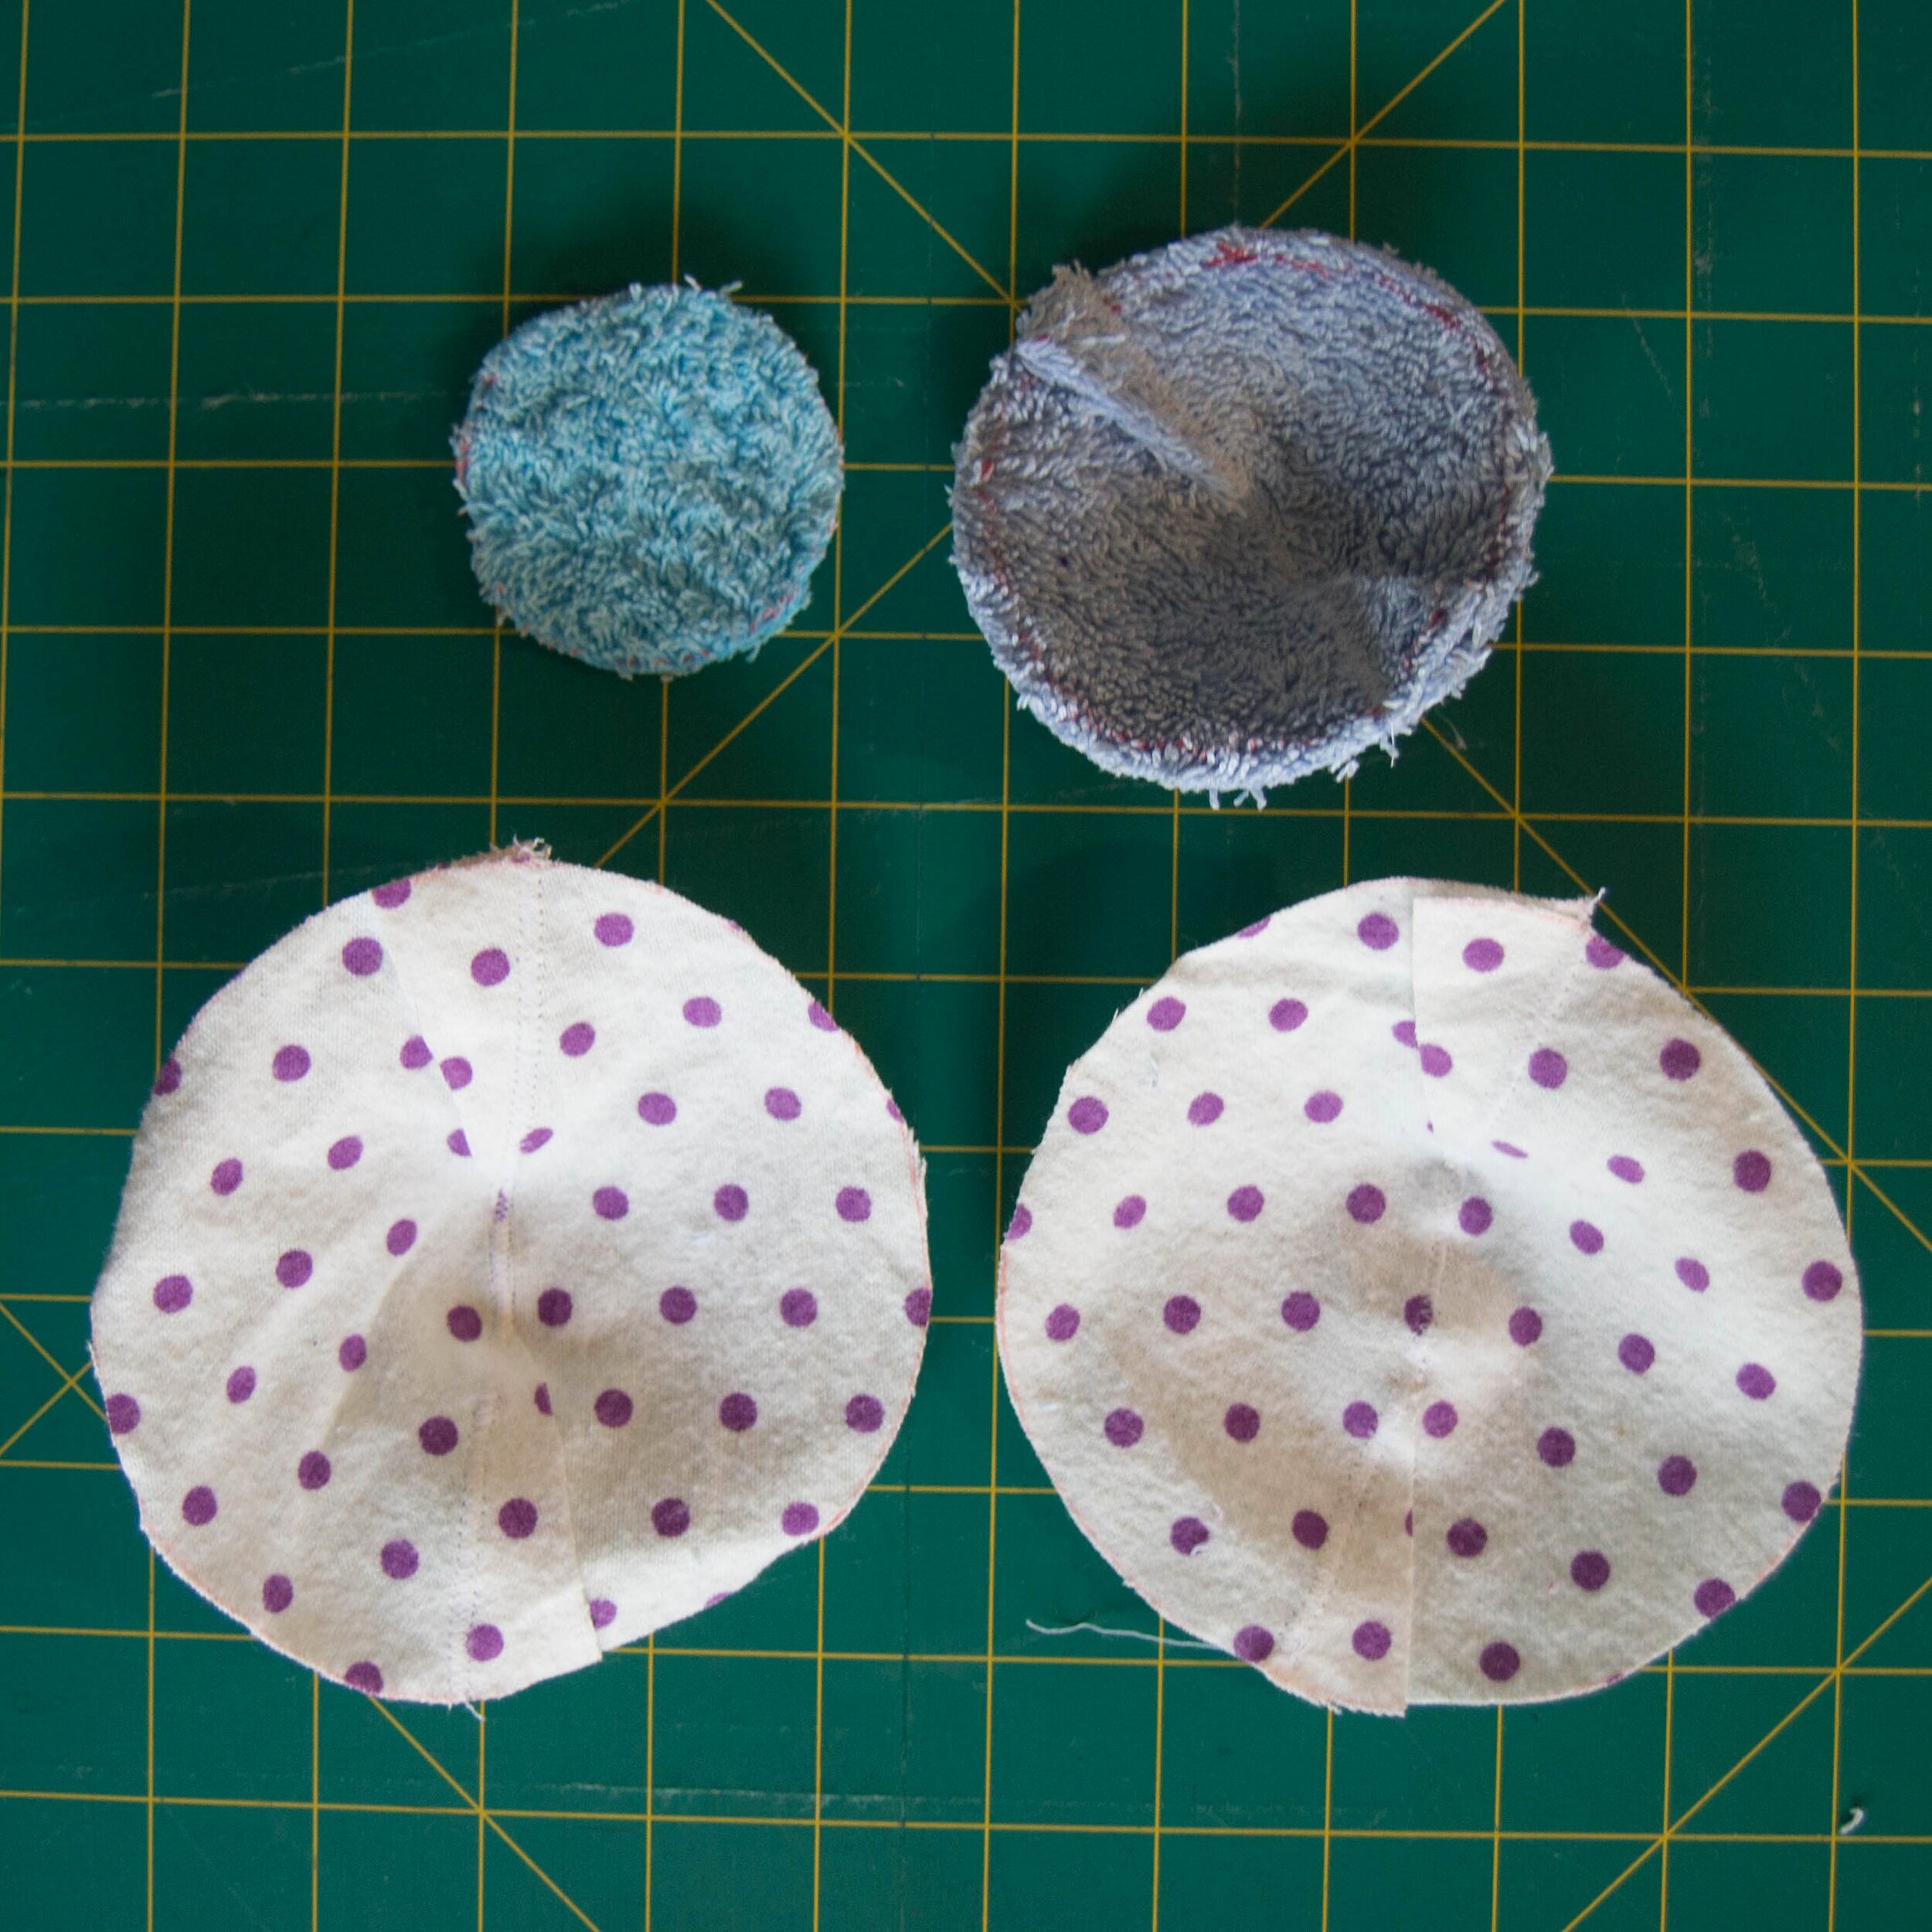
Cut out circles of your towelling and flannelette. I just used some household items to draw around such as a bowl, mug, bottle, etc. Have a look around and see what you can find. I have given you the rough measurements of my circles below, this is not an exact science though, any round objects with similar measurements will be fine.

For each pad you will need:
- two 5 ¼ inch/13 ½cm circles of flannelette
- one 3 ½ inch/ 8 ½cm circle of towelling
- one 2 ¼ inch/5 ½cm circle of towelling.

Step 2
Fold you flannelette and large towelling circles in half and cut a straight line from the outer edge towards the centre, stopping about ½ an inch/1cm from the fold.
You can skip steps 2 and 3 if you prefer, this will simply give you flat pads, rather than more contoured ones, the choice is yours.
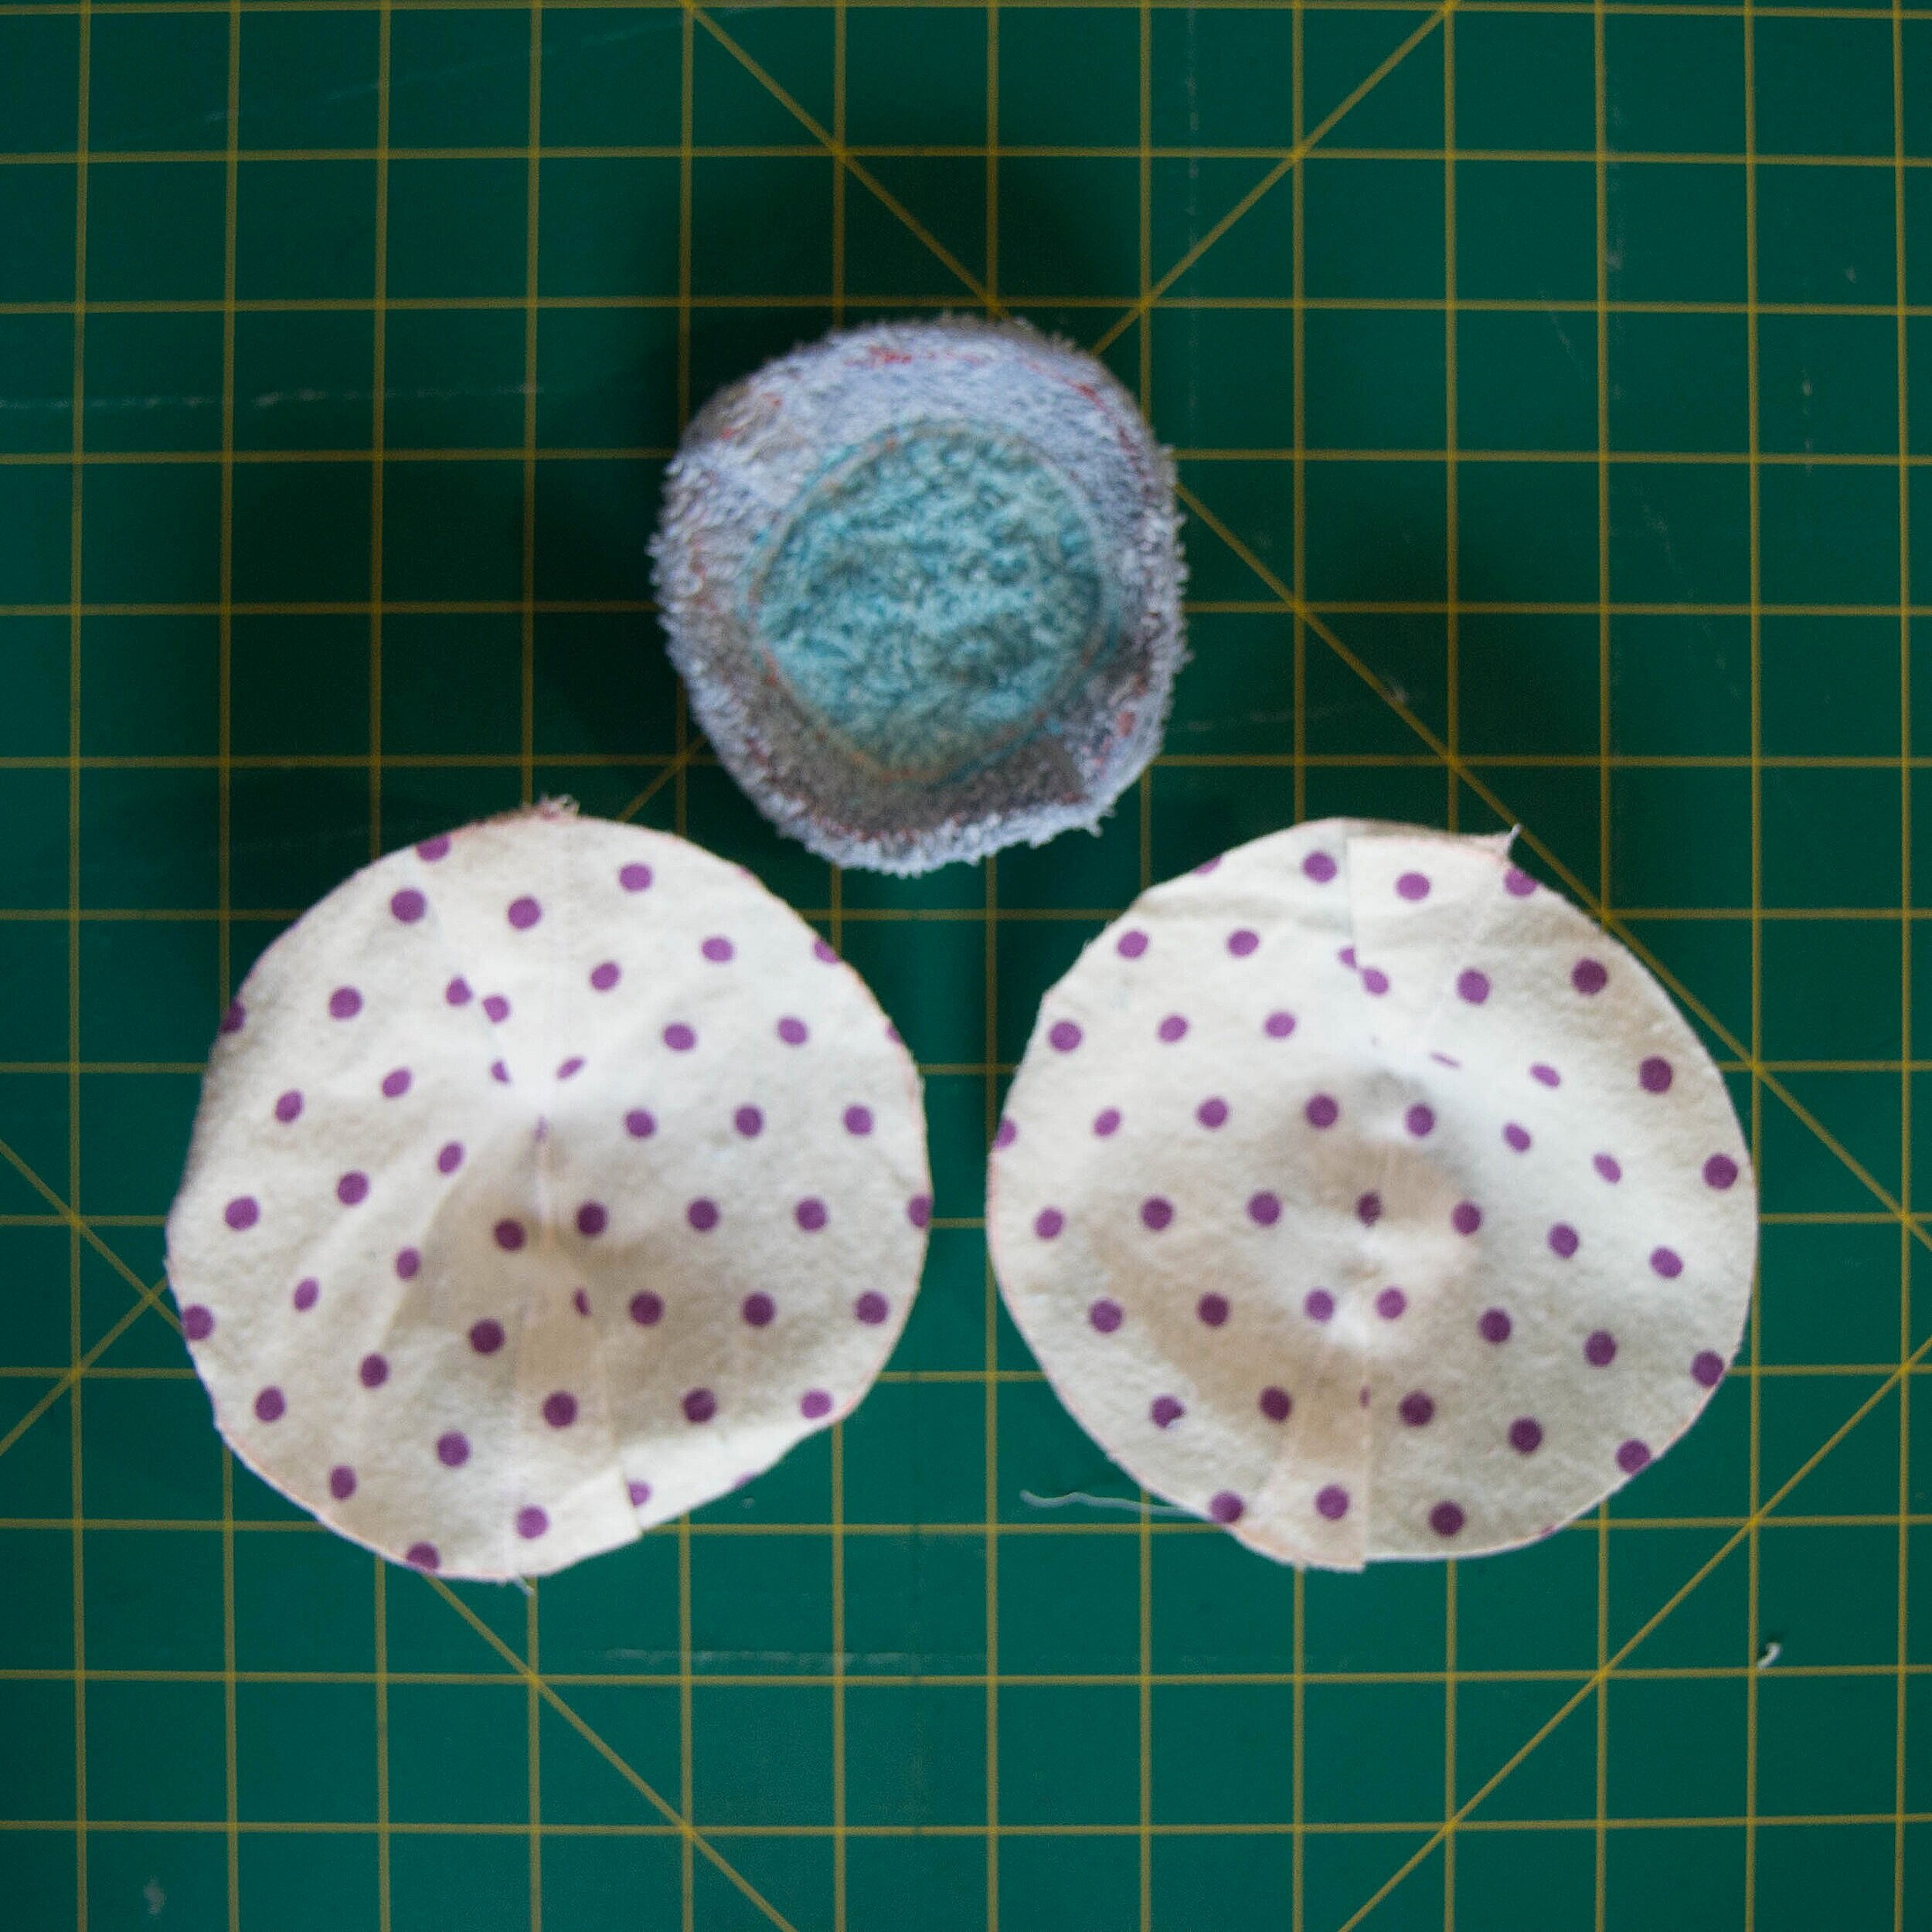
Step 3
Unfold your circles, overlap the cut edges by about ¾ of an inch/2cm and zigzag along top edge, right across the circle so you're completing both darts in one go. If you wish you can then trim the excess fabric in the dart to minimise bulk. I did trim the thick towelling, but didn't bother for the thin flannelette.
There is no right or wrong side for the towelling or solid coloured flannelette. If you do have a right side to your flannelette, complete step 3 with the right side facing up. Note, I used what is normally considered the right side of my flannelette as the wrong side and the wrong side became my right side, this was to hide the bright purple dots on the inside of the pads.
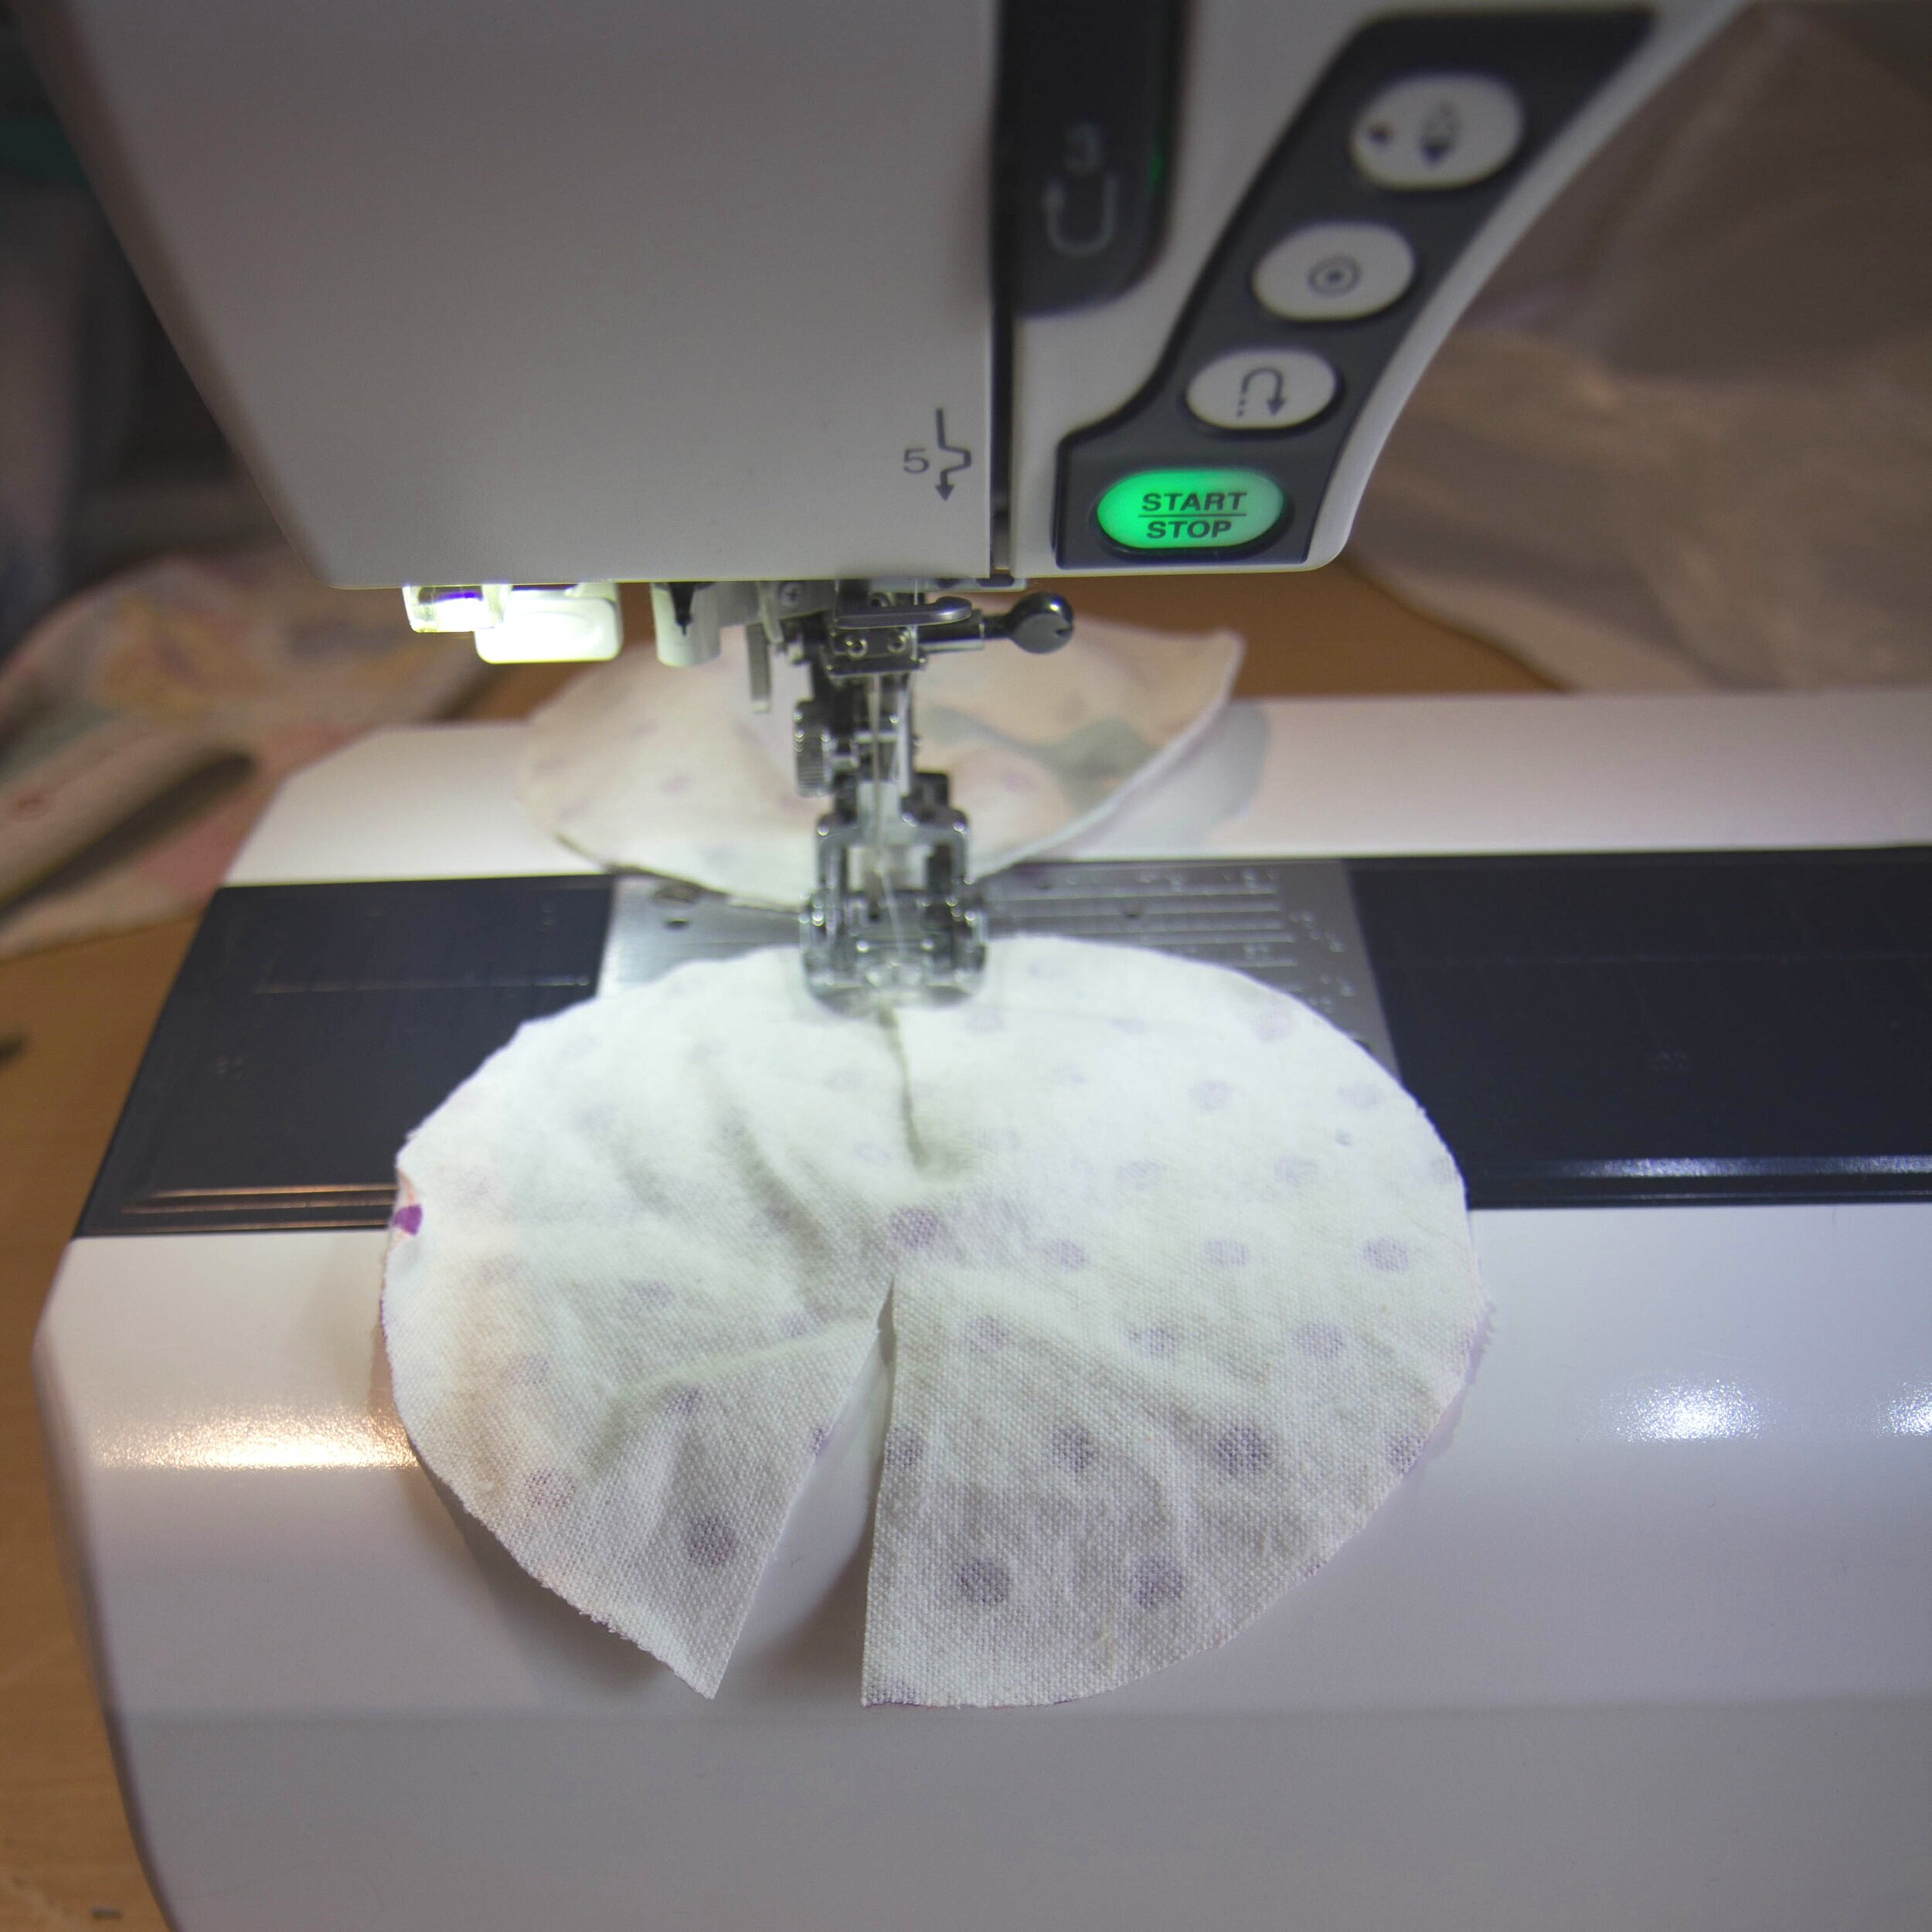
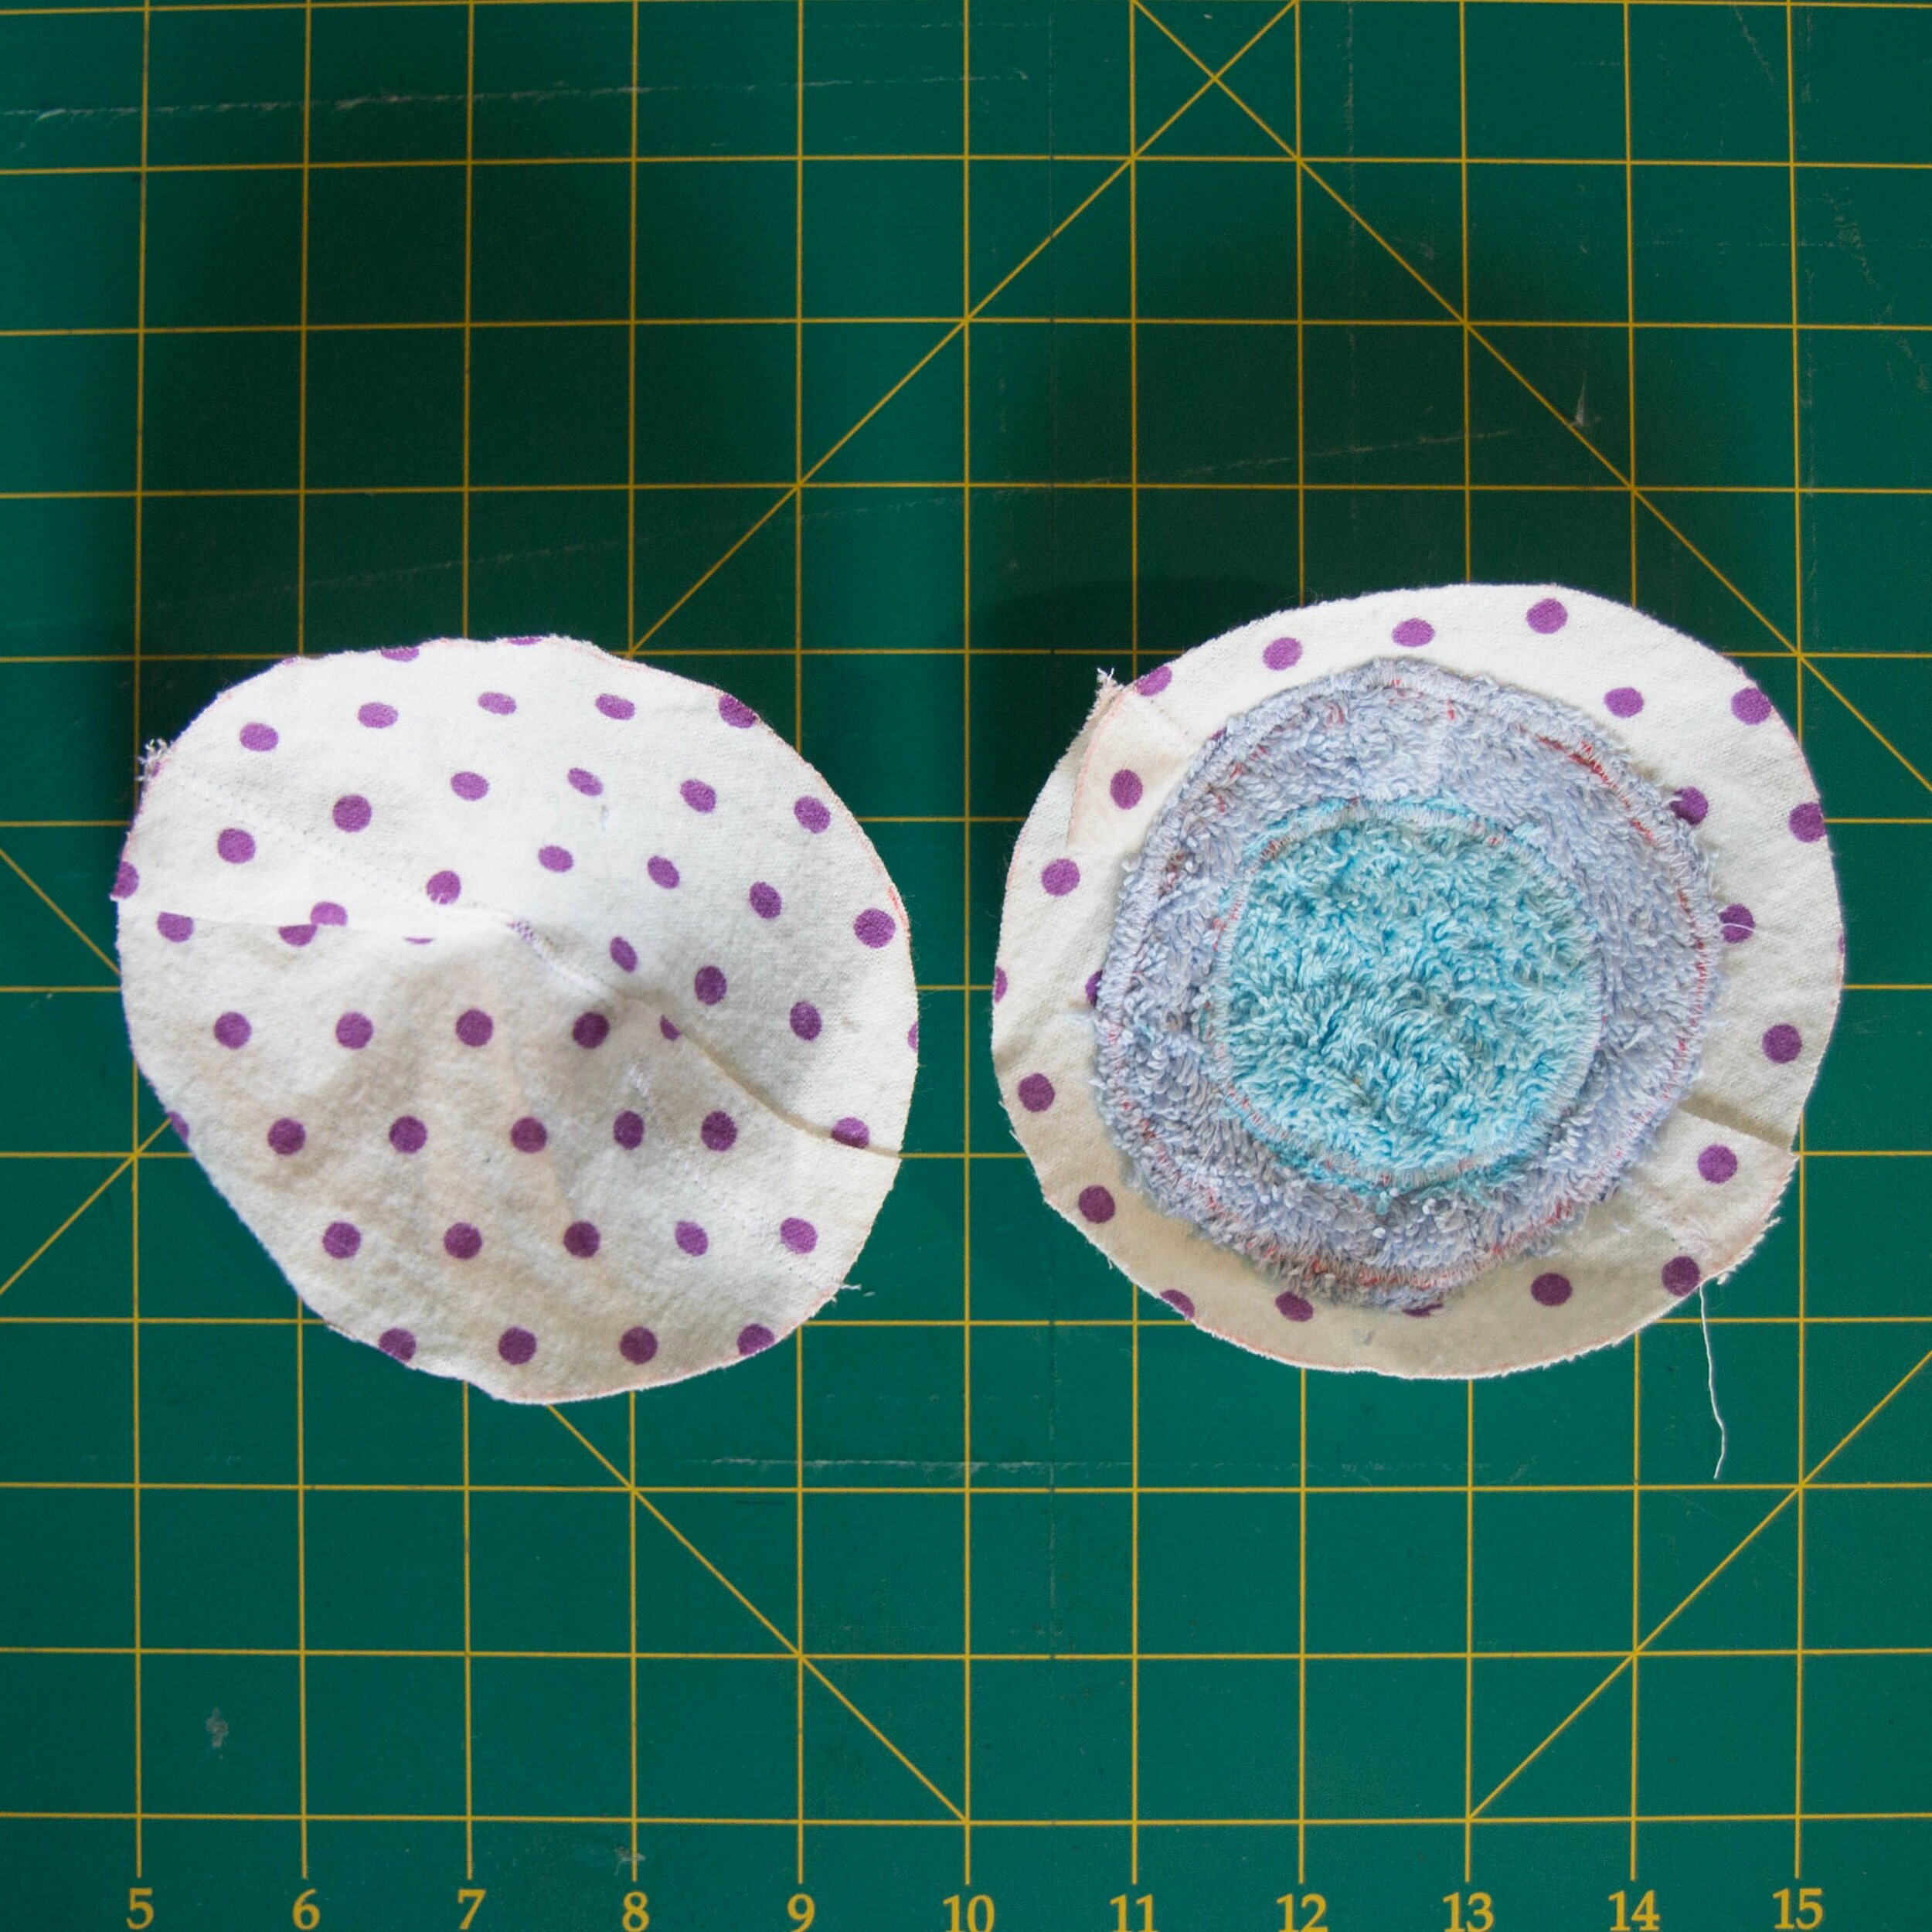
Step 4
Place smaller towelling circles in centre of larger ones (curve facing up) and zigzag around the edge. Then place these now joined circles in centre of one of the flannelette circles (right side down, curve side up) and zigzag around the edge to secure. Now you'll have what looks like targets for your boobs!
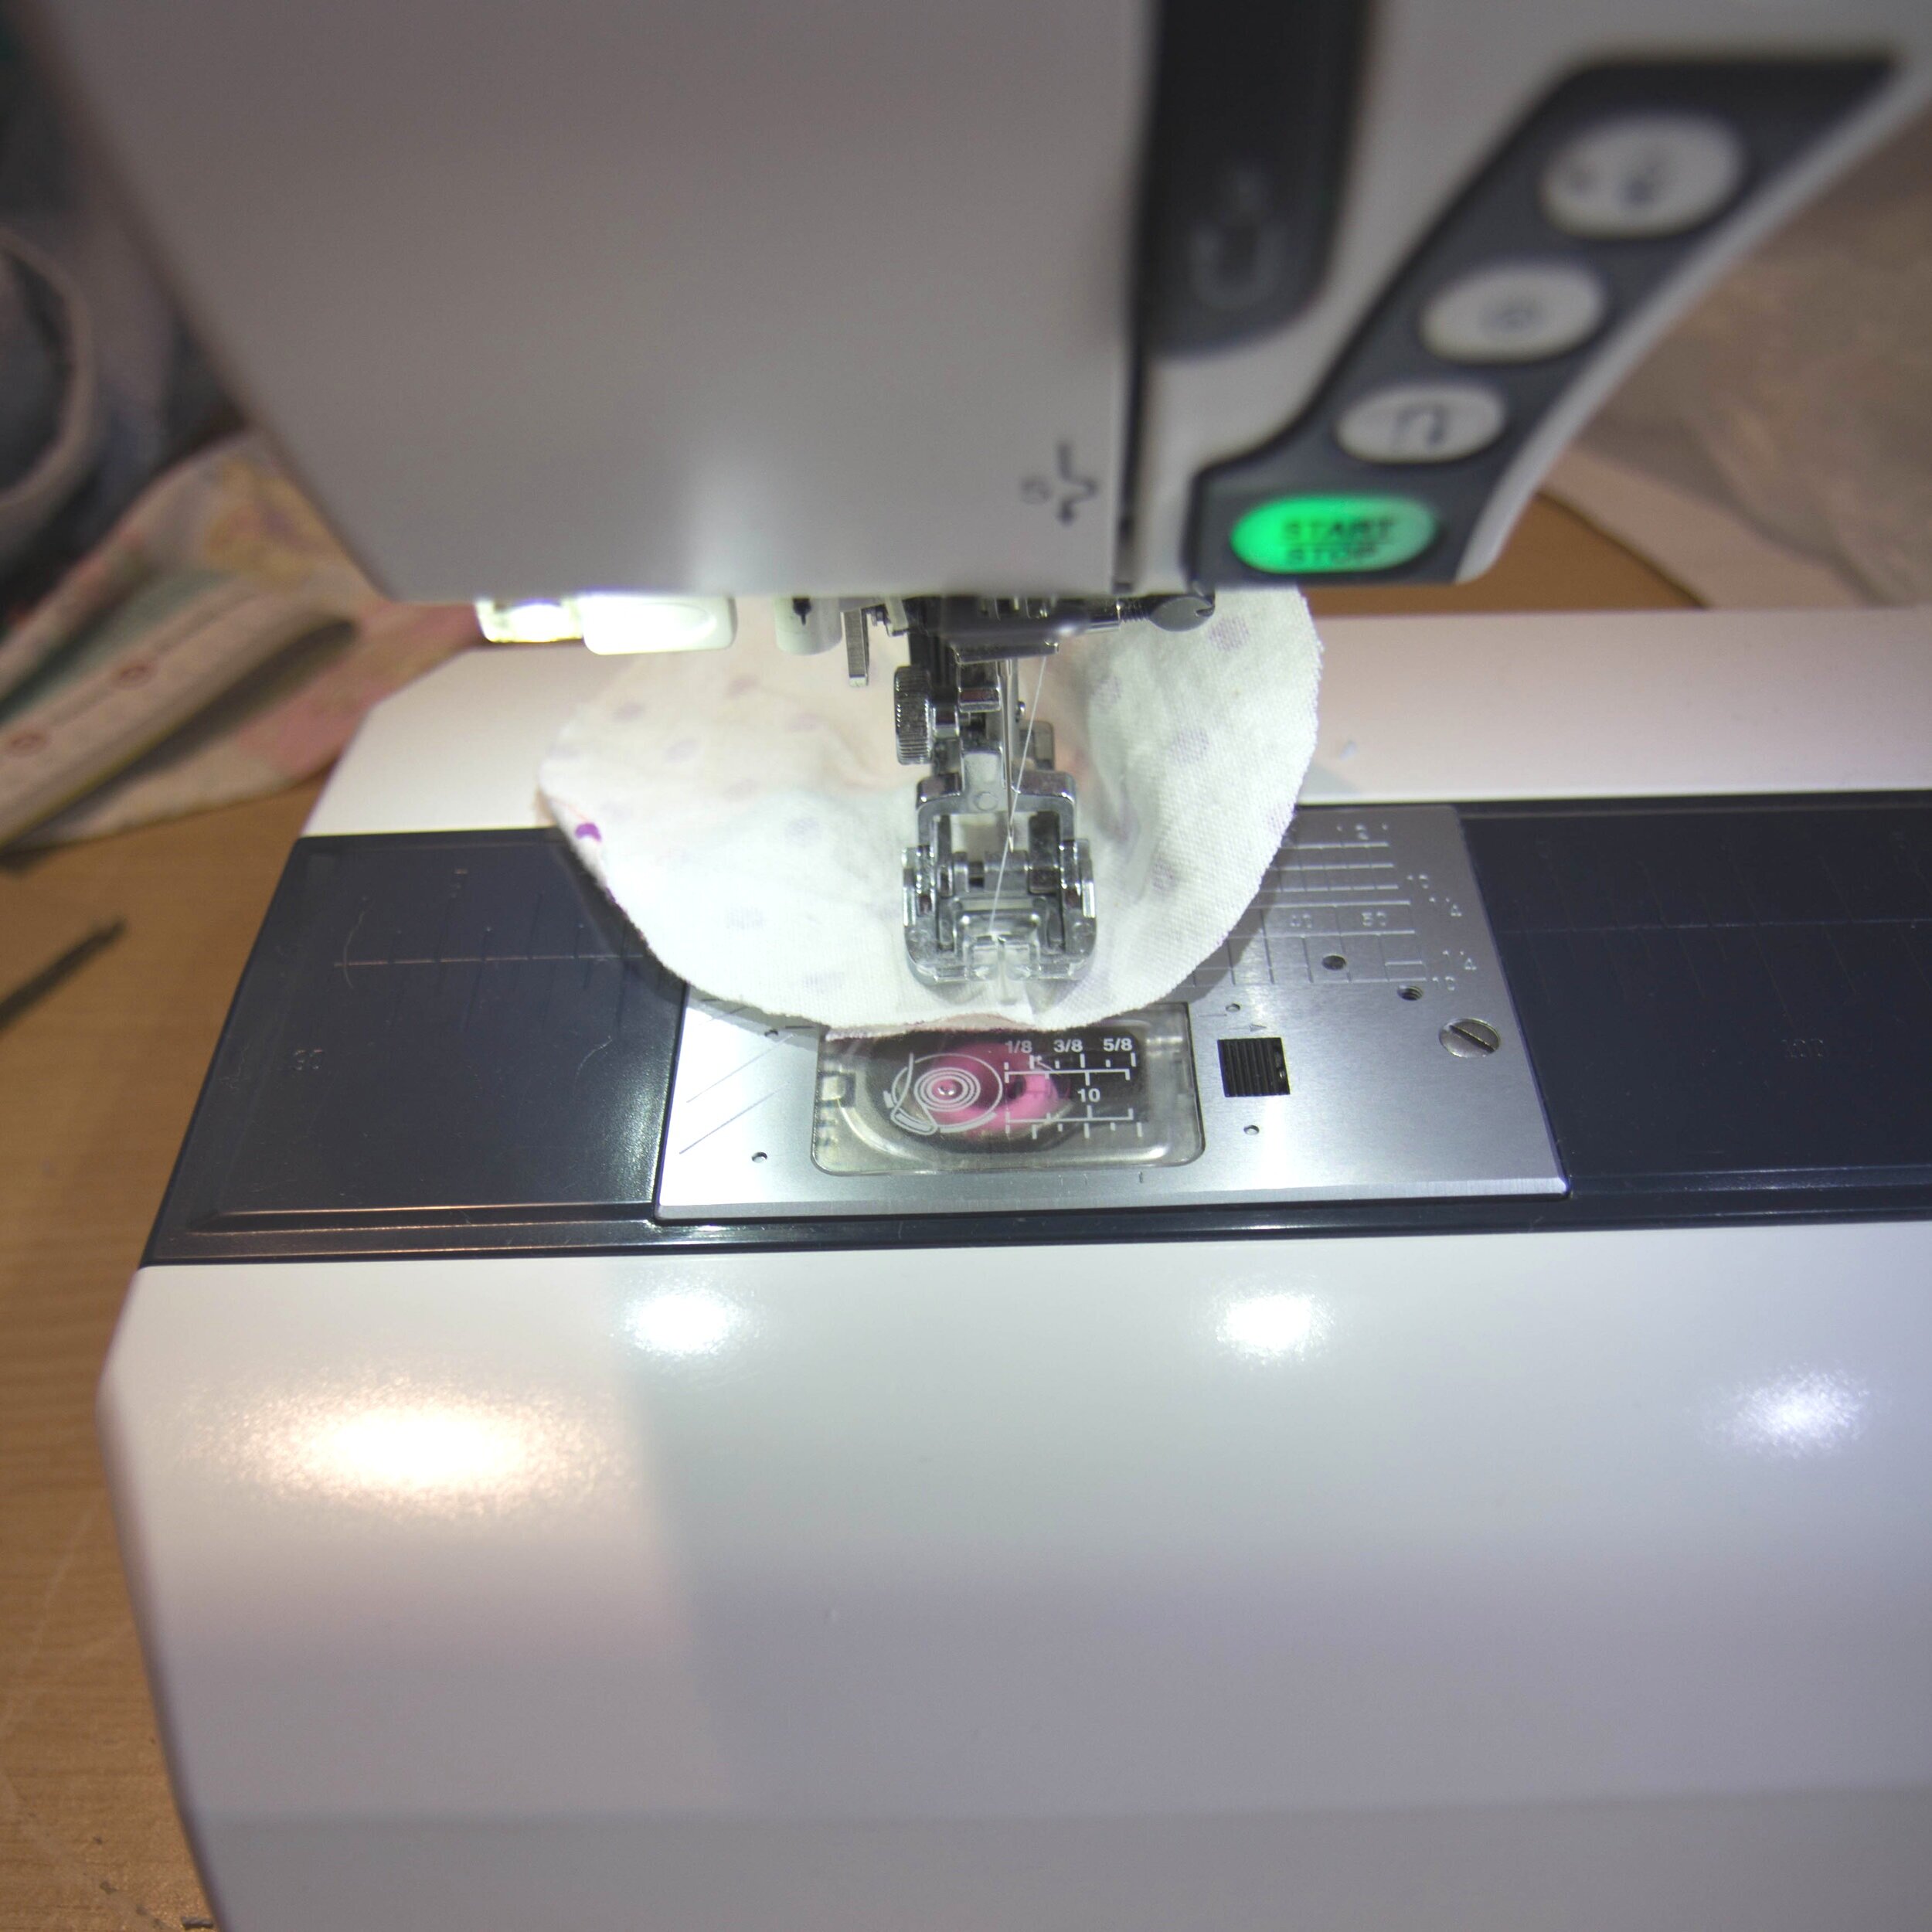
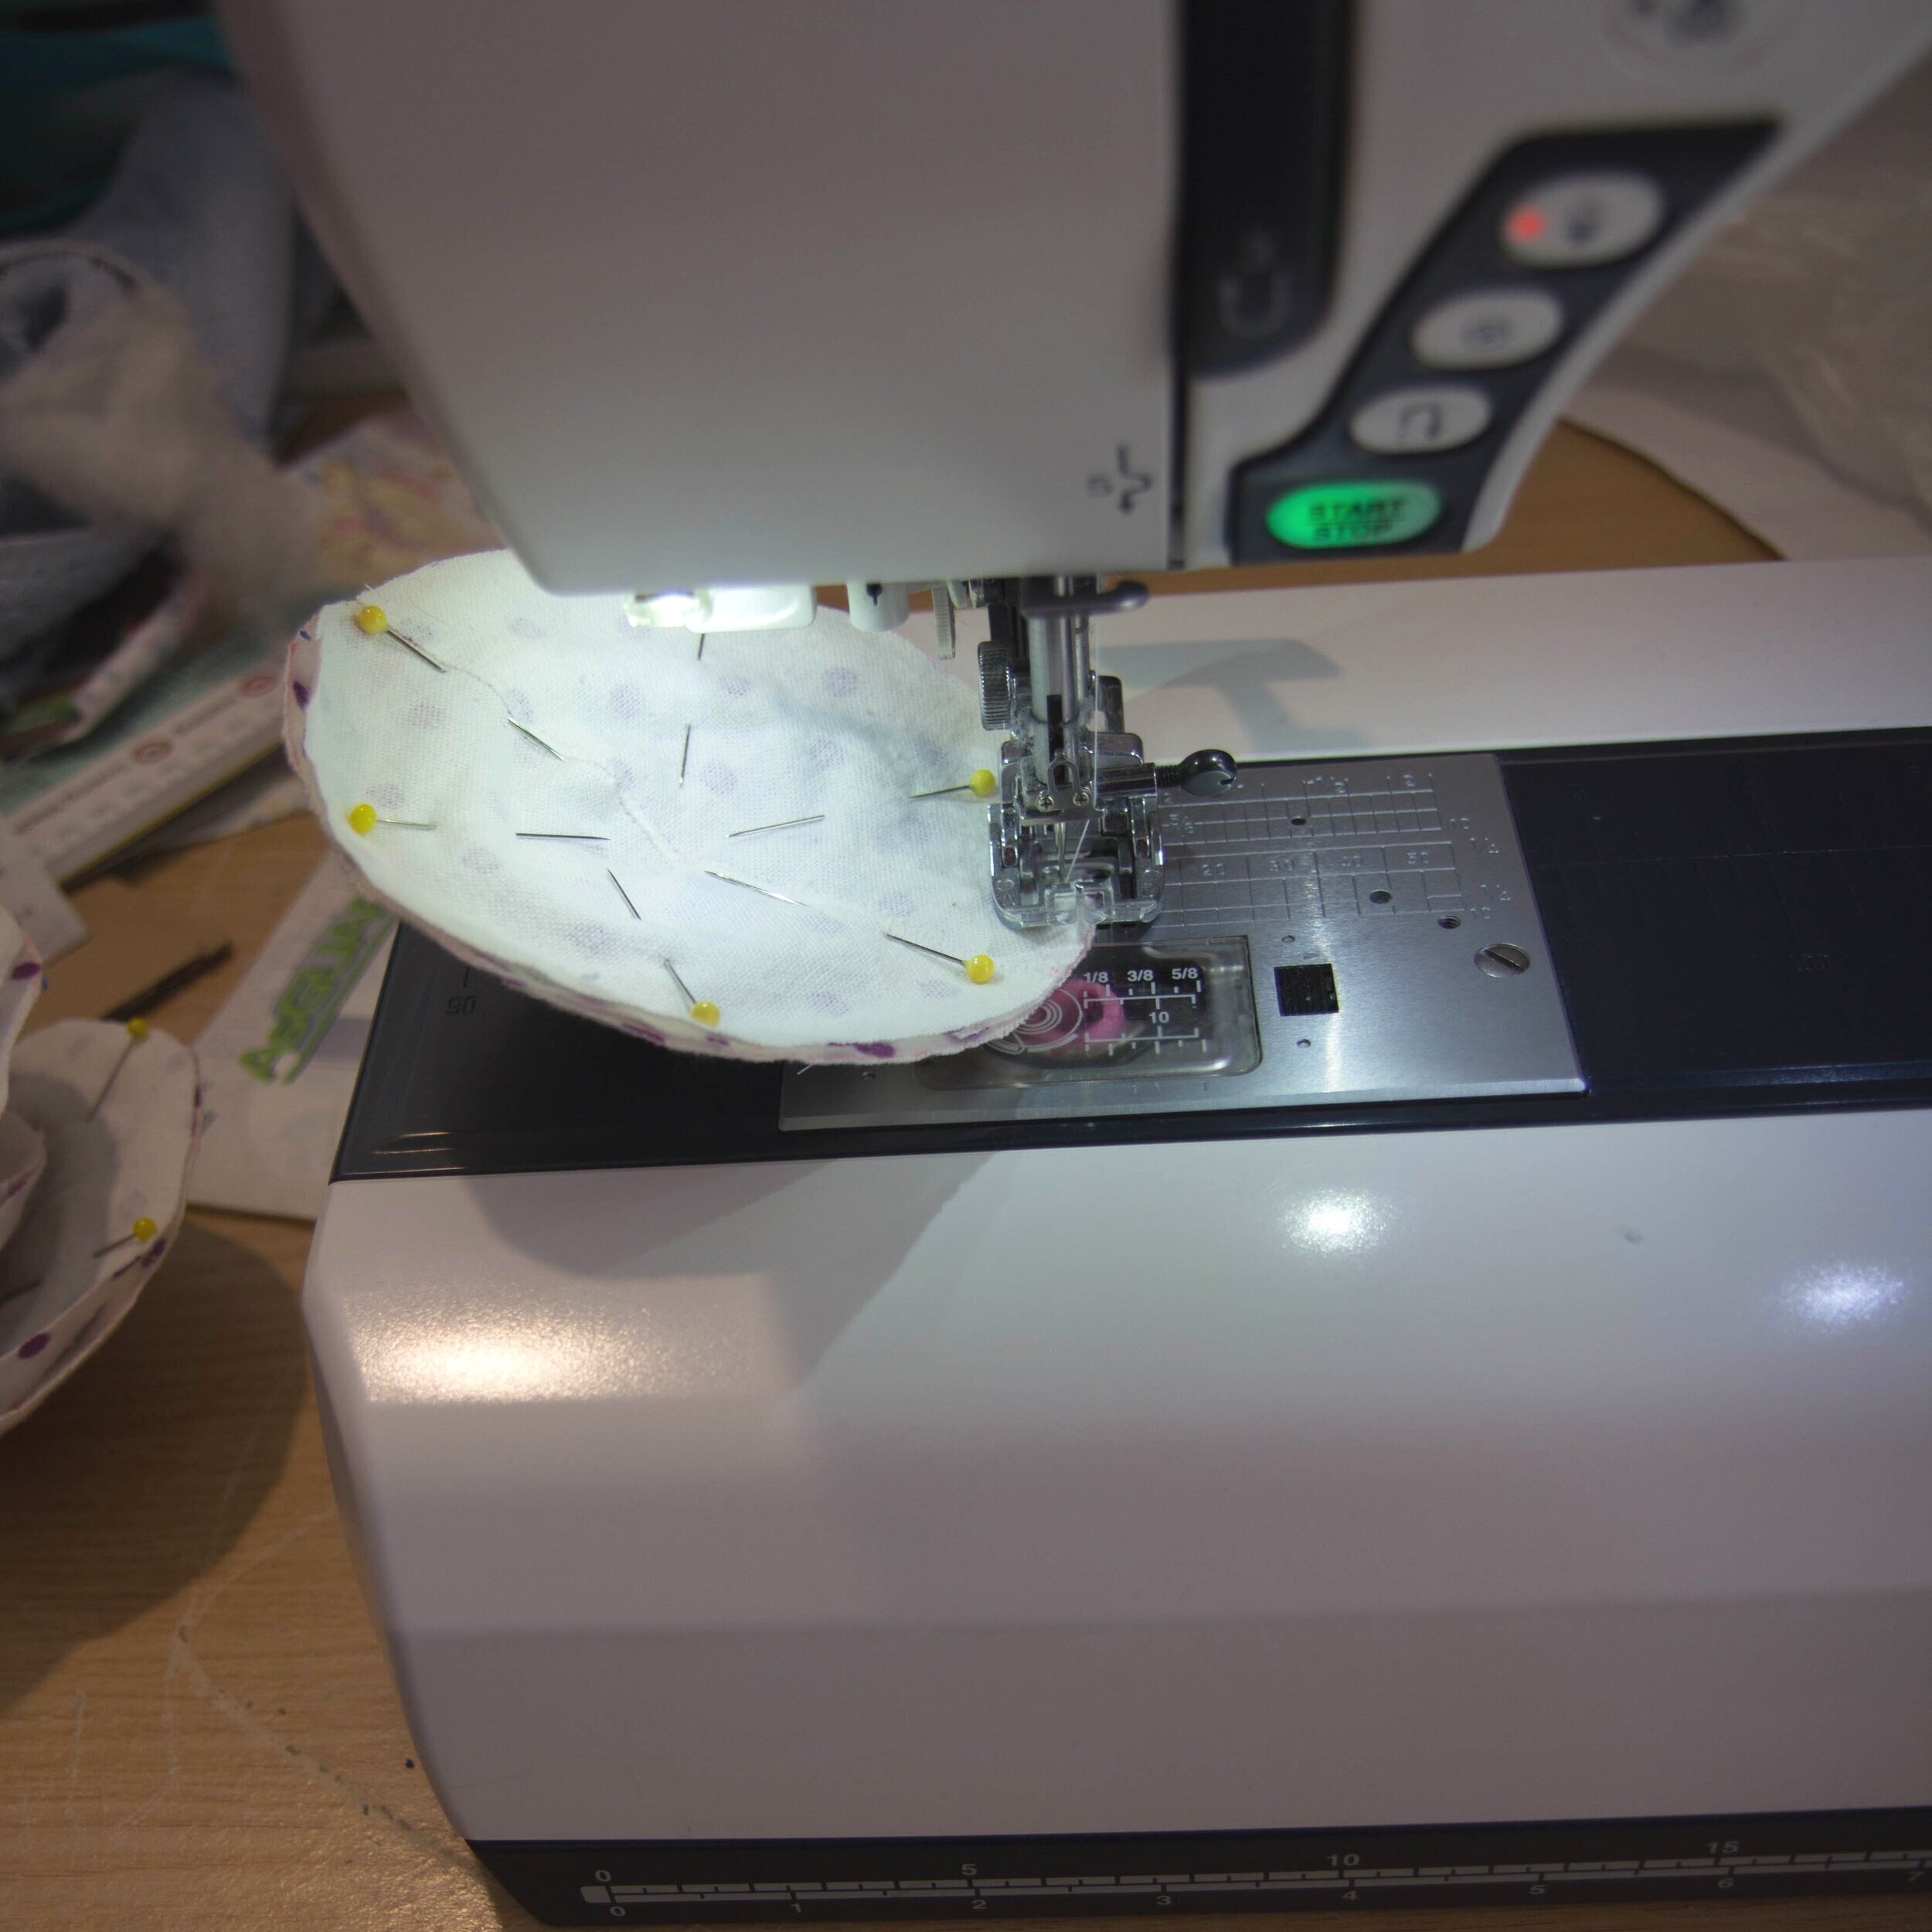
Step 5
Place remaining flannelette circle on top of your targets (right side out) and pin in place. Trim around edges wherever the top circle sticks out from the bottom circle and zigzag/overlock/serge around edge and you're finished! Overlocking/serging will of course give you a neater look than zigzaging, however if, like me, you don't have an overlocker, a zigzag stitch will do the job just fine.
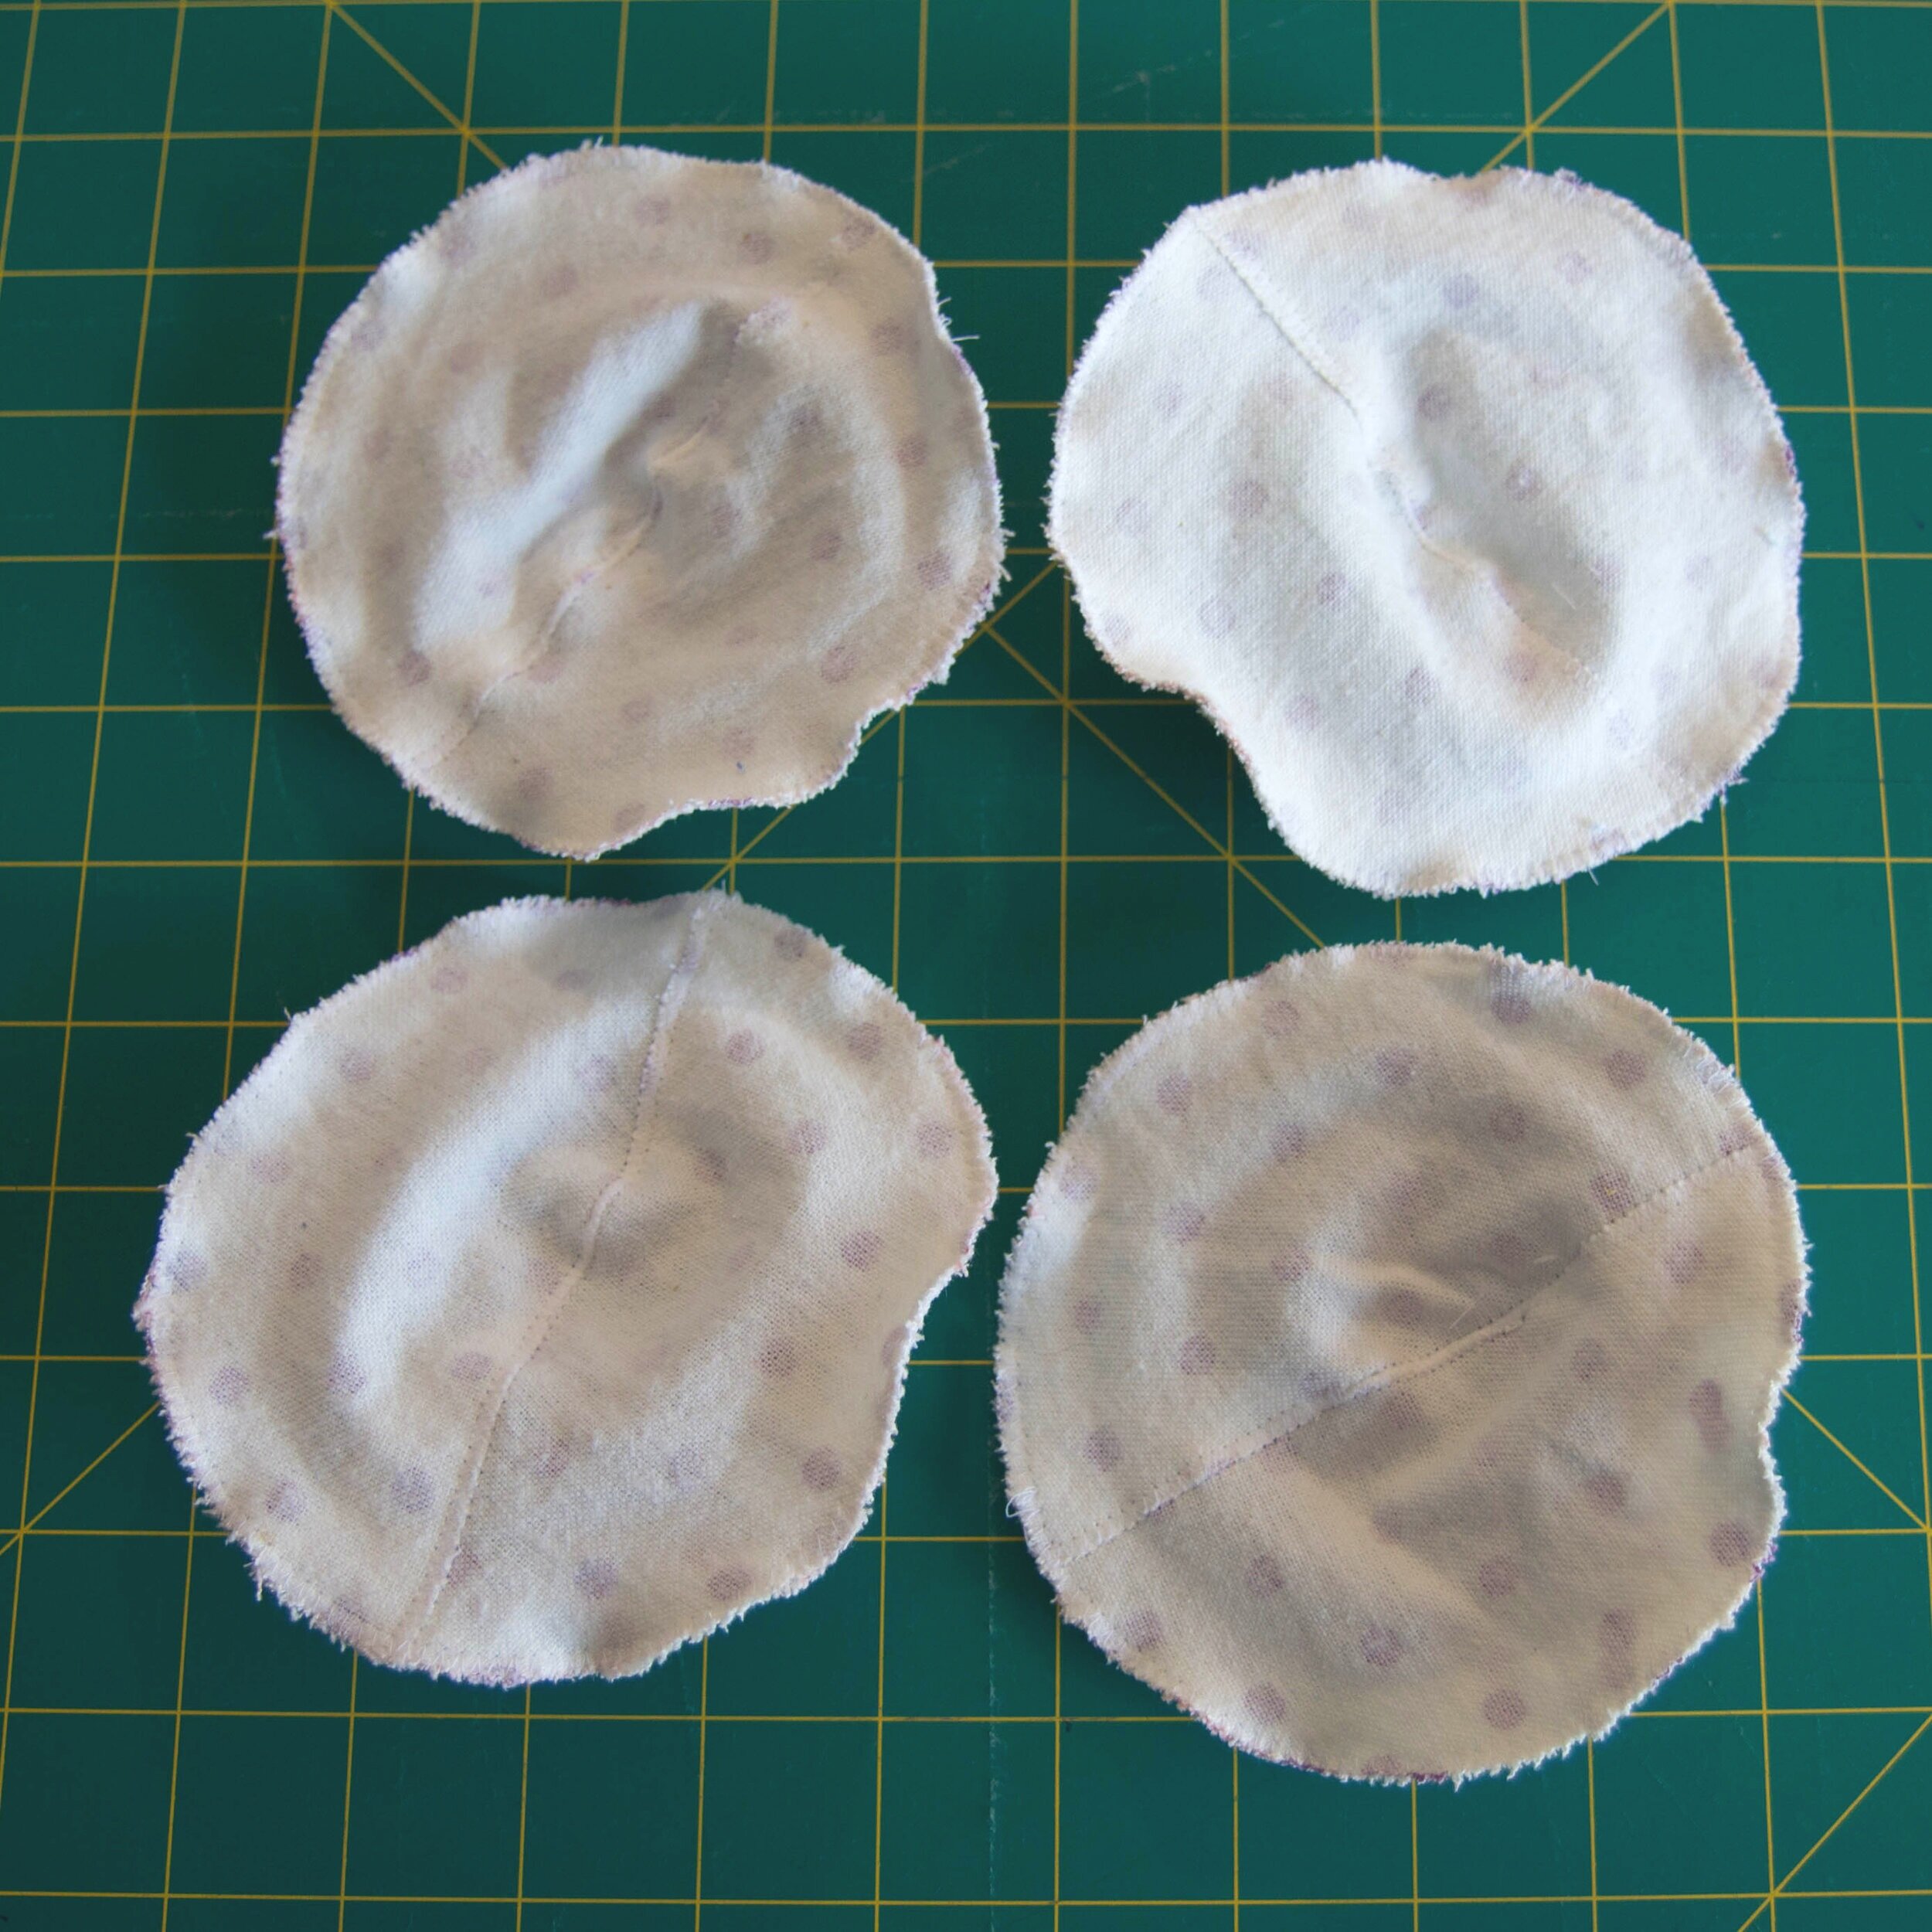
Now you just need to make a whole stack of these as one won't get you very far! The amount you'll need depends on how often you need to change them and how often you wash them. I've made 8 pairs for myself, we'll see if that's enough or not soon. Washing is super simple, just throw them in a laundry bag so they don't get lost and wash with any other load of laundry you're already doing.
Next up I really need to finish off the last of my nappy covers and make some wet bags, so stay tuned for those.
Happy Sewing.